Anti Static Brush Unit - After replacement
 Check Point / チェックポイント Check Point / チェックポイント |
||||||
When this menu is executed, the following menu is automatically executed.
|
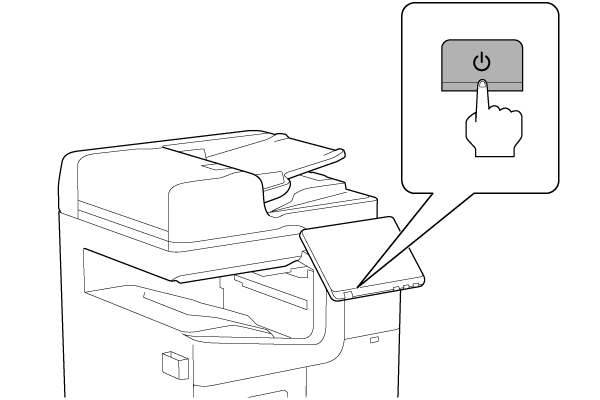
- Turn the power ON.
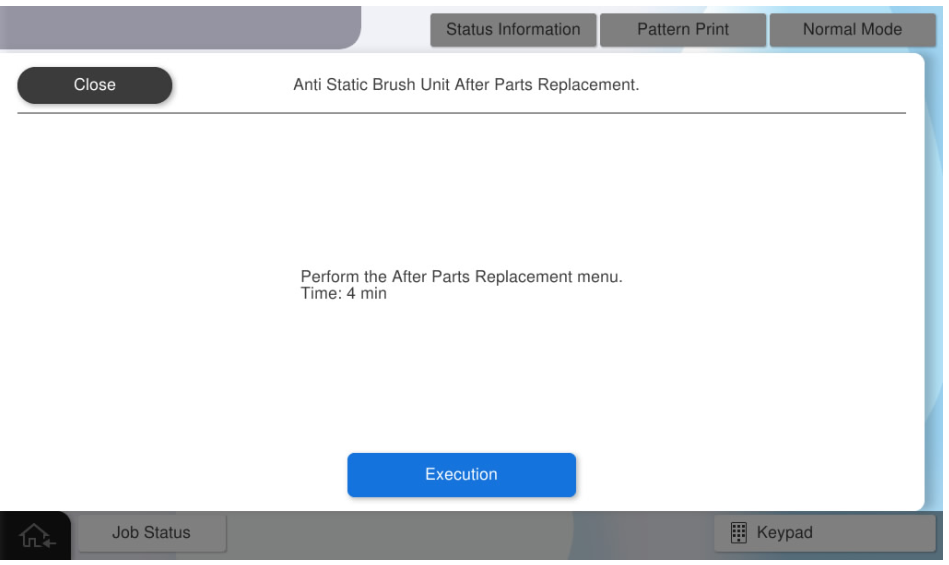
- Press [Execution].
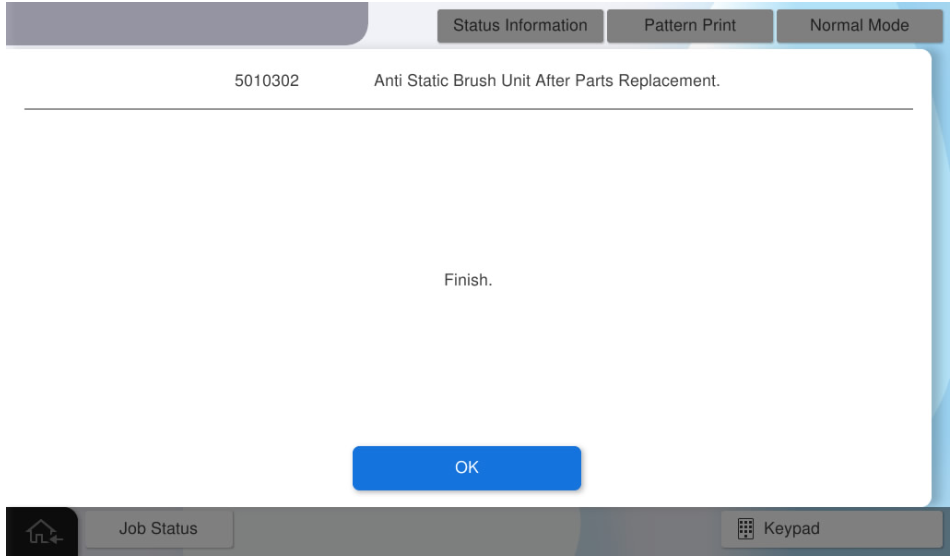
- Press [OK].
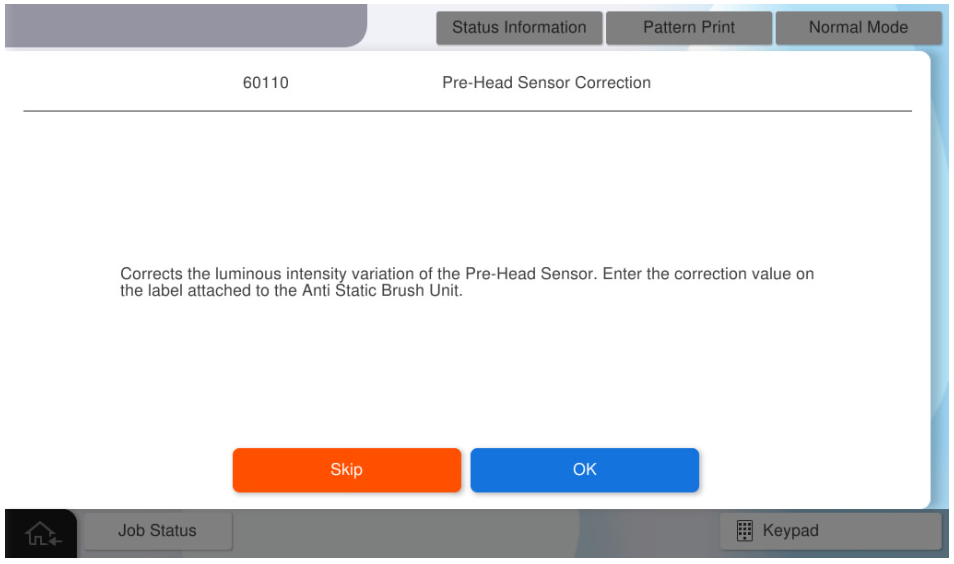
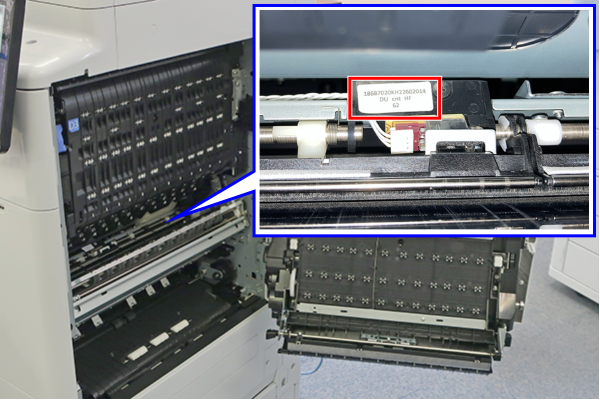
- Open the Right Door Unit and Belt Unit, and check the correction value label.
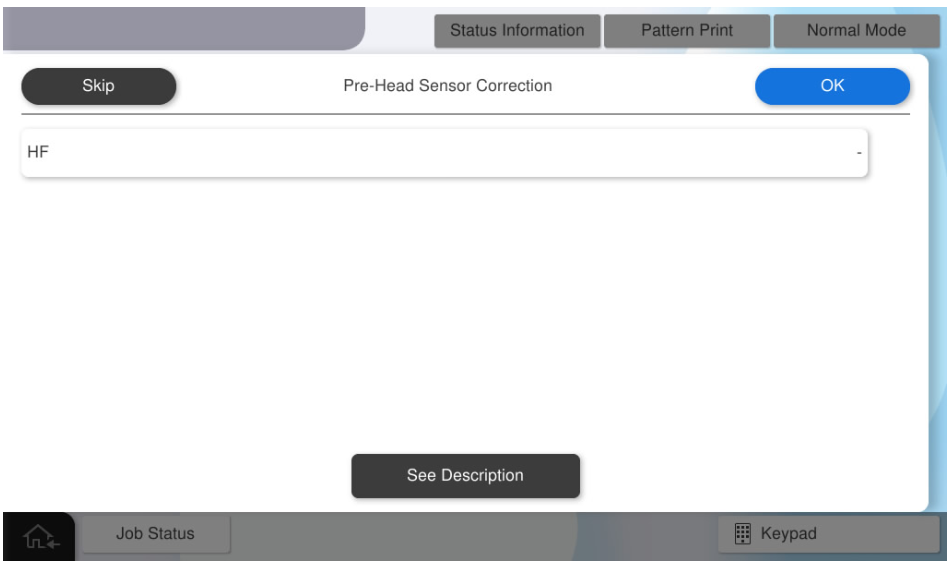
- Enter the correction value HF and press [OK].
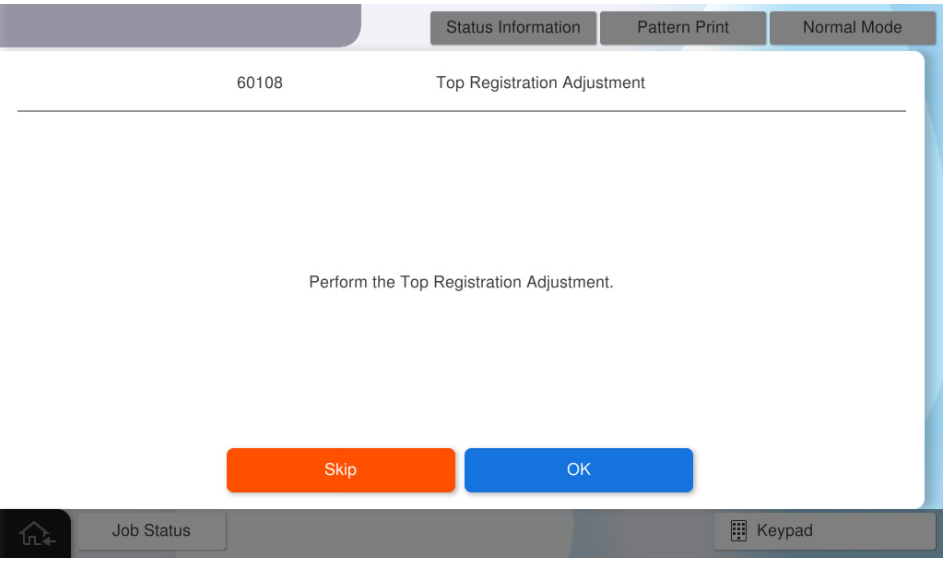
- Press [OK].
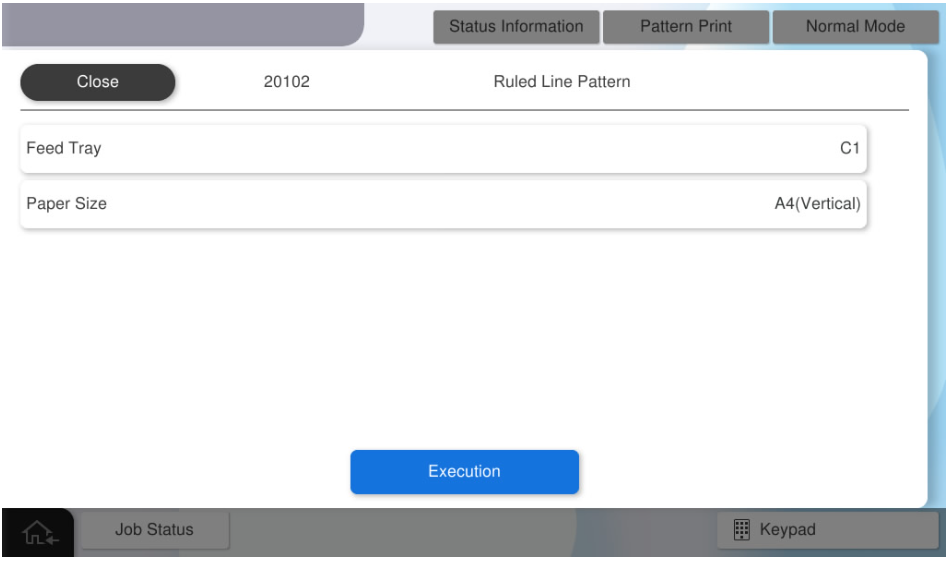
- Press [Pattern Print].
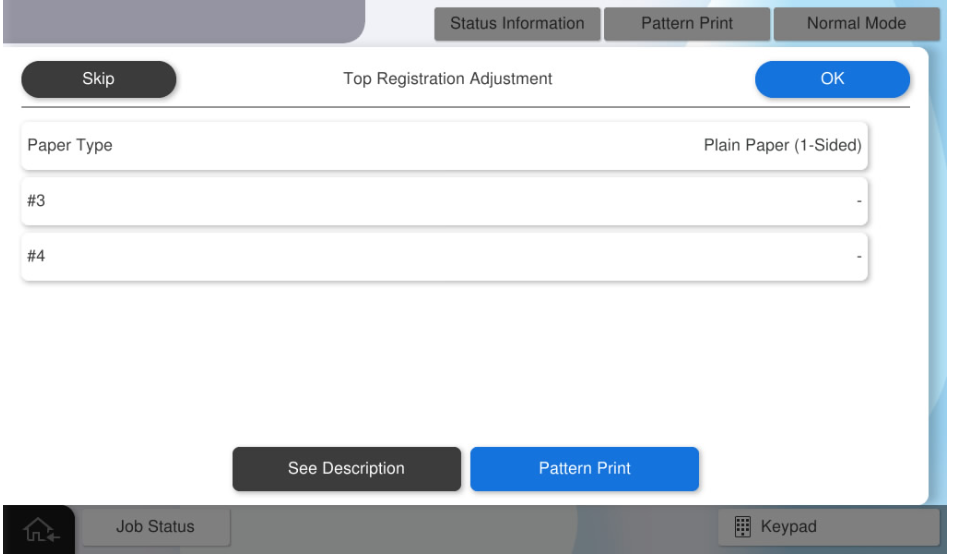
- Press each setting item button to make the print settings.
The parameters that can be set are as follows.Setting Items Selection Feed Tray C1, C2, C3, C4, Paper Tray, High Capacity Unit Available Paper Sizes A4 (Vertical), Letter (Vertical)  Caution / 注意
Make sure the paper orientation is as specified (LEF/Vertical).
If the orientation is different from the specifications (SEF/Horizontal), the paper will be ejected without being processed correctly and the operation cannot be checked.Check Point / チェックポイントMatch the paper feeder to be adjusted with the paper feed tray for pattern printing.
e.g., To perform the Paper tray’s top registration adjustment, press [Feed Tray] and select [Paper Tray].
- Press [Execution] to print the pattern.
- Scale the margin amount of # 3 and # 4 from adjustment pattern.
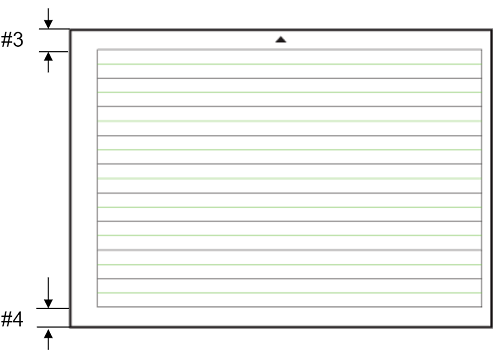
- Distance from paper edge to "◀ #3 mark"
- Distance from paper edge to "#4▶ mark"
- Convert the measured values into panel input values.
- Input value = measurement value x 10
- e.g.) Measurement value = 7.5mm, Input value = 75
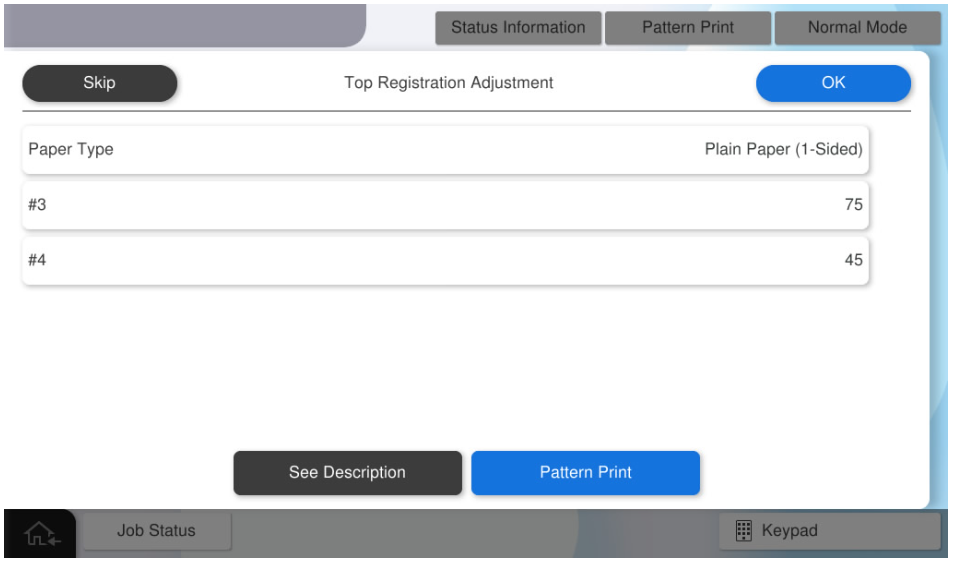
- Press [Paper Type] and select the paper type to be adjusted.
- Press [#3] and enter the input value #3
- Press [#4] and enter the input value #4
- Press [OK] to reflect setting value.
 Check Point / チェックポイント
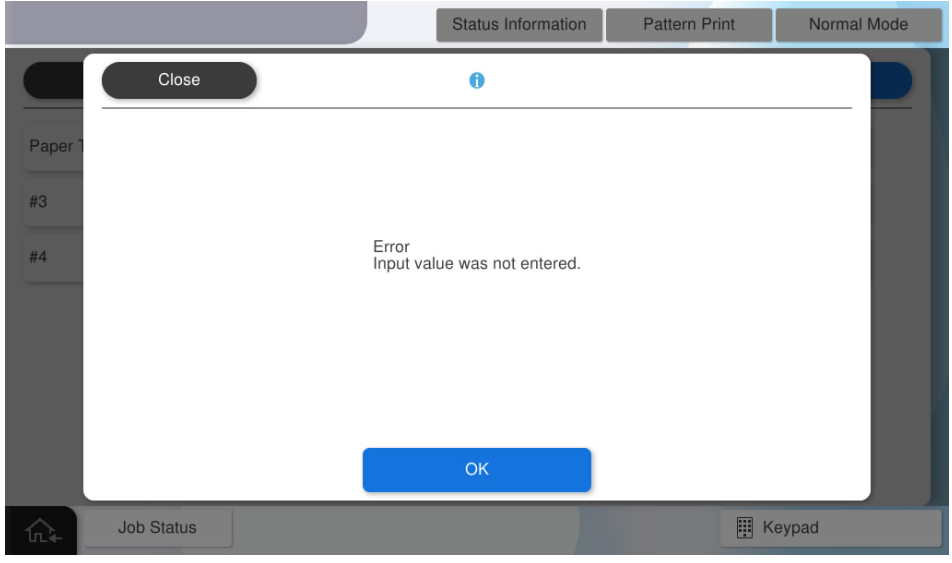
- If you press [OK] when all the values have not been entered, the following screen will be displayed.
- If you press [Pattern Print] with all values entered, the adjustment values will be reflected. After the adjustment value is reflected, all the adjustment values input to the panel are cleared. Press [Skip] to end the adjustment.
By execute printing as it is, output the adjustment pattern after reflecting the adjustment values.
- If you press [OK] when all the values have not been entered, the following screen will be displayed.
- Press [OK] to complete the menu.