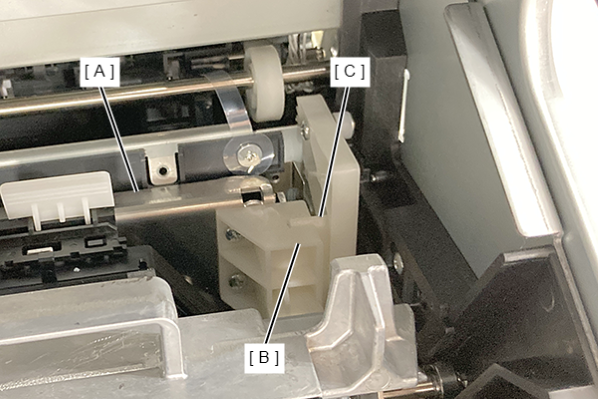
Cap Unit
- Remove the 2 screws and remove the Left Cover Upper (A).
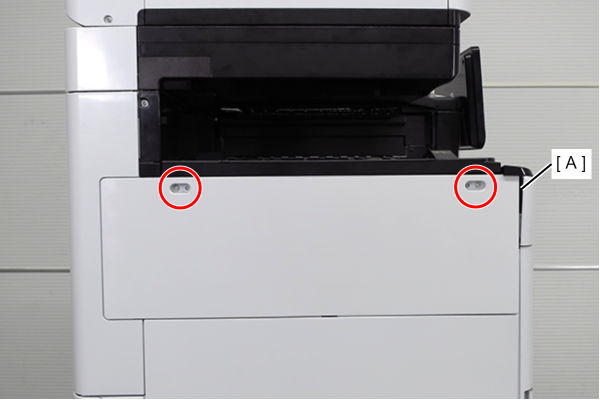
 : 3x10DW
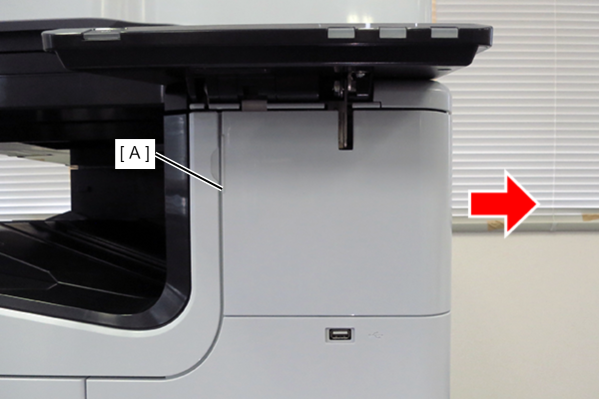
- Slide the front decorative cover upper (A) in the direction of the arrow to remove it.
- Remove one screw, and remove the front cover upper (A) in the direction of the arrow while pressing the hook.
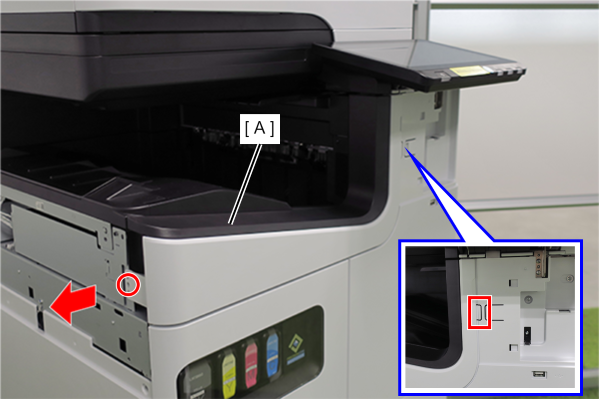
- : 3x10DW
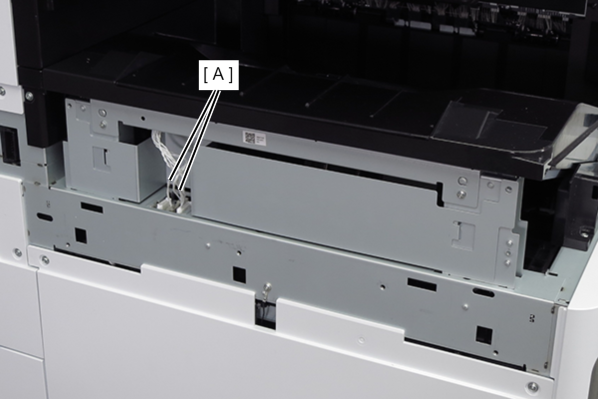
- Remove the two cables (A) from the connectors.
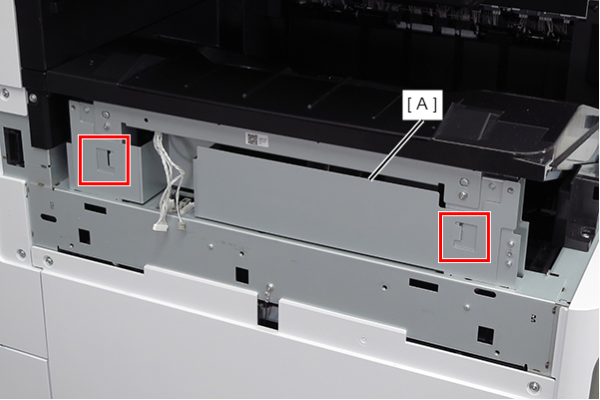
- Lift the FD frame (A), release the two hooks, and remove it to the left side of the product.
- Remove the screw that secures the ground wire (A).
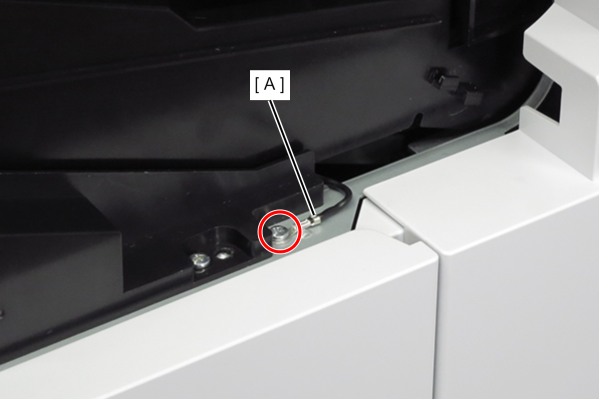
- : 3x8D
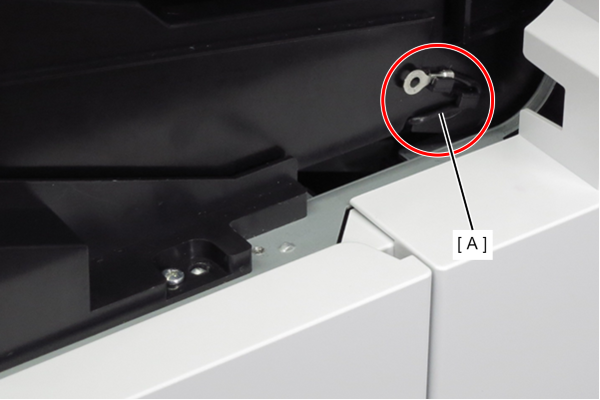
- Route the ground wire (A) around the guide.
- Remove the 4 screws that secure the FD stacker Assy (A).
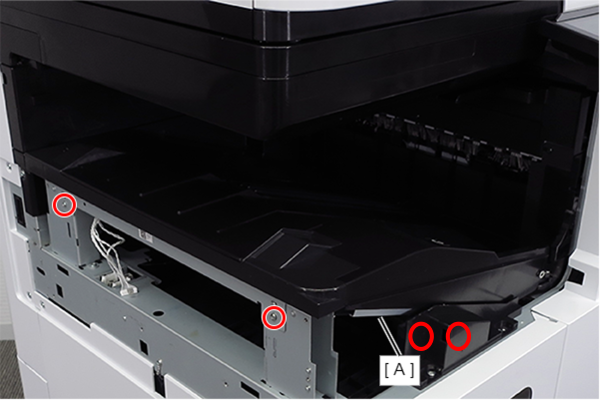
- : 3x8D
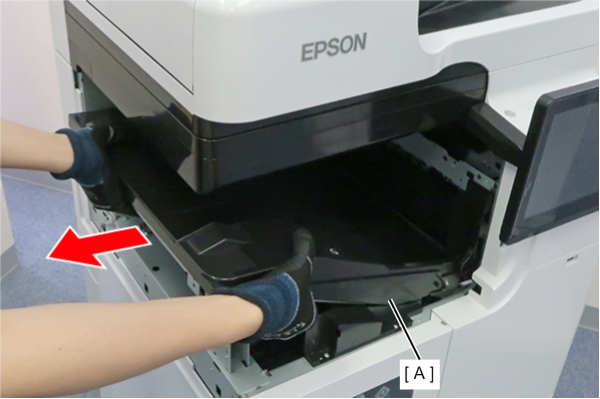
- Hold the position shown in the figure and remove the FD stacker Assy (A).
 Assembly / 組み立て
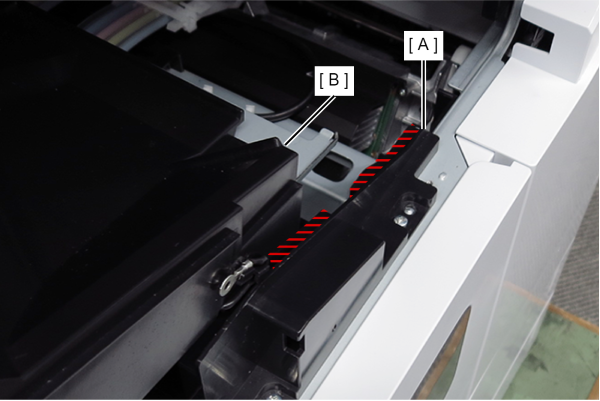
Attach the FD stacker Assy (B) along the rail of the FD stacker guide (A).
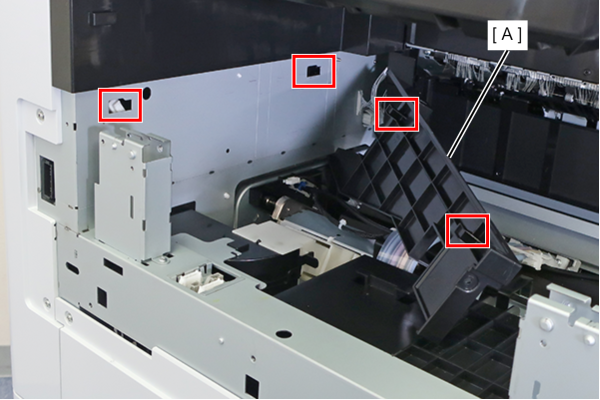
- Remove 1 screw, slide the FD inner cover lower (A) in the direction of the arrow, release the 2 hooks, and remove it.
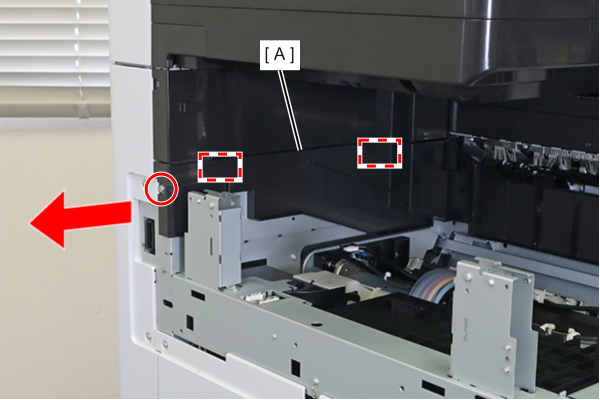
- : 3x8DW
Assembly / 組み立てAlign the 2 hooks with the 2 holes in the body frame, and attach the FD inner cover lower (A).
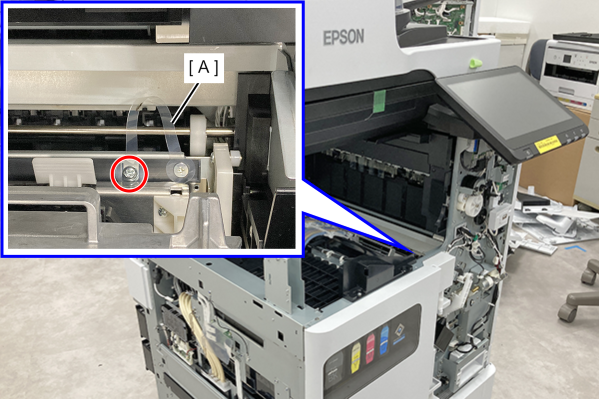
- Remove one screw and remove the transparent film (A).
 Check Point / チェックポイント
The screw is fixed to the transparent film and cannot be completely removed.
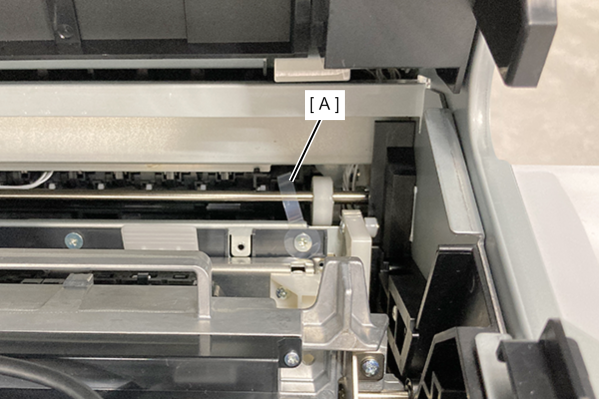
- Retract the transparent film (A) to the position shown in the figure.
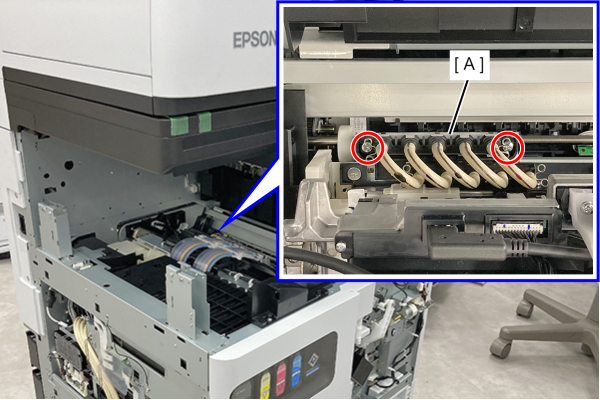
- Remove the two screws that secure the joint (A).
 Check Point / チェックポイント
The screws are fixed to the joint and cannot be completely removed.
- Hold the waste tube clip (A) and remove the joint (B) in the direction of the arrow.
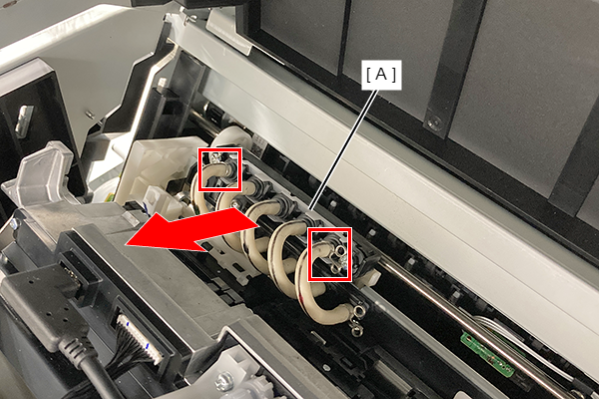 Check Point / チェックポイント
After removing the joint, attach the Cap unit (A) included in the new Cap unit.
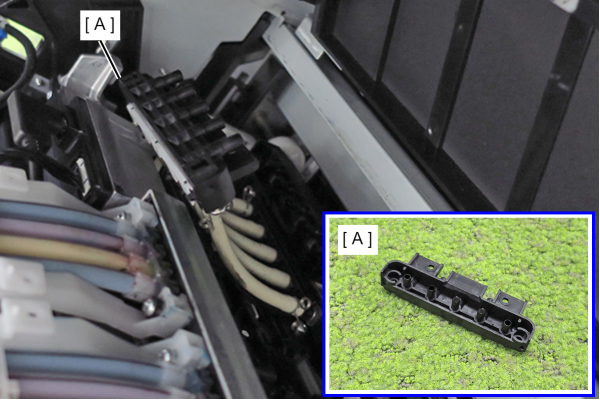
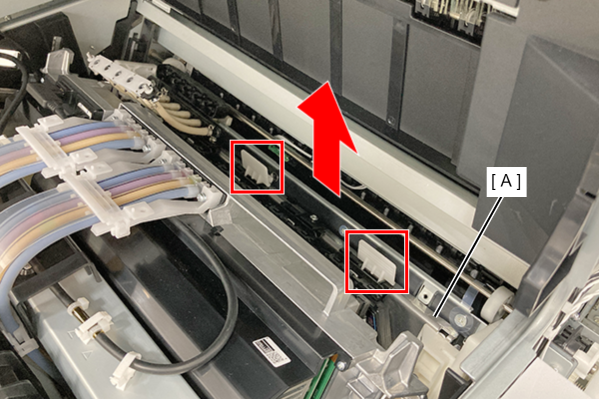
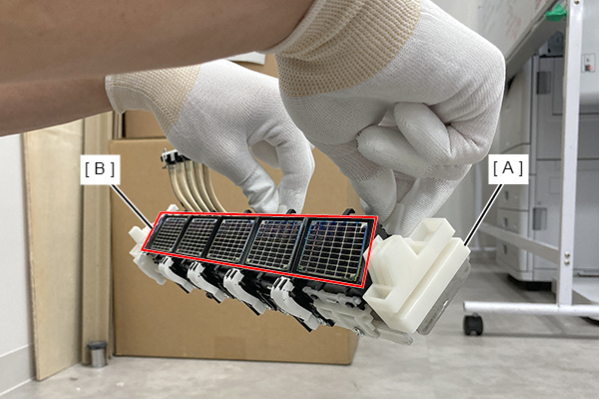
- Hold the position shown in the figure below and lift the Cap unit (A) upward.
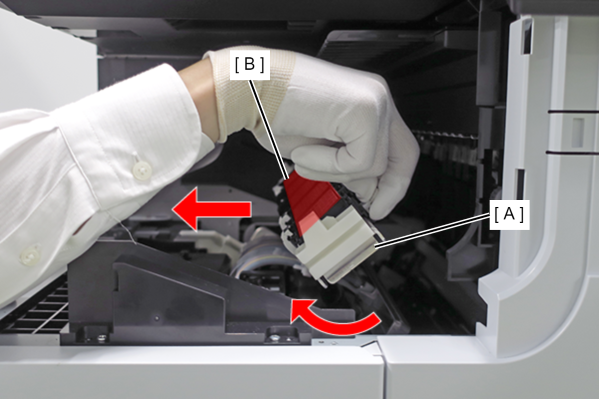
- With the cap surface (B) of the Cap unit (A) facing up, remove it while being careful not to tilt it.
 Caution / 注意
Do not turn the cap surface (B) of the Cap unit (A) downward or tilt the Cap unit, as ink may drip.
 Assembly / 組み立て
Attach the Cap unit (A) by aligning the recess (B) with the rib (C).