
SDL Paper Bundle Lifting Drive Motor
- Refer to the following and remove the floor finisher from the printer main unit.
Floor Finisher Installation Procedure
 Caution / 注意
- When disconnecting the Floor Finisher from the Main Unit, the power of the Main Unit must be turned off.
- Refer to the following and remove the SDL Unit from the floor finisher.
Saddle Unit Installation Procedure
Caution / 注意- When disconnecting the Saddle Unit from the Floor Finisher Unit, the power of the Main Unit must be turned off.
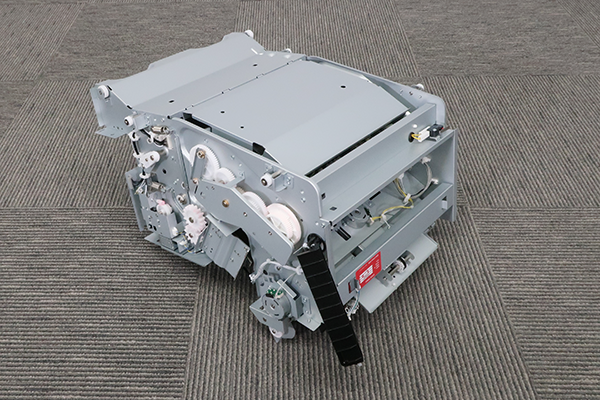
- Turn over the saddle stitching unit so that the bottom of the saddle stitching unit faces up.
- Remove the two screws securing the main board cover plate (A).
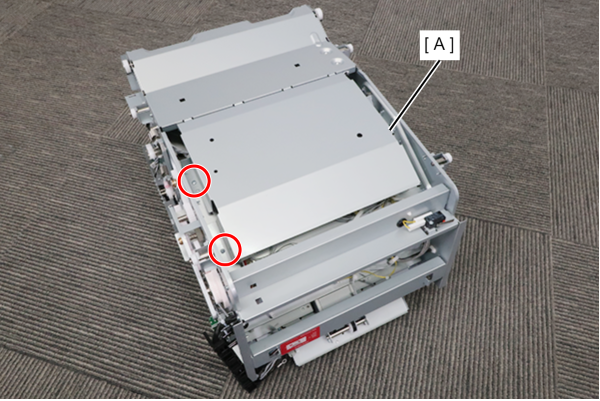
 : 3x8D
- Remove the 2 screws and remove the main board cover plate (A).
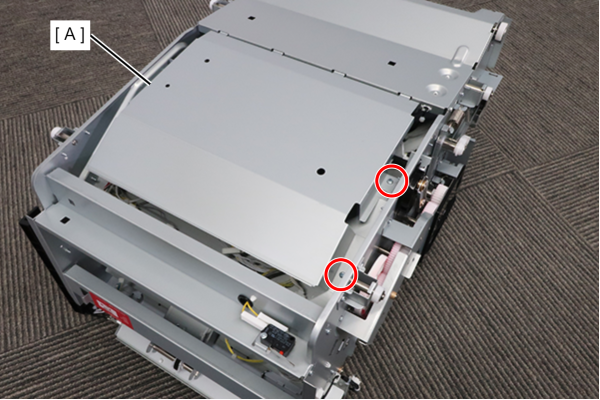
- : 3x8D
 Assembly / 組み立て
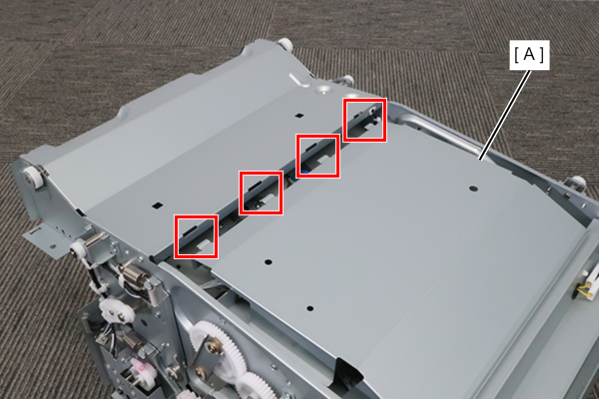
Attach the main board cover plate (A) by inserting the four tabs into the holes.
- Remove 1 screw and remove the SDL Tray Sensor Assy (A).
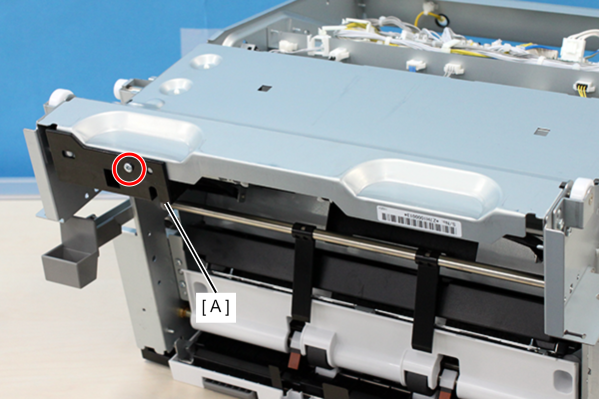
- : 3x8D
- Remove the 4 screws securing the Lower Plate (A).
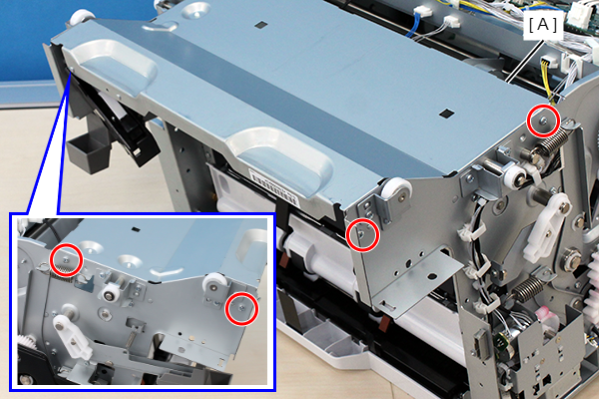
- : 3x8D
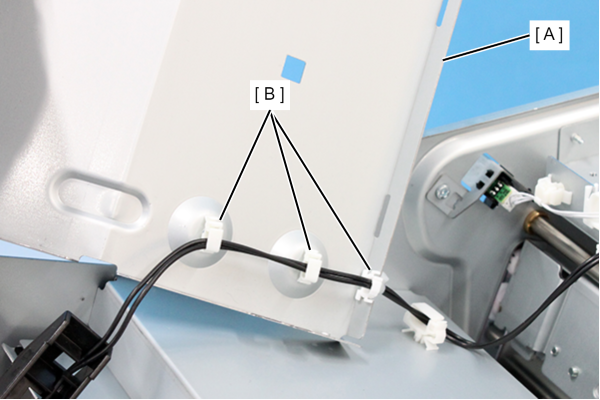
- Release the cables from the 3 clamps (B) on the rear side of the Lower Plate (A) and remove the Lower Plate.
- Remove the cable from the connector (A), and remove the 2 screws that secure the SDL Paper Bundle Lifting Drive Motor (B).
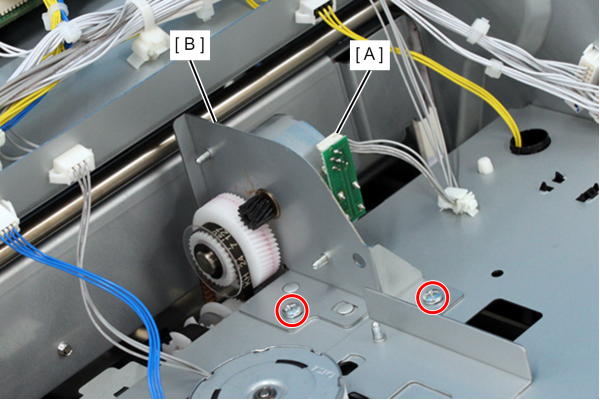
- : 3x8D
- Remove the timing belt (B) from the gear (A), and remove the SDL Paper Bundle Lifting Drive Motor Assy (C).
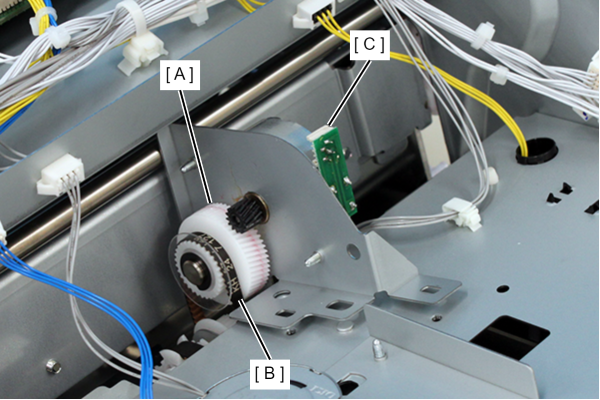
- Remove 2 screws and remove the SDL Paper Bundle Lifting Drive Motor (A).
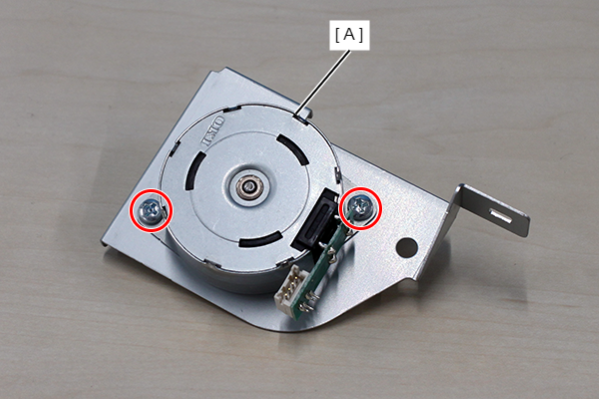
- : 3x8D