Connector Cover ID:912
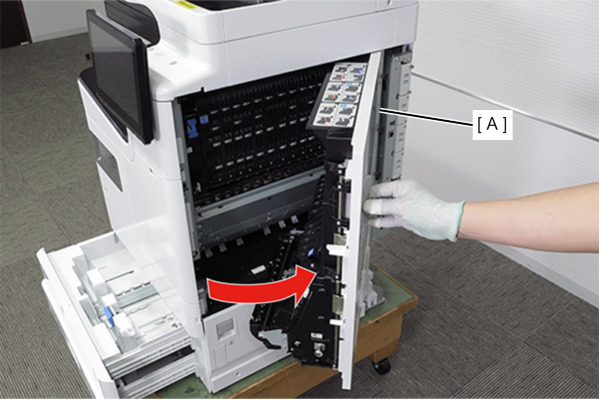
- Pull the lever to open the Right Door Unit (A).
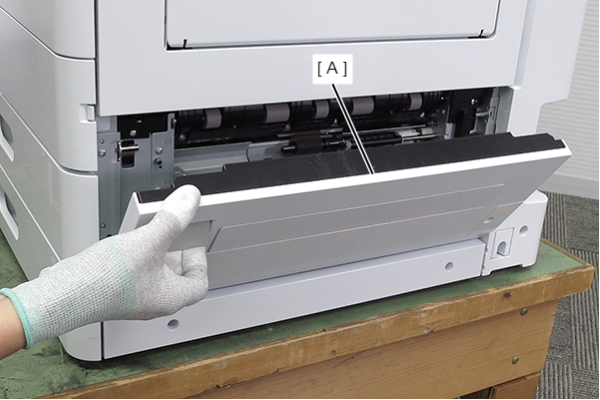
- Pull the lever to open the main unit paper feed cover (A).
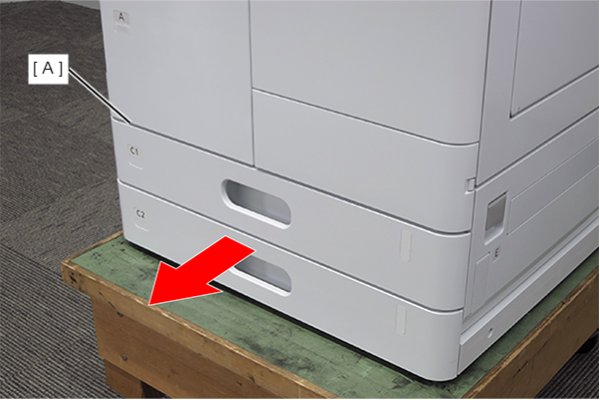
Remove the C1 cassette (A).
 Assembly / 組み立て
The corresponding cassette can be replaced with another cassette.
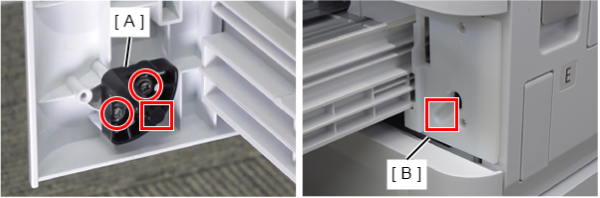
In that case, follow the steps below.- Loosen the two screws on the dial (A) and align the groove on the bearing (B) with the dowel on the dial (A).
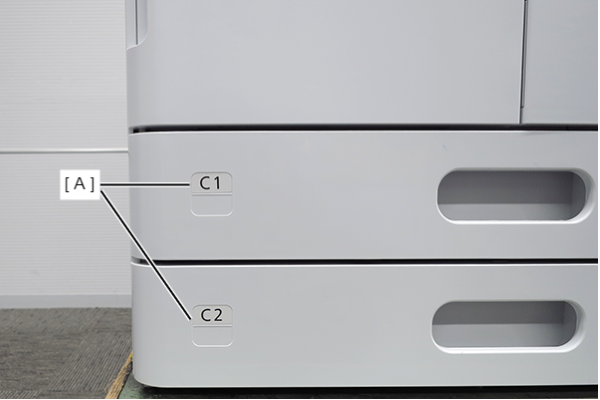
- Replace the label (A) on the cassette.
- Loosen the two screws on the dial (A) and align the groove on the bearing (B) with the dowel on the dial (A).
- Raise the cover (A).
- Remove 1 screw and remove the Connector Cover (B).
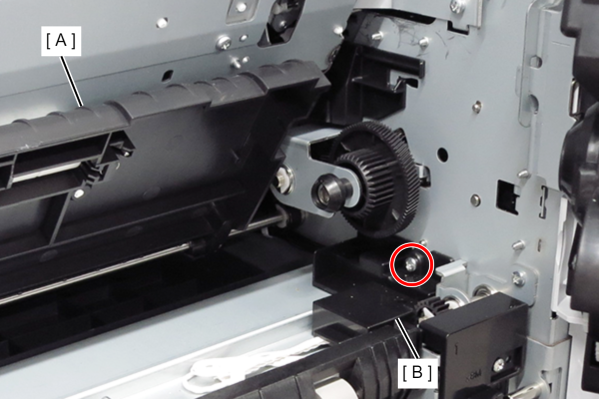
 : 3x8D
- Remove the 2 screws.
- Slide the connector cover (A) in the direction of the arrow to release the hook and remove it.
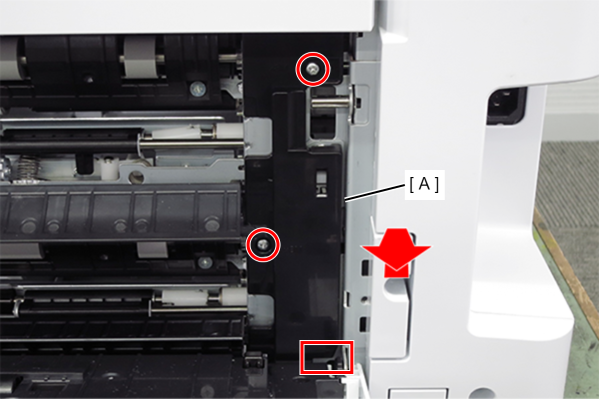
- : 3x8D
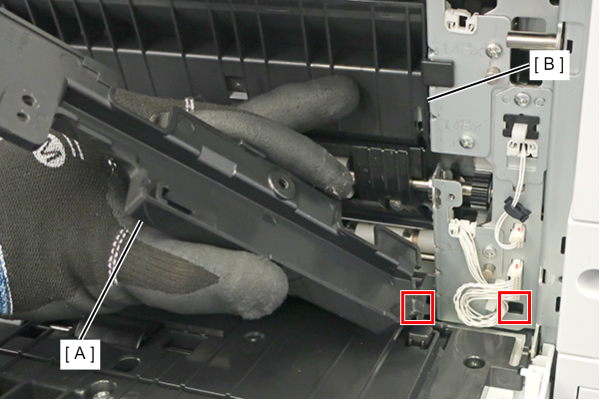
Assembly / 組み立てInsert the hook of the connector cover (A) into the hole in the main unit, and attach it while holding the paper feed guide (B).