Additional left Cover
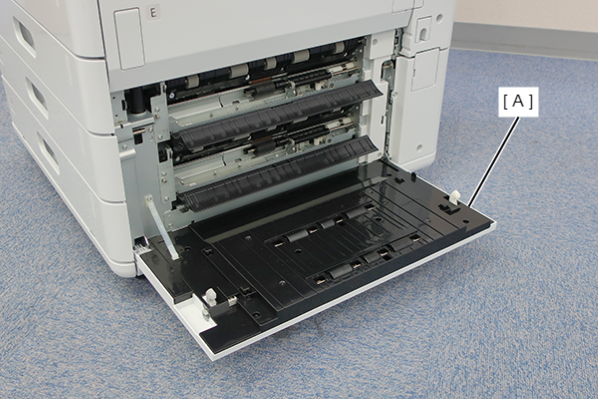
- Open the additional cassette paper feed cover (A).
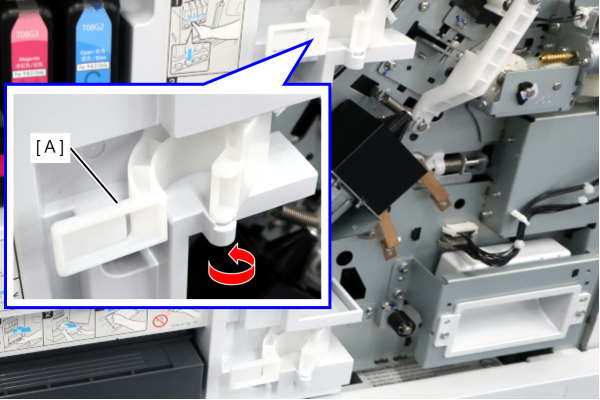
- Release the hook with a flathead screwdriver, etc., and remove the Additional Right Decorative Cover Rear (A).
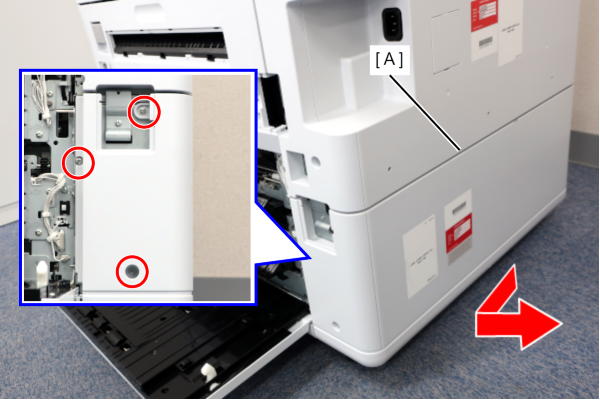
- Remove the 3 screws and remove the Additional Rear Cover (A) in the direction of the arrow.
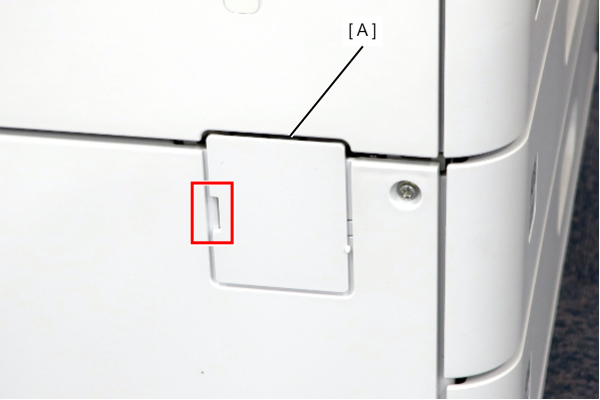
- Release the hook with a flathead screwdriver, etc., and remove the Additional Left Decorative Cover Front (A).
- Release the hook with a flathead screwdriver, etc., and remove the Additional Left Decorative Cover Rear (A).
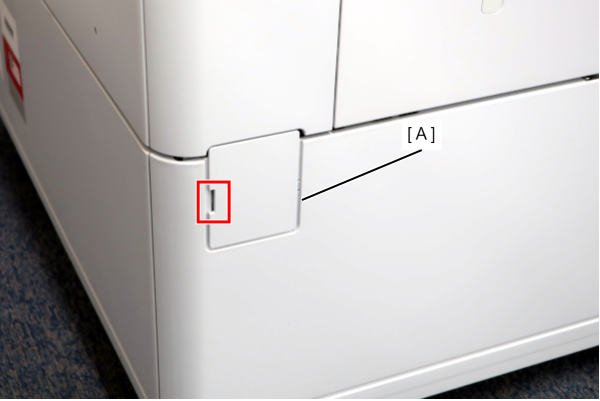
- Refer to the following and remove the Additional Cassette Unit from the printer main unit.
Additional Cassette Unit Installation Procedure
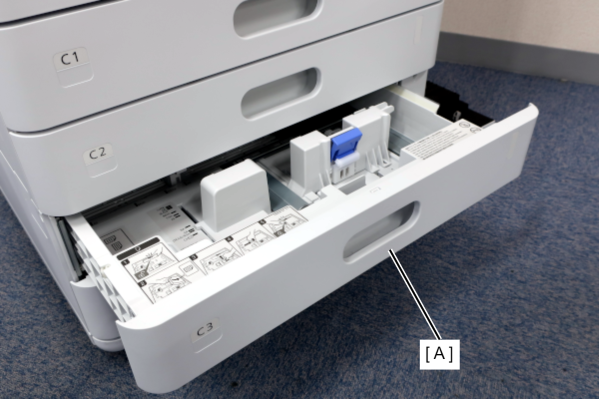
- Pull out the C3 cassette (A). (about 10 cm)
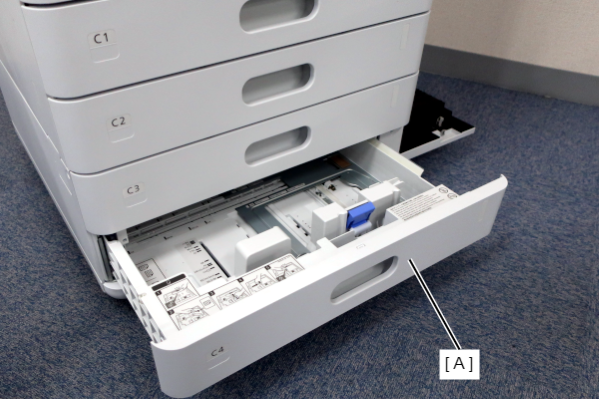
- Pull out the C4 cassette (A). (about 10 cm)
- Remove 5 screws.
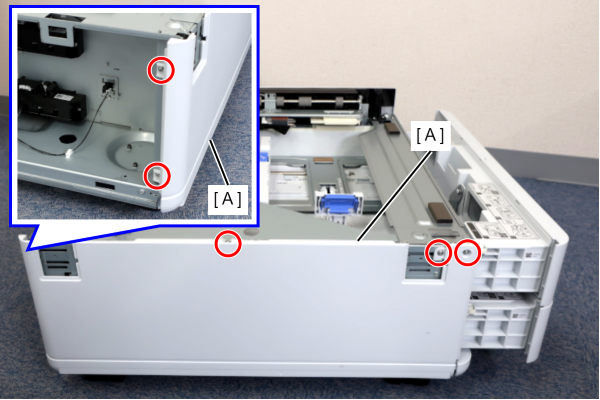
 : 3x8DW/P
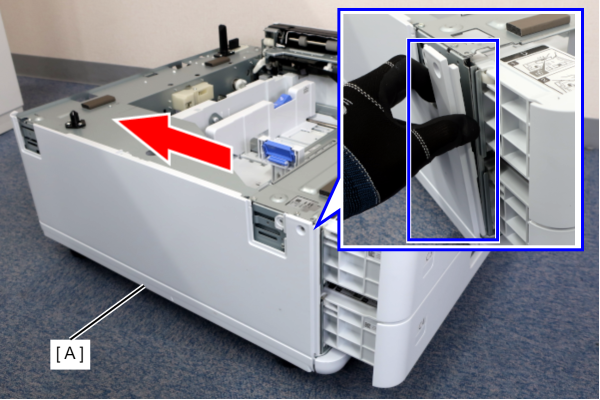
- Remove the Additional Left Cover (A) in the direction of the arrow while avoiding the right edge of the Additional Left Cover (A) and the installed part of the main unit frame.
-
 : 3x10DW/P
