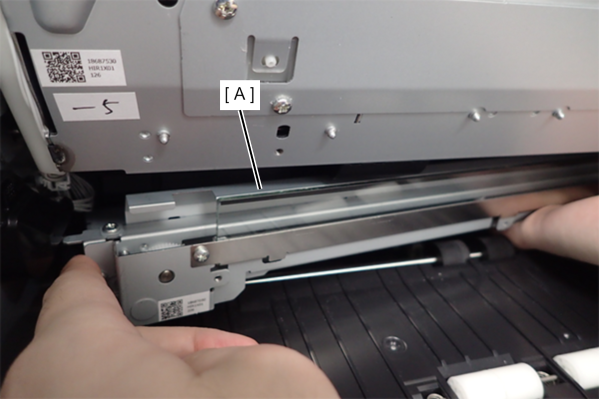
PW Sensor Unit
 Note / 補足 Note / 補足 |
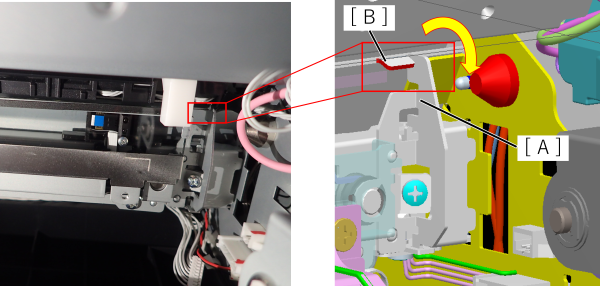
The left and right sides of the PW sensor are fixed with a plate (A) and a protrusion (B) on the main unit frame. When the screws are loosened, the fixed plate rattles, so the protrusion of the main frame and the PW sensor can be released.
|
- Remove the 4 screws and remove the right cover sub (A).
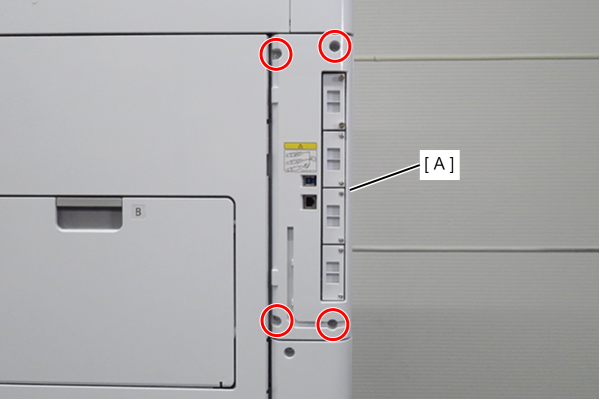
 : 3x10DW
- Remove the 1 screw and remove the right cover sub lower (A).
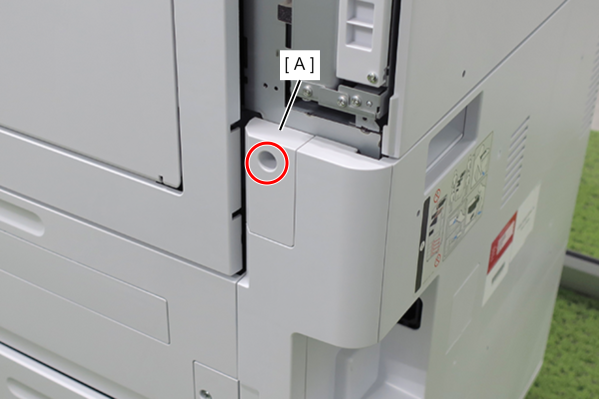
- : 3x10DW
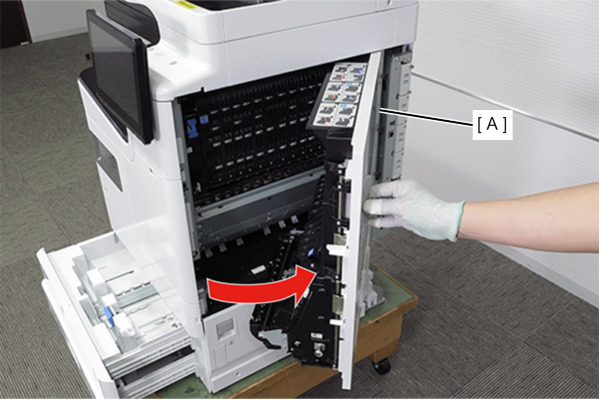
- Pull the lever to open the Right Door Unit (A).
- Remove the 3 screws from the Pre-PW Paper Guide (A).
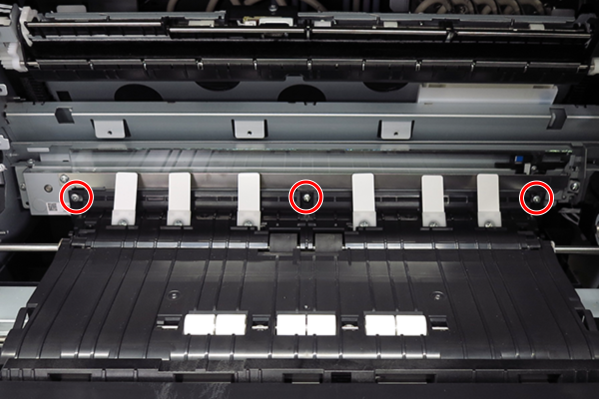
- : 3x5D
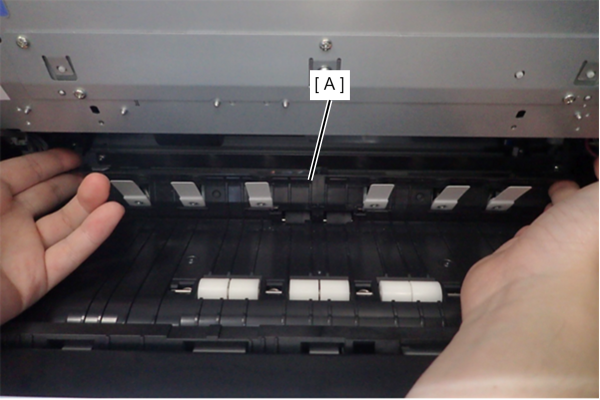
- Tilt the Pre-PW Paper Guide (A) toward you and lift up to remove it.
- Press the hook and remove the connector cover (A).
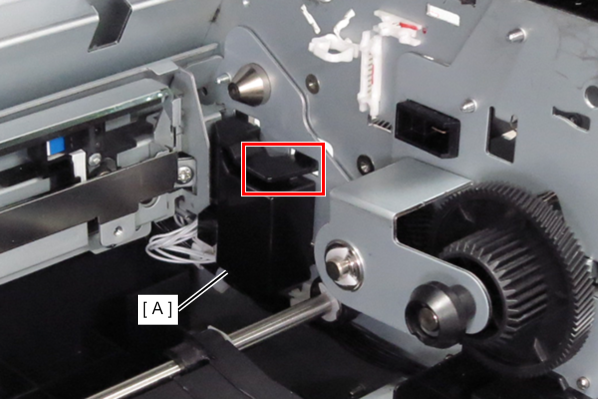
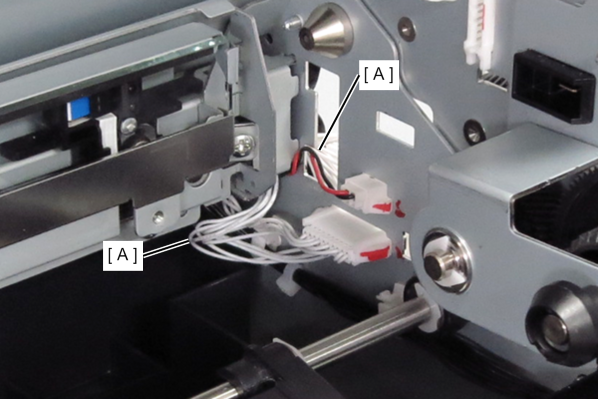
- Remove the two cables (A) from the connectors.
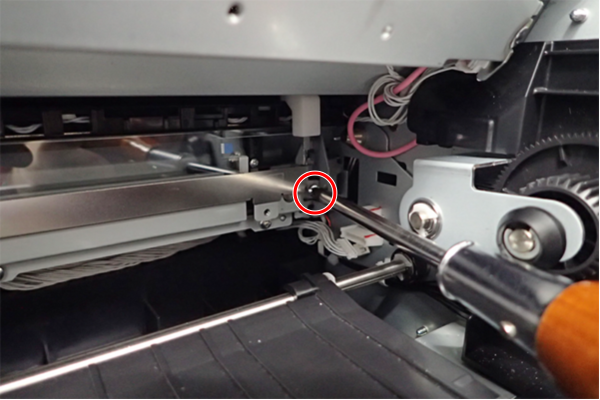
- Loosen one screw. (About 10 rotations.)
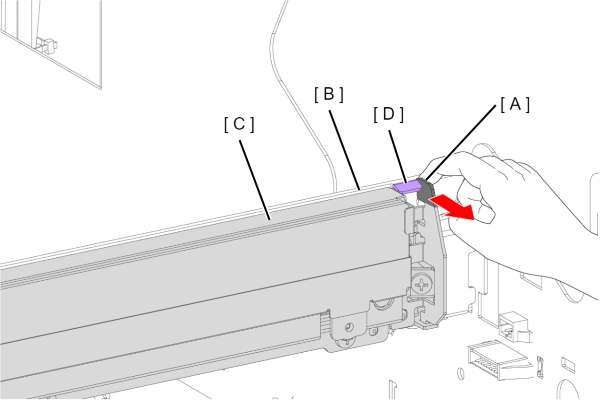
- Insert your finger between the fixing plate (A) and the frame (B).
- Tilt the fixing plate (A) forward and release the PW sensor unit (C) from the tab (D).
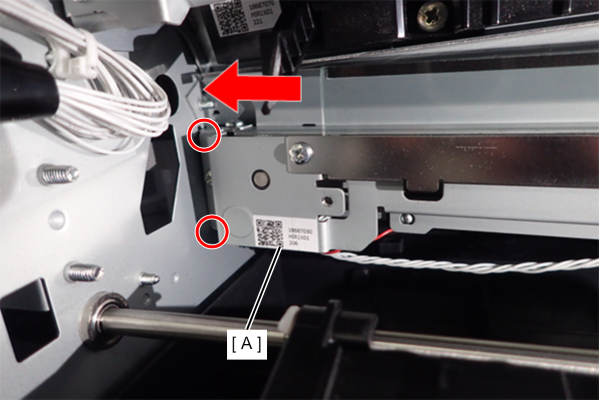
- Slide to the left until the PW sensor unit (A) hits once.
- Insert the right side of the PW sensor unit (A) into the hole (B).
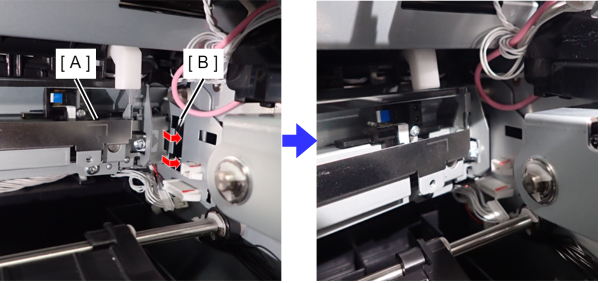
- While pushing the lever (A) toward the back, move the PW sensor unit (B) forward while avoiding the lever (A).
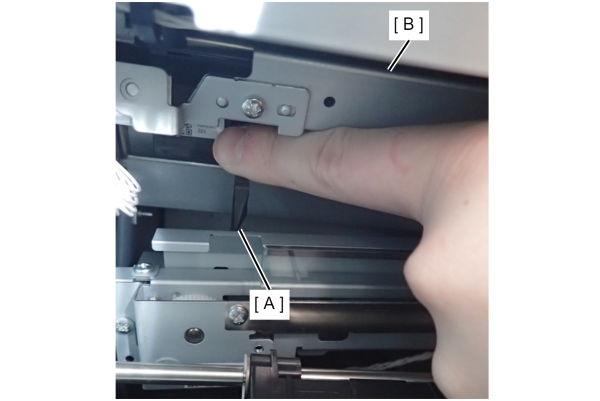
- Remove the PW sensor unit (A) by pulling it forward at an angle.