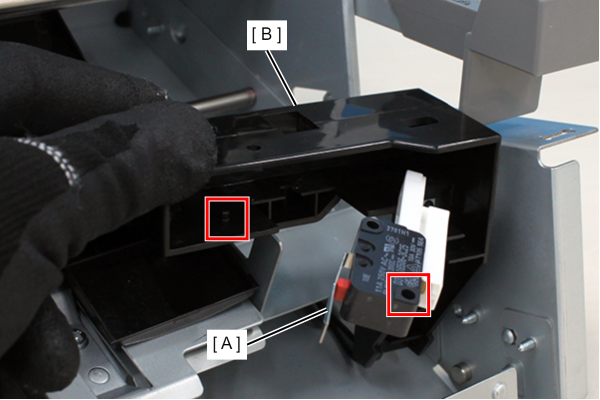
SDL Tray Sensor
- Refer to the following and remove the floor finisher from the printer main unit.
Floor Finisher Installation Procedure
 Caution / 注意
- When disconnecting the Floor Finisher from the Main Unit, the power of the Main Unit must be turned off.
- Refer to the following and remove the SDL Unit from the floor finisher.
Saddle Unit Installation Procedure
Caution / 注意- When disconnecting the Saddle Unit from the Floor Finisher Unit, the power of the Main Unit must be turned off.
- Remove 1 screw and remove the SDL Tray Sensor Assy (A).
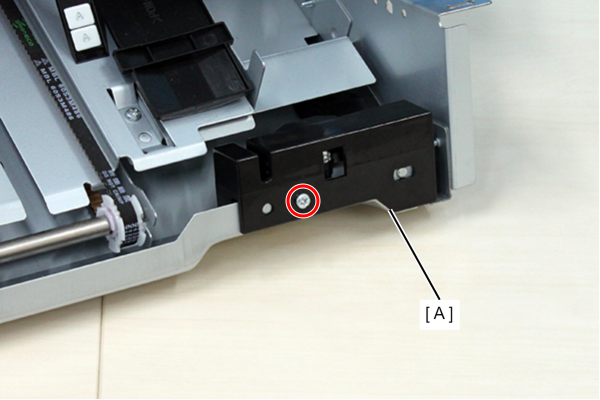
 : 3x8D
- Remove 1 screw and remove the SDL Tray Sensor (A).
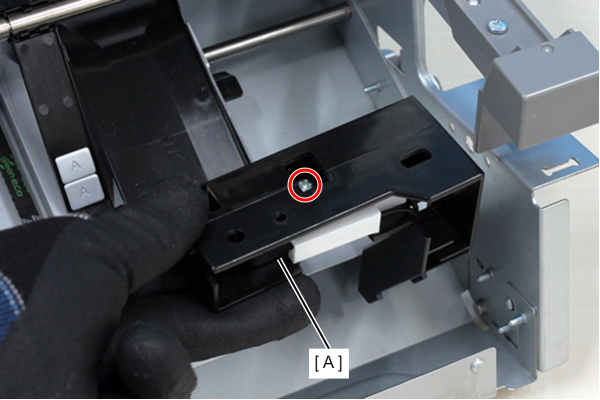
- : 3x16D
-
Caution / 注意
The screw that secures the SDL Tray Sensor (A) is tightened to the plate (B).
This metal is not fixed and can easily fall when the screws are removed, so be careful not to lose by dropping it.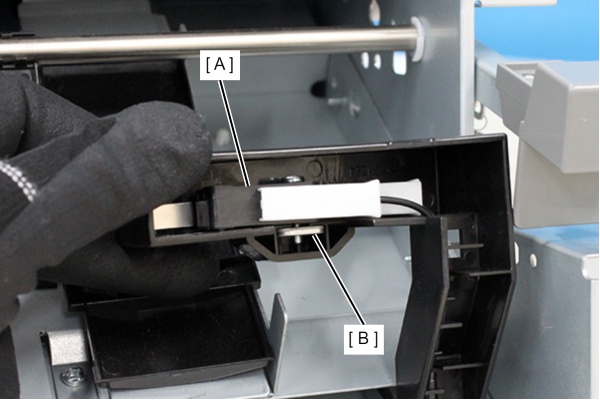
- Disconnect the connector (A) and remove the SDL Tray Sensor (B).
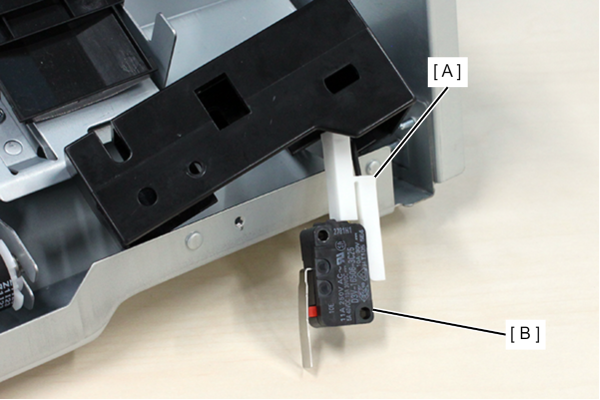
 Assembly / 組み立て
Align the positioning hole of the SDL Tray Sensor (A) with the dowel of the case (B) and attach it.