
6040202 Punch Hole Position Adjustment Sub-Scanning Direction_1
Adjust the punching position of the punch unit with respect to the paper transport direction.
 Check Point / チェックポイント Check Point / チェックポイント |
The punch hole standard position differs depending on the model of the punch unit.
|
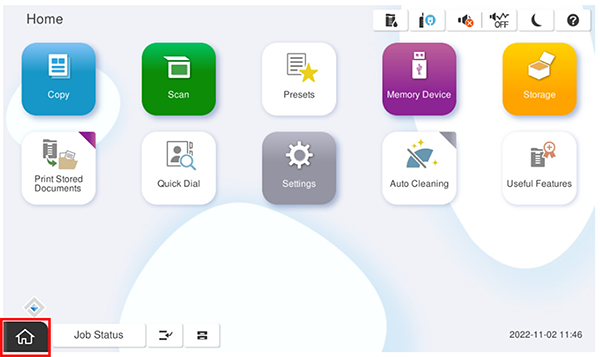
- Start the service support mode.
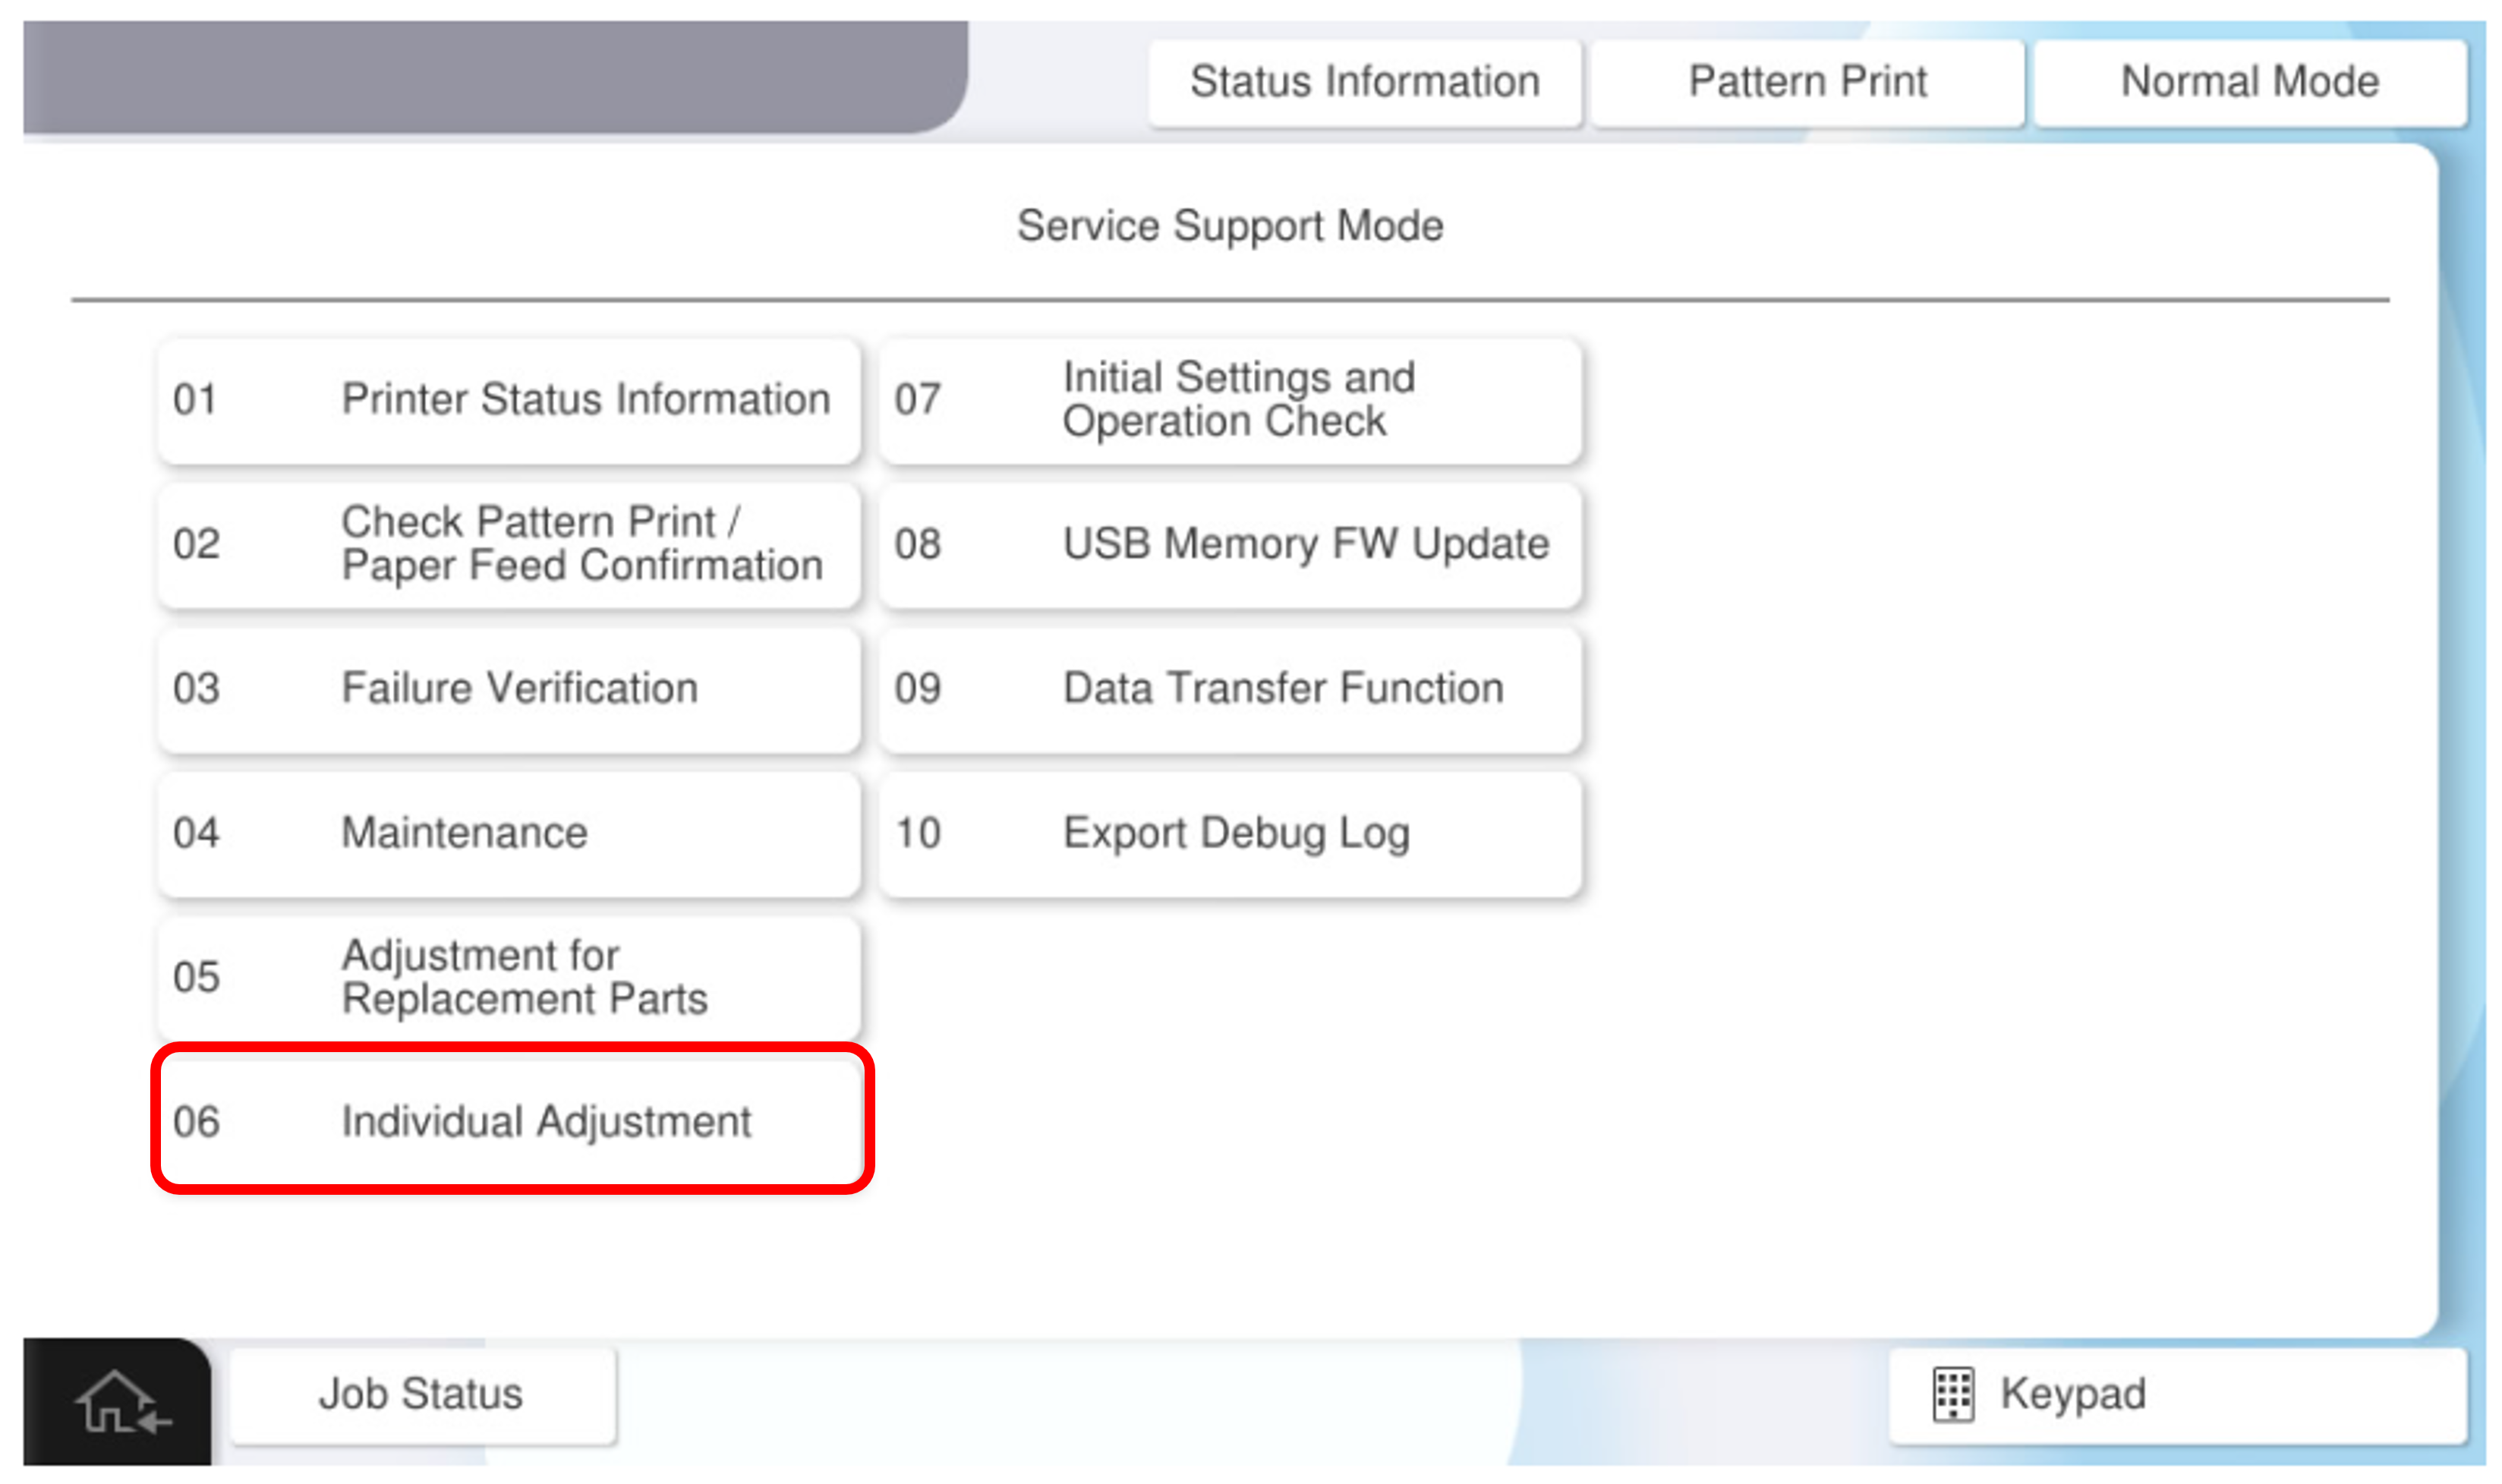
- Select [06 Individual Adjustment].
- Select the [Floor Finisher] tab.
Select [6040202 Punch Hole Position Adjustment Sub-Scanning Direction].
Press [Pattern Print].
- Press each setting item button to make the print settings.
The parameters that can be set are as follows.Check Point / チェックポイントOne sheet of paper is required to output the adjustment pattern.
Setting Items Selection Feed Tray C1, C2, C3, C4, Paper Tray, High Capacity Unit Available Paper Sizes A4 (Vertical), Letter (Vertical)  Caution / 注意
Make sure the paper orientation is as specified (LEF/Vertical).
If the orientation is different from the specifications (SEF/Horizontal), the paper will be ejected without being processed correctly and the operation cannot be checked.
- Press [Execute] to output the adjustment pattern.
- Measure the distance (#1, #2) between the paper rear end edge of the adjustment sample and center position of the left and right holes.
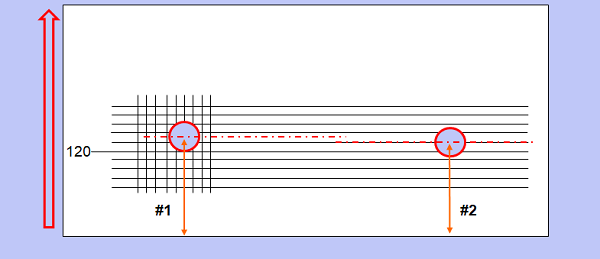
Convert the measurement results #1 and #2 to adjustment values.
Check Point / チェックポイント- Adjustment value calculation method: Adjustment value = Measurement result x 10
Example) When the measurement result is 15.5 mm Adjustment value = 155
- Adjustment value calculation method: Adjustment value = Measurement result x 10
Press [#1] and [#2] and enter the adjustment values #1 and #2.
Check Point / チェックポイント- Adjustment input range: 60 to 180 (6.0mm to 18.0mm) * Values outside the adjustment value input range cannot be entered.
Press [Pattern Print] , reflect the adjustment value and out put an adjustment sample.
Check the adjustment sample, and if the result is improved, press the [Close] to finish the adjustment. If it is not improve, continue the adjustment.