
Inner Bridge Serrated Roller
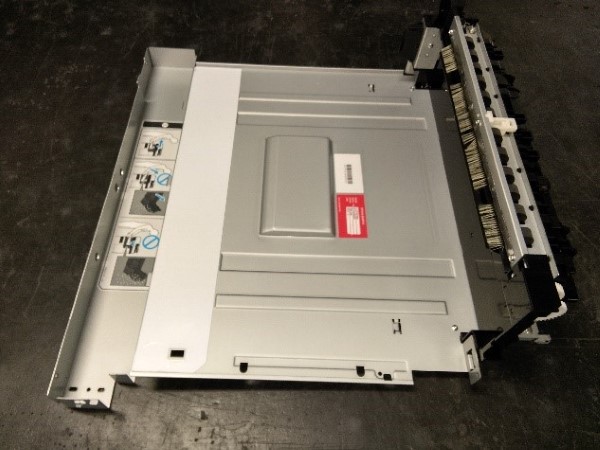
Position
- Remove the Inner Bridge Unit from the main unit (Inner Finisher Installation Procedure)
- Remove 1 screw and remove the drawer connector (A). At that time, release the cable from the harness guide.
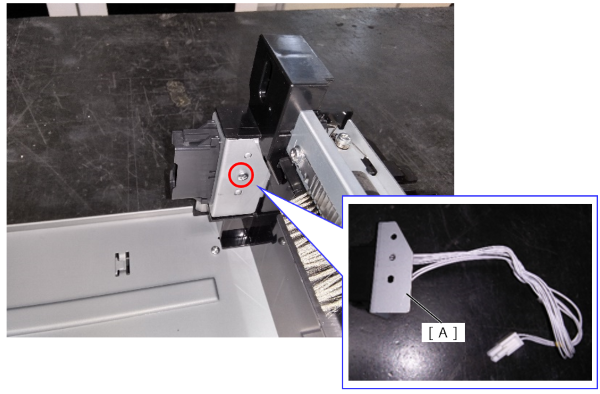
 : 3x8D
- Remove 1 screw and remove the Rear Cover (A).
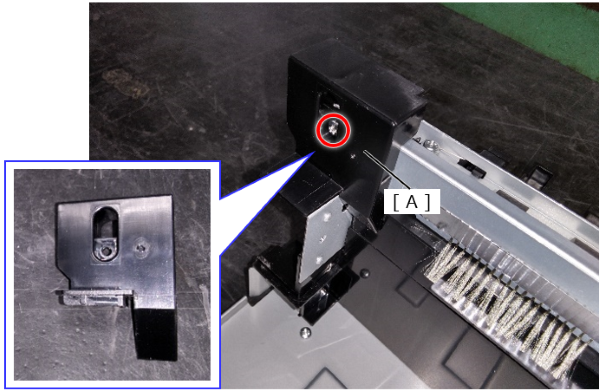
- : 3x8D
- Remove 1 screw and remove the Front Cover (A).
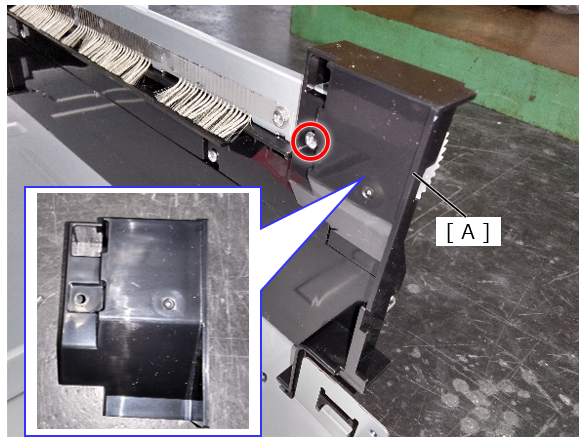
- : 3x8D
- Remove 1 screw and remove the middle support parts (A).
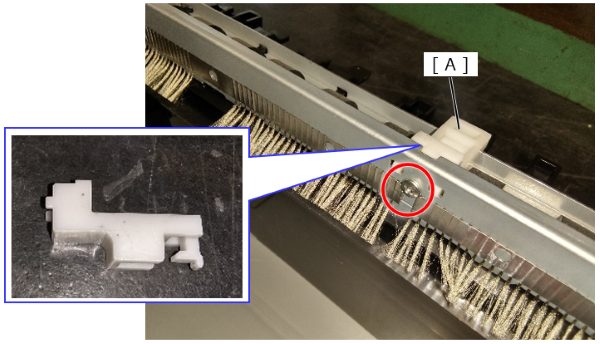
- : 3x10T
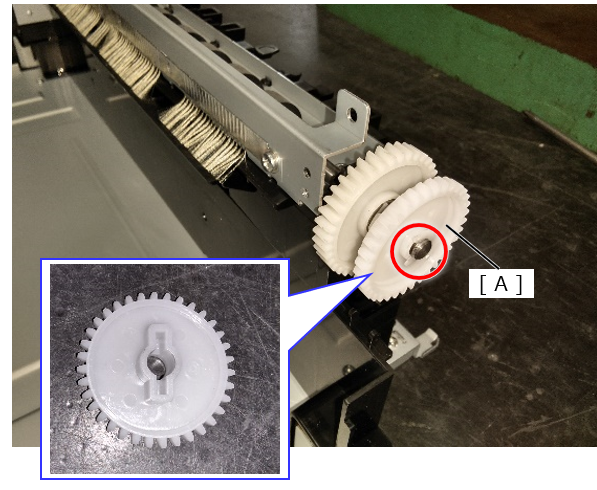
- Remove the E-ring and parallel pin, and remove the knob gear.
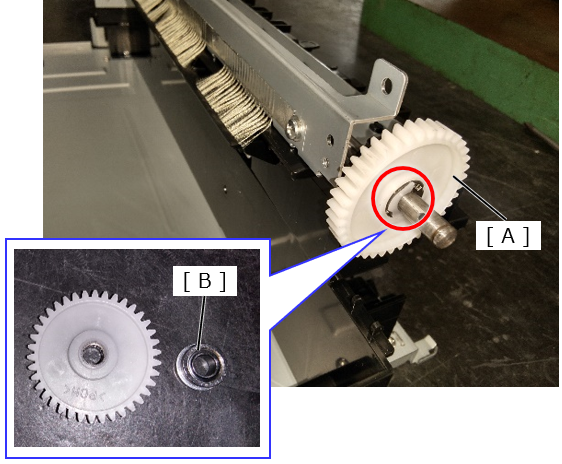
- Remove the E-ring and remove the drive gear (A) and bearing (B).
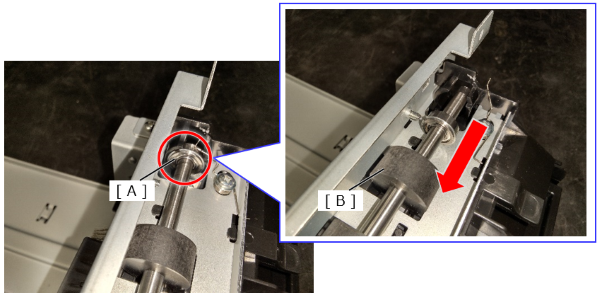
- Slide the rear bearing (A) and remove the roller (B).
 Check Point / チェックポイント
- After sliding the roller to the front side while the whole roller is floating, lift the rear side of the roller up and remove.
- Remove the 3 screws and remove the torsion spring (A). After that, while lifting the front side of the inner bridge paper guide (B), slide forward to remove.
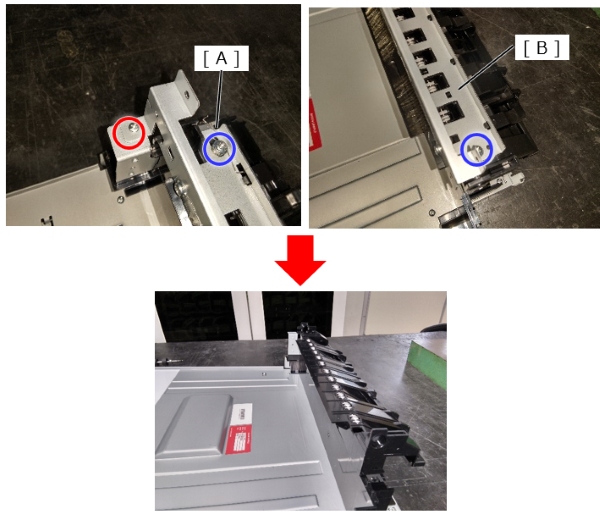
- : 3x8D
 : 3x8TW
 Assembly / 組み立て
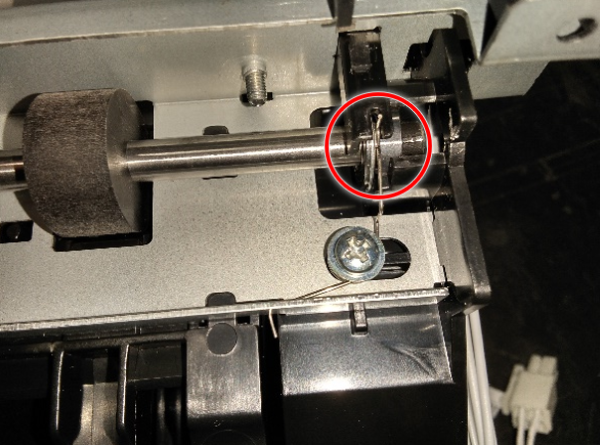
- Install the tip of the torsion spring (A) in place.
- Clean the inner bridge serrated roller.
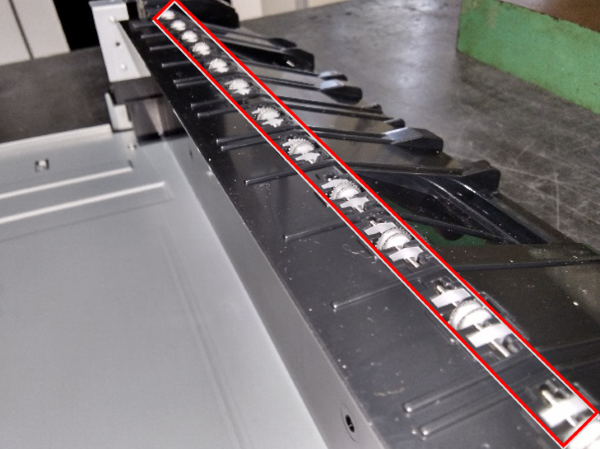
Cleaning method
Wet the cleaning sponge with water and clean in the same direction as the roller rotates.
If the cleaning sponge becomes dirty, use another side.