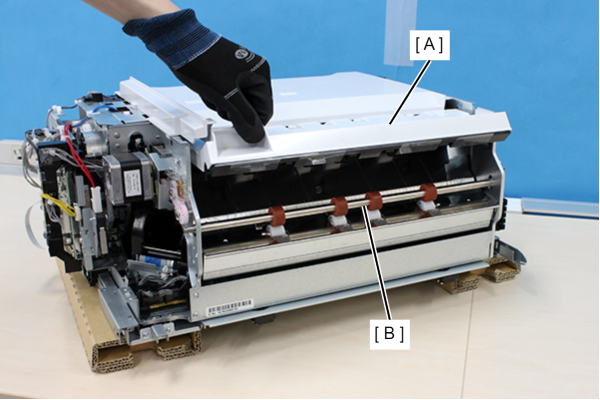
Paper Feed Roller
- Refer to the following and remove the inner finisher from the printer.
Inner Finisher Installation Procedure
 Caution / 注意
- When disconnecting the Inner Finisher Unit from the Main Unit, the power of the Main Unit must be turned off.
- Remove the two screws and remove the tray assembly (A).
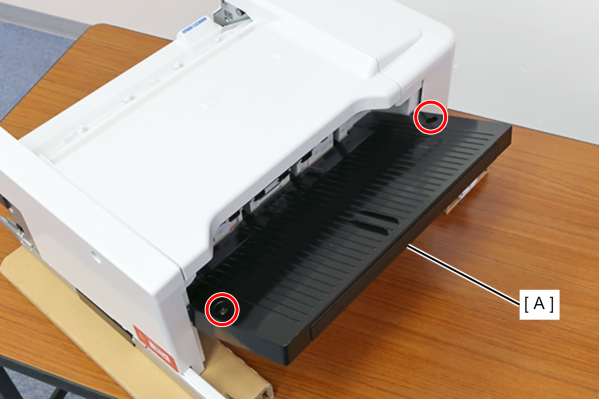
 : 4x8DC/BK/P
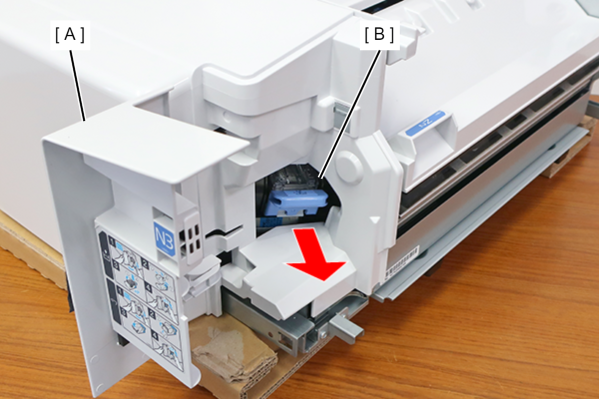
- Open the cartridge cover (A) and remove the Staple Cartridge (B).
- Remove 1 screw of the Housing Front (A).
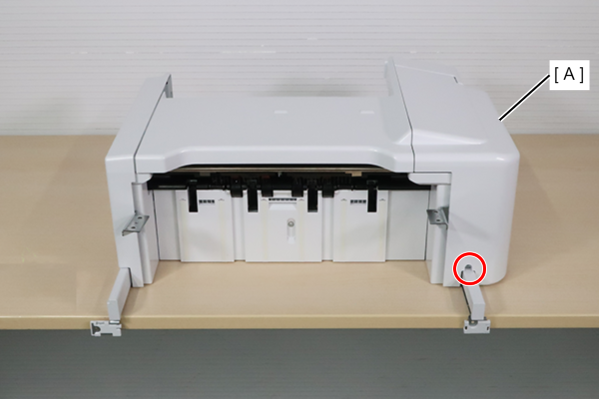
- : 3x8DC
- Open the cartridge cover (A) and remove the screw securing the Housing Front.
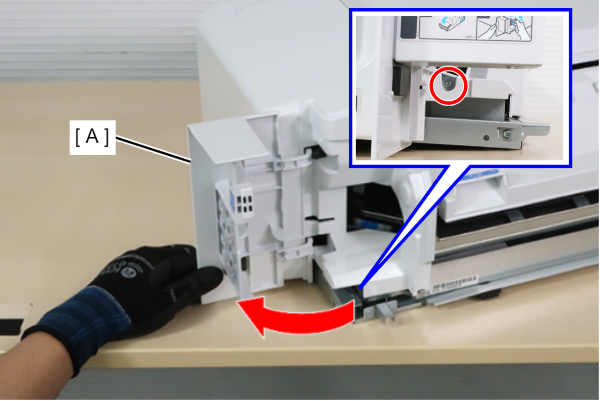
- : 3x8DC
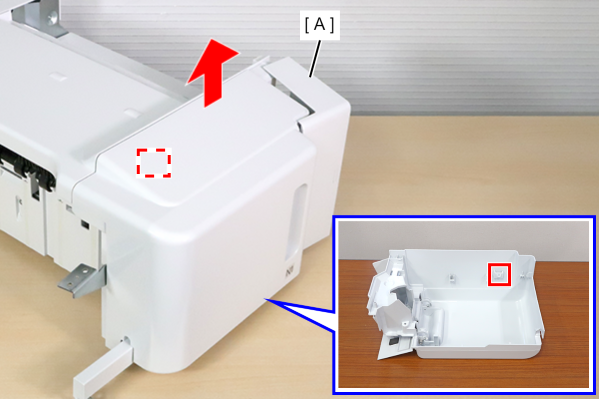
- Lift the Housing Front (A) to unhook.
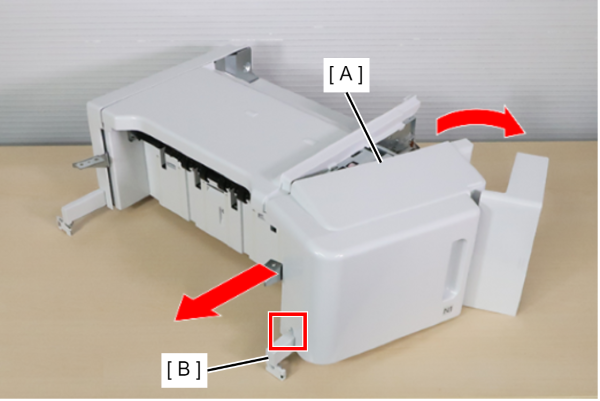
- Open the right side of the Housing Front (A) and slide it to the left to remove the interference with the rail (B) and remove the Housing Front (A).
 Check Point / チェックポイント
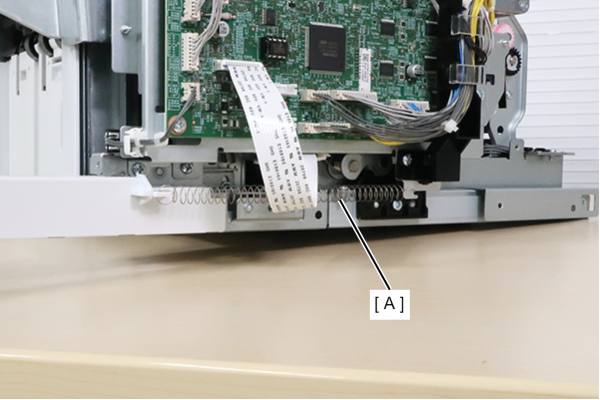
Be careful the Housing Front (A) can easily get caught by extension spring on the inside.
 Assembly / 組み立て
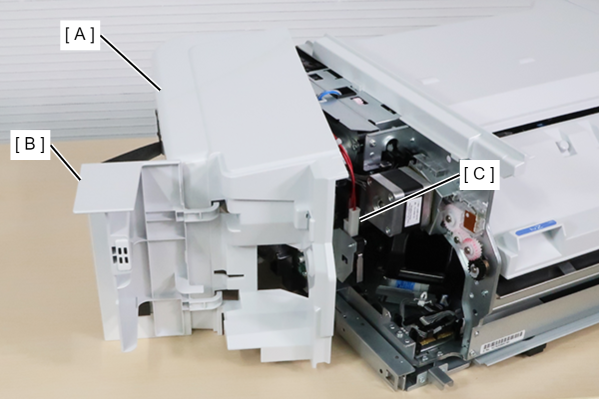
Install the Housing Front (A) with the cartridge cover (B) opening. The protrusion inside the cartridge cover (B) may contact the cover open sensor (C) and damage it.
- Remove 2 screws of the Housing Rear (A).
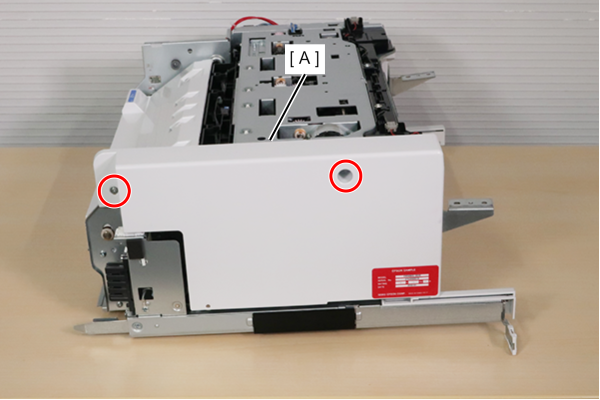
- : 3x8DC
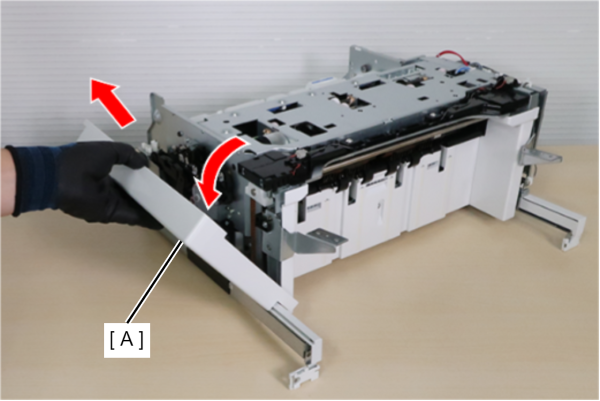
- Open the upper side of the Housing Rear (A) and lift it diagonally upward to remove it.
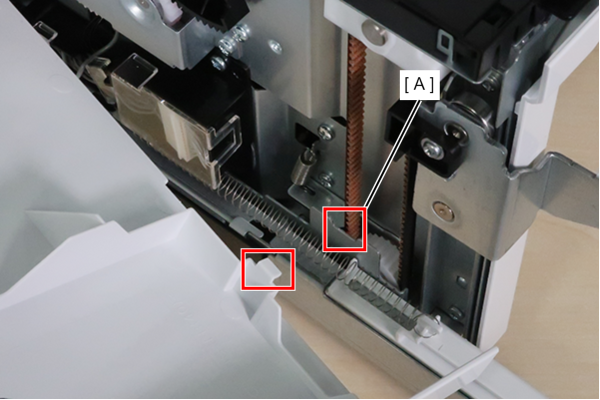
 Assembly / 組み立て
Install the Housing Rear by hooking the inner hook to the frame (A).
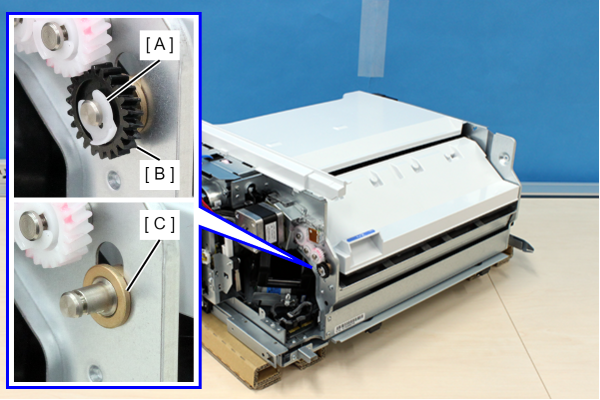
- Remove the E-ring (A) on the front side, and remove the gear (B) and bush (C).
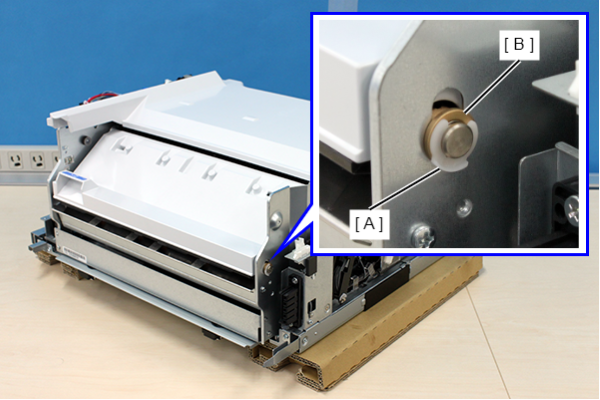
- Remove the E-ring (A) on the rear side and remove the bush (B).
- Remove the Paper Transport Roller (B) while lifting the Upper Paper Feed Assy (A).