
Initial Setting
After turning on the power, set the main unit from the panel according to the following steps.
 Note / 補足 Note / 補足 |
|
Configure the Language / Date / Time/Original Size Auto Detection Option
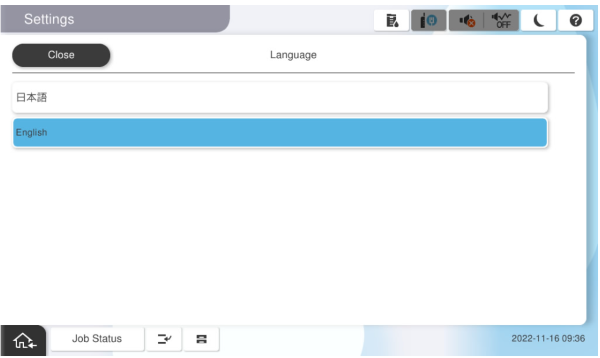
- Select the language to be used.
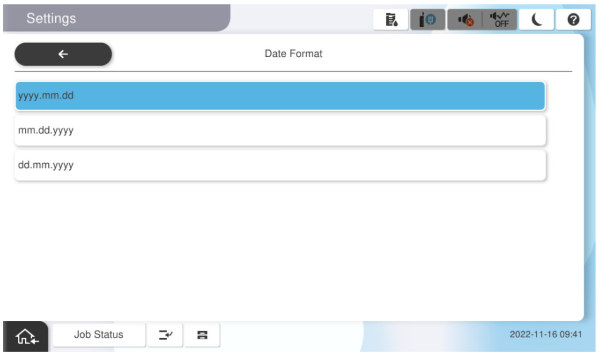
- Select the date and time display format.
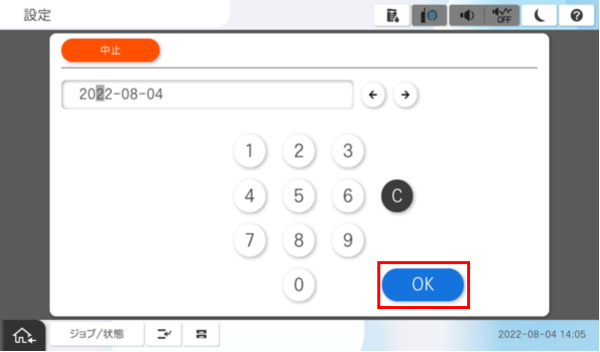
- Input the year, month and day then press [OK].
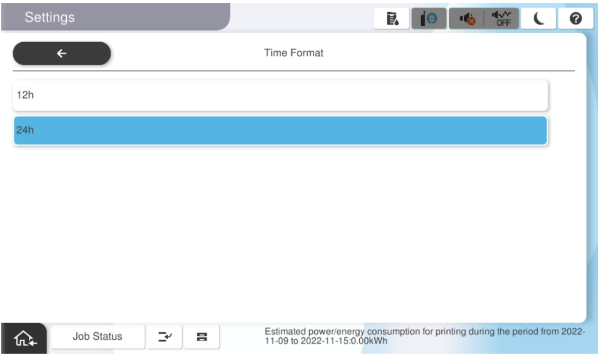
- Select the time display format.
- Input the time and press [OK].
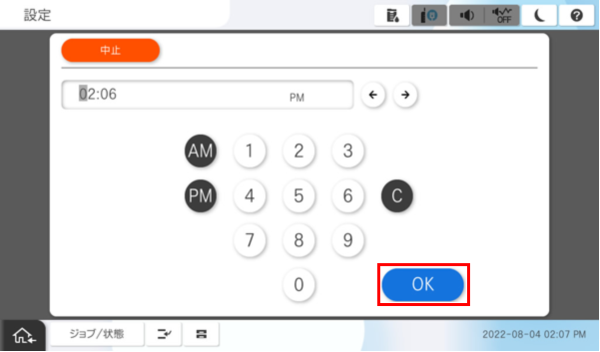
- Select the [Original Size Auto Detection Option].
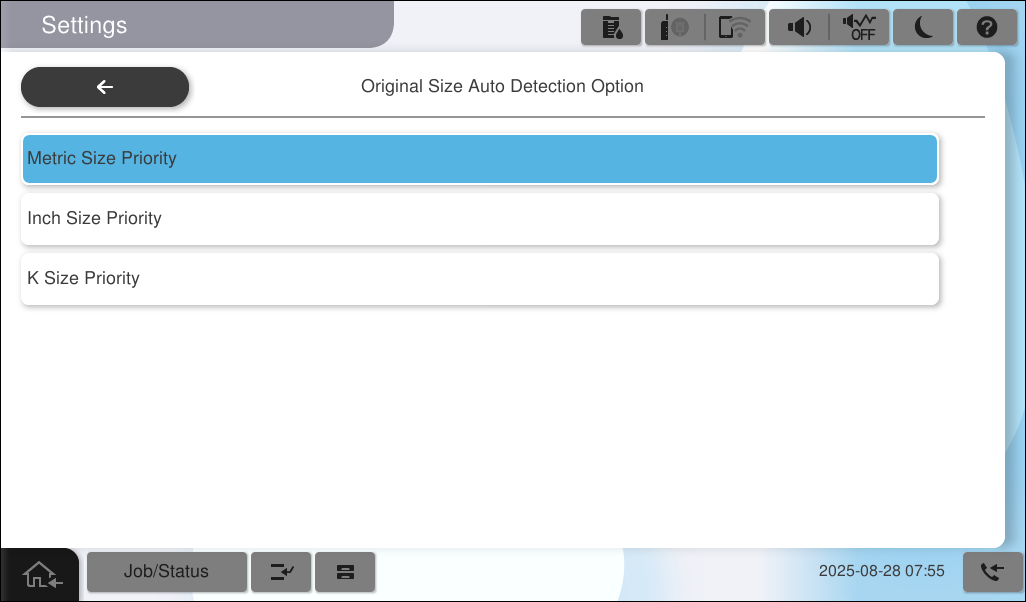
Initial Ink Charging
 Caution / 注意 Caution / 注意 |
|
After the time setting is completed, an ink cartridge mounting instruction screen is displayed. Perform the initial ink charging according to the following steps.
- Remove the ink cartridges from the boxes and shake them about 10 to 15 times.
Remove the ink cartridge from the transparent bags.
Note / 補足The ink cartridges are packaged in two types of bags.
-
- Inner bag: Airtight bag (tear open from the notch).
- Outer: PE bag (the bag ends are open, and the ink is initially charged in the individual box when folded.)
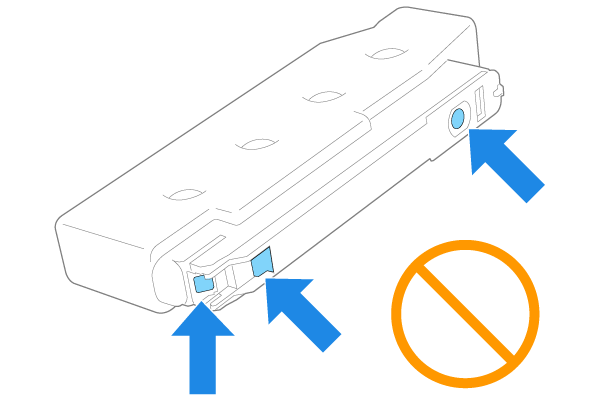
Caution / 注意Do not touch the parts shown in the figure below, as this may cause malfunction or ink adhesion.
-
Open the ink cartridge cover on the product and install the 4 ink cartridges (AM-M5500 is BK only).
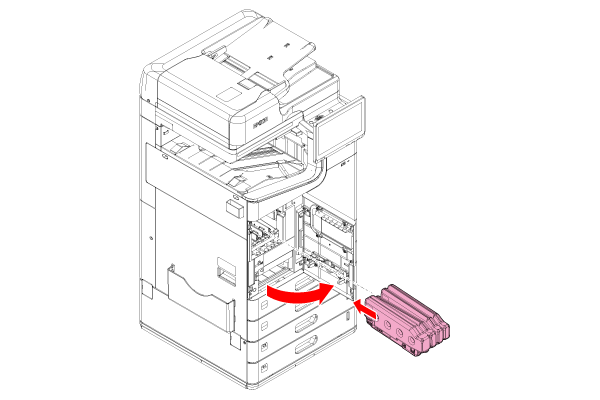
Close the ink cartridge cover and execute the initial ink charging according to the guidance on the operation panel. (Initial ink charging time: about 10 minutes.)
 Prohibition / 禁止事項
The following works and operations are prohibited during the initial ink charging.
-
- Power OFF
- Opening and closing covers (however, paper can be set in cassettes C1 to C4).
- Removing the ink cartridges.
- Connecting USB and LAN cables.
Note / 補足The initial ink charging is executed according to the following flow.
-
- The initial ink charging operation starts.
- The printer restarts (screen off).
- The screen goes dark or goes out temporarily.
- This is a normal operation, wait.
- Initial ink charging is executed (initial ink charging execution screen).
-