
60301 FIN Install Position Adjustment (H/W)
- Remove the floor finisher from the printer.
Floor Finisher Installation Procedure Check Point / チェックポイント
Remove only the floor finisher, do not remove floor bridge unit A and floor bridge unit B.
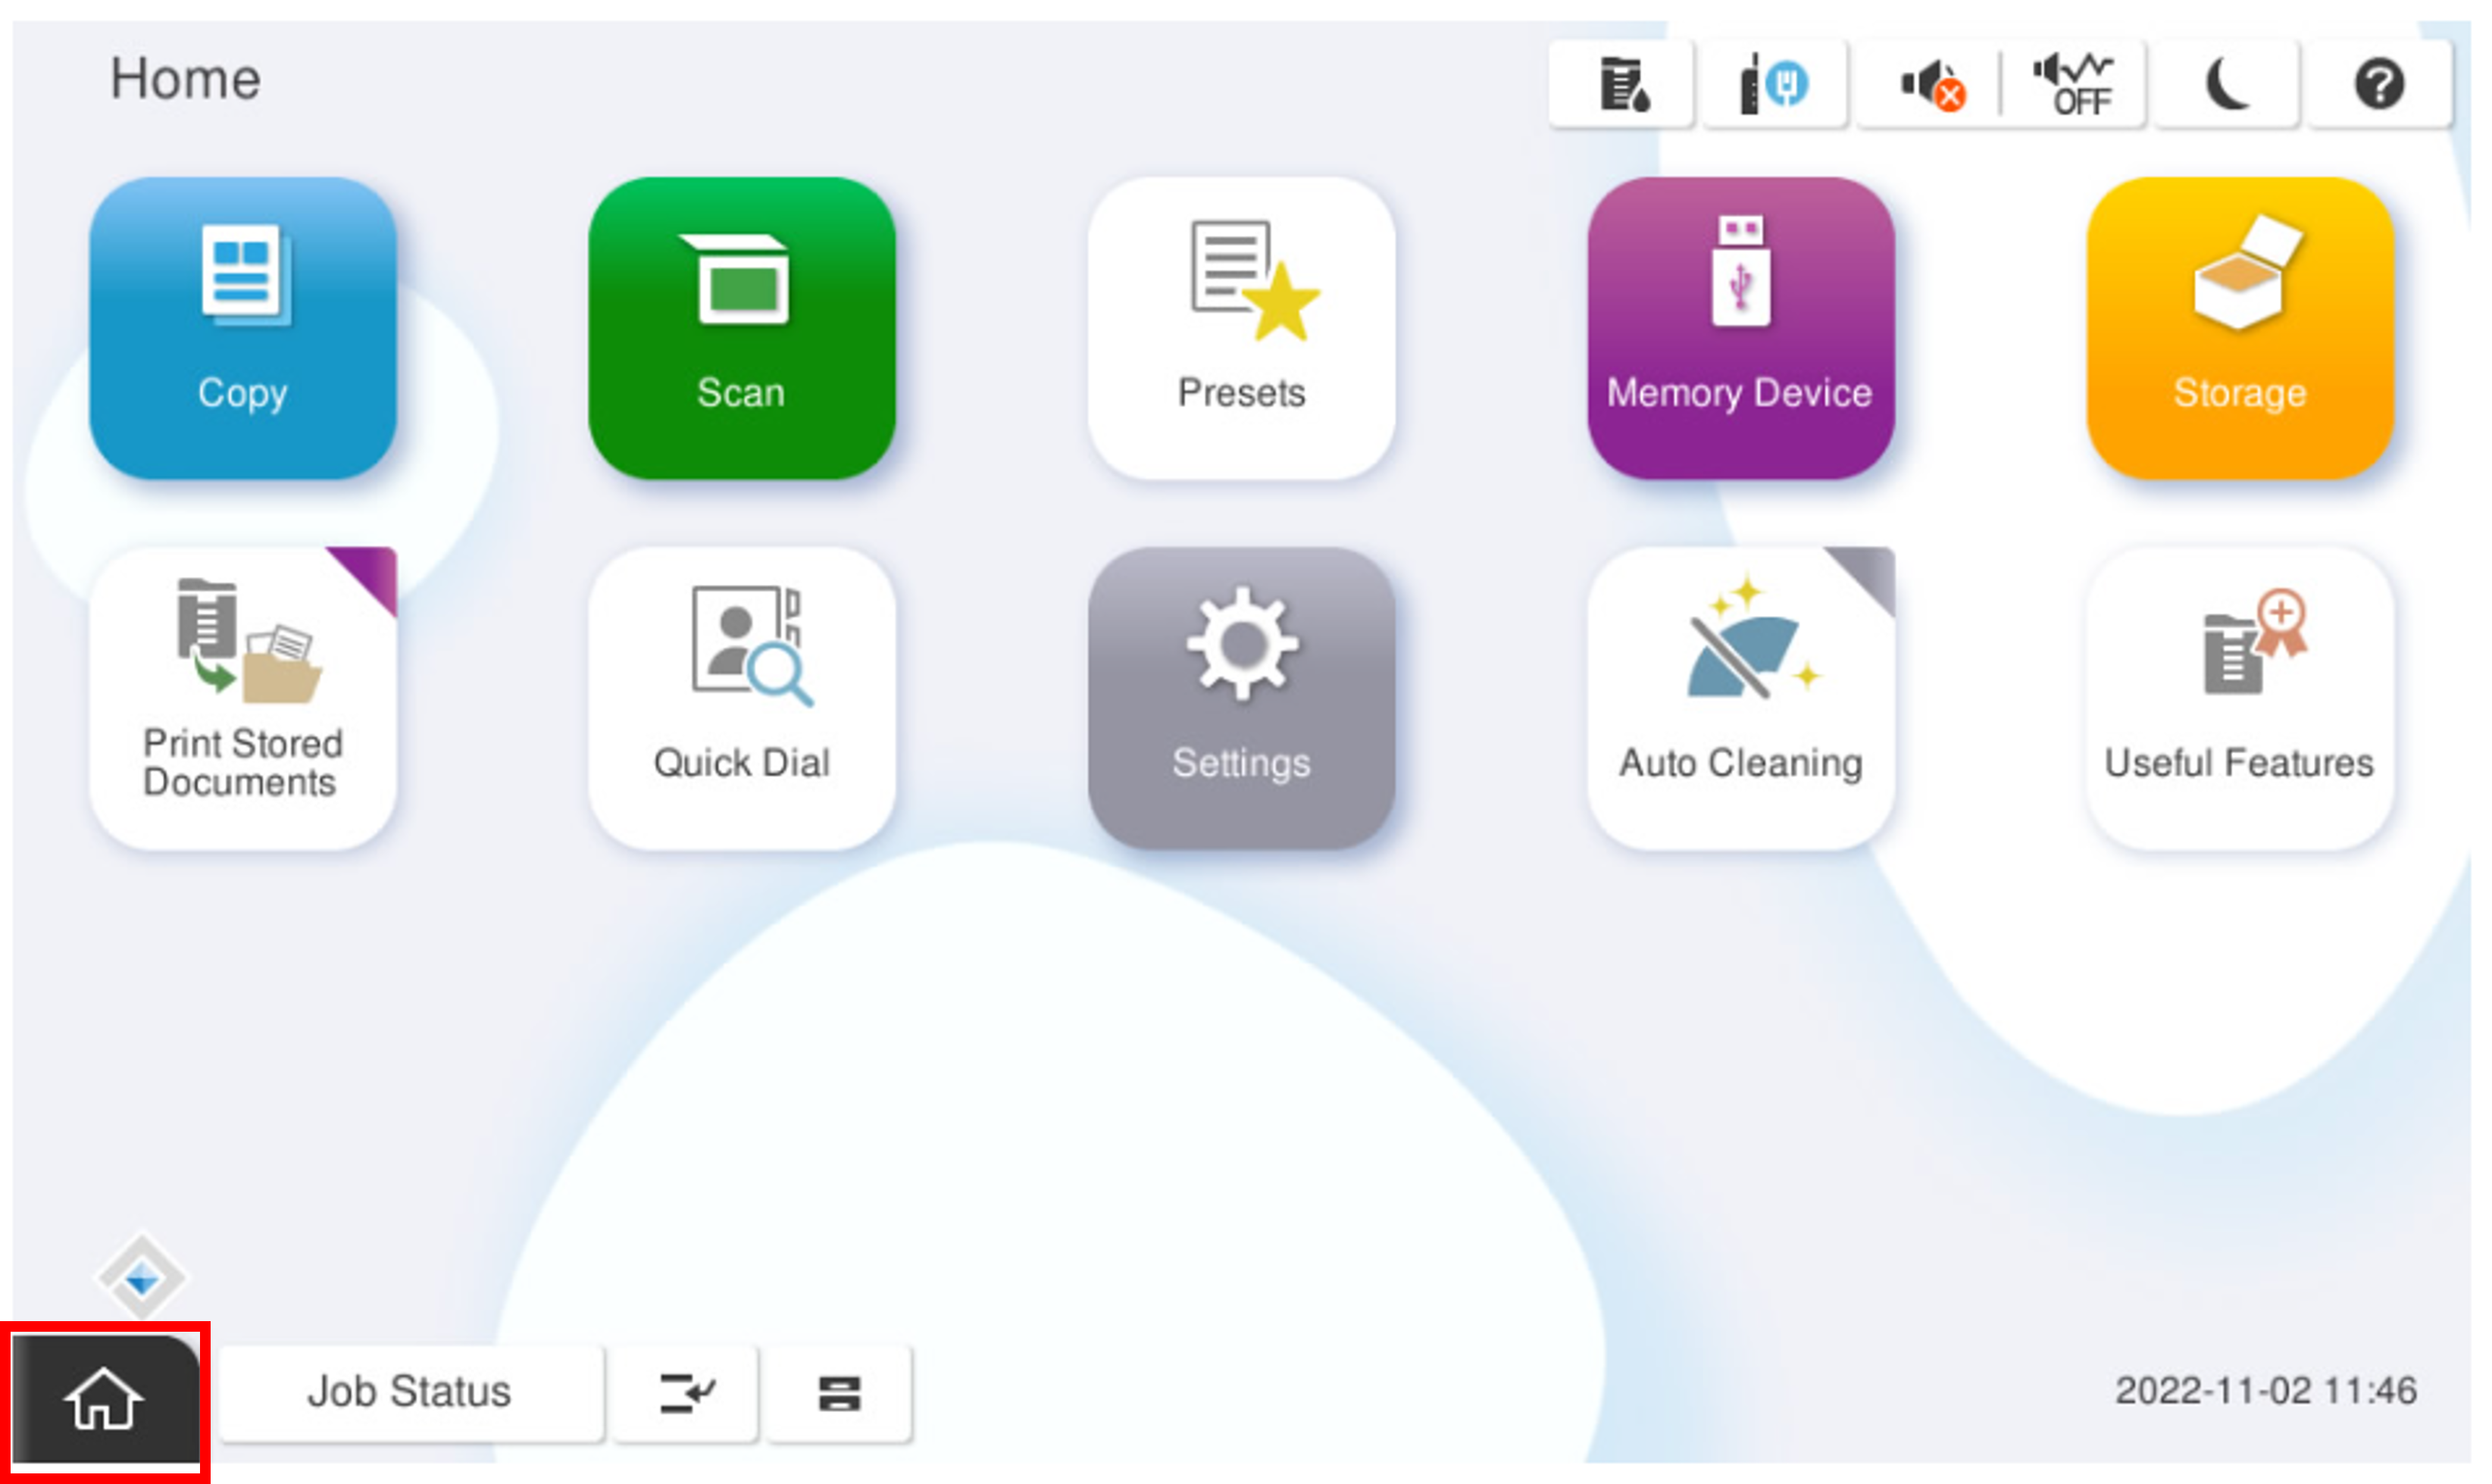
- Start the service support mode.
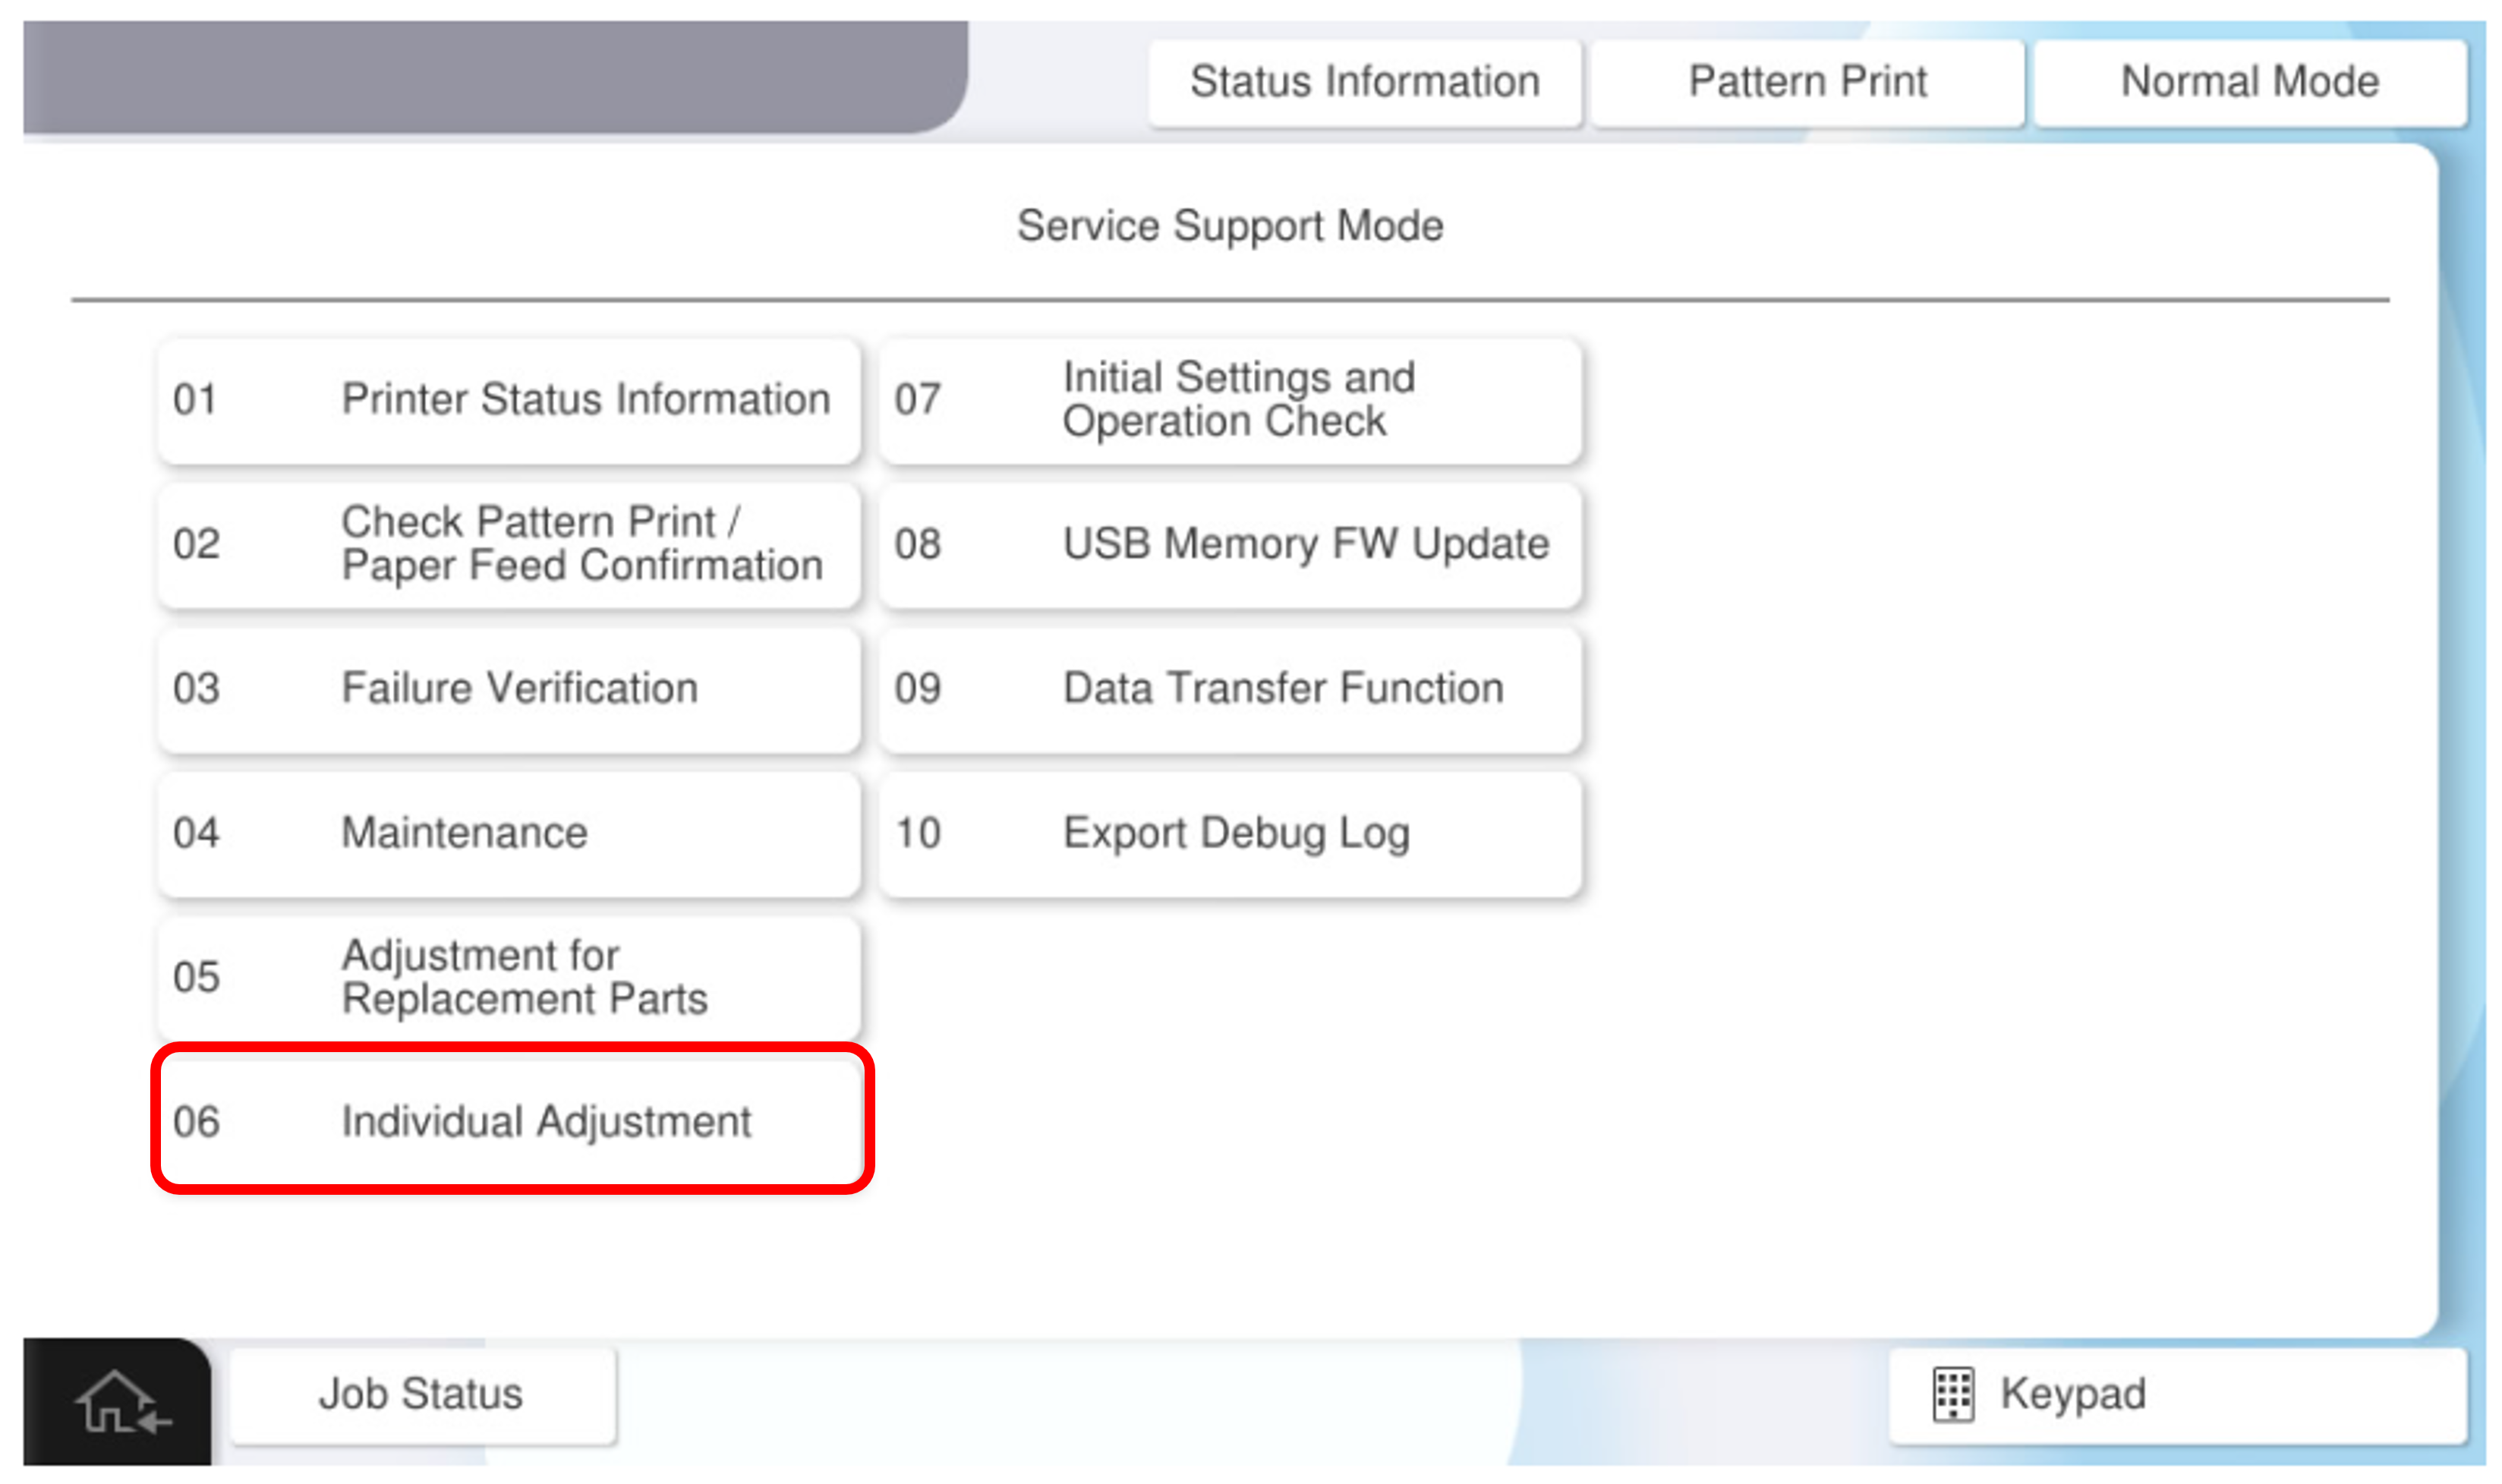
- Select [06 Individual Adjustment].
- Select the [Floor Bridge] tab.
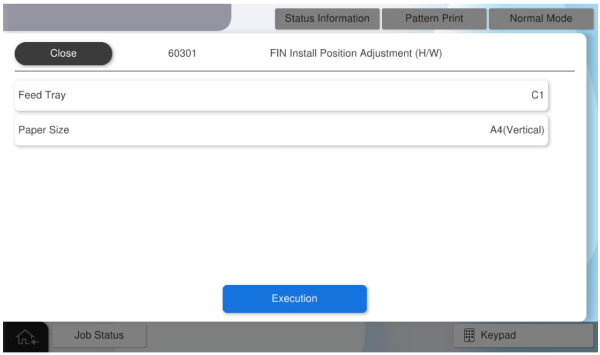
- Select [60301 FIN Install Position Adjustment (H/W)].
- Press each setting item button to make the print settings.
The parameters that can be set are as follows.Setting Items Selection Feed Tray C1, C2, C3, C4 Available Paper Sizes A4 (vertical), A3 - Press [Execute] to eject the paper.
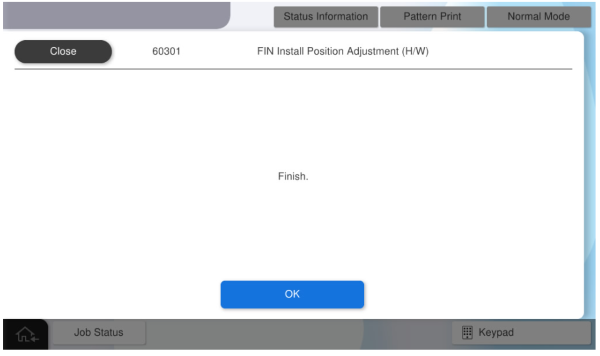
- Press [OK] to complete the menu.
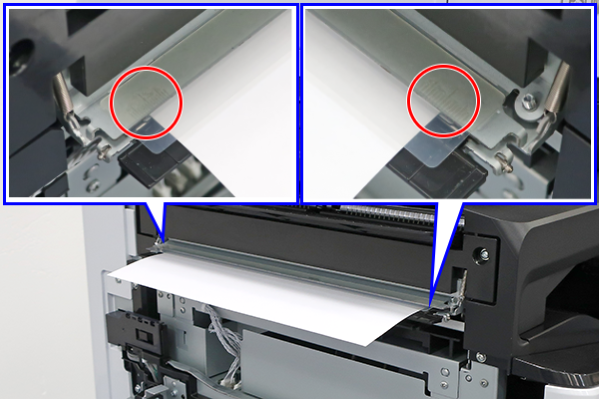
- Check how many scales the paper ejection positions on the front side and the back side are shifted from the center of the scale to either the front side or the back side.
- Loosen the 4 screws on the adjustment plate (A), move the adjustment plate by the scale you checked in the previous step, and fix it with the 4 screws.
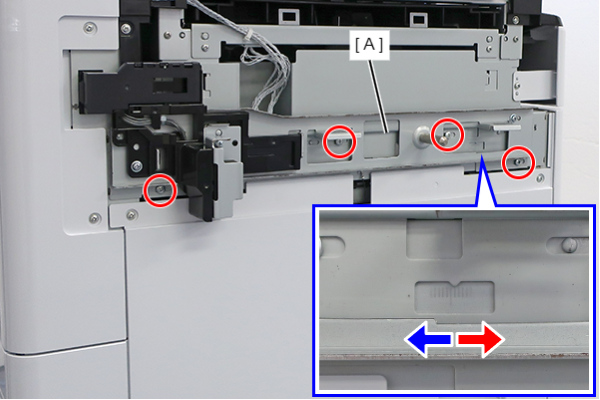
- If it is shifted to the front side: Move the adjustment plate to the front side to adjust.
- If it is shifted to the rear side: Move the adjustment plate to the rear side to adjust.