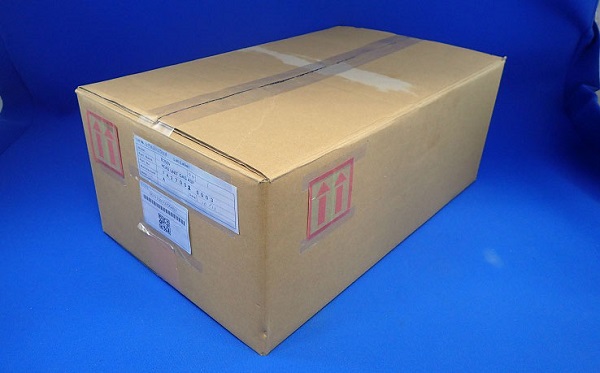
Head ASP Unpacking, Repacking, and Handling Jigs
- Unpack the Head ASP box, and take out the upper and lower head pallets (1) and the head replacement kit (2) together with the bag.
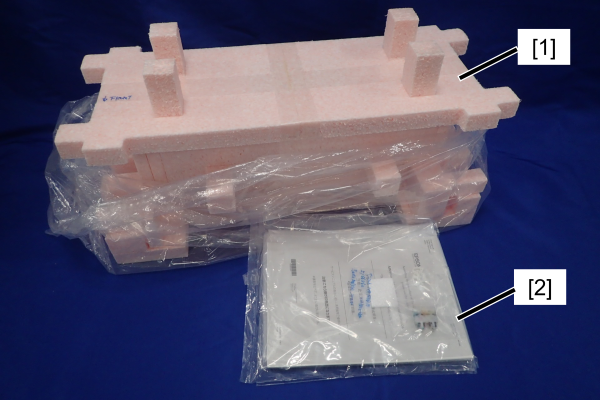
- Remove the upper and lower head pallets from the bag, and remove the upper head pallet.
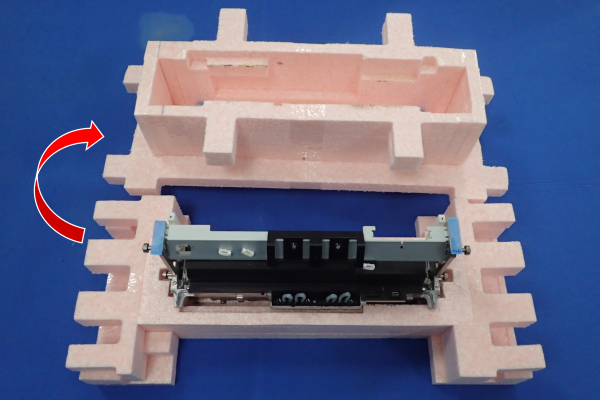
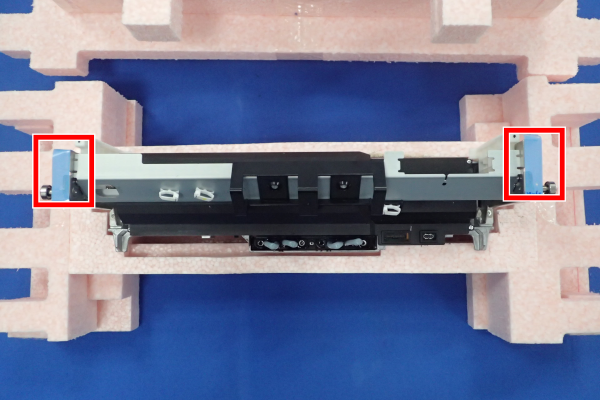
Remove the two pieces of protective tape from the new Head Unit.
Remove the four tubes (or dedicated sealing part) attached to the new head unit.
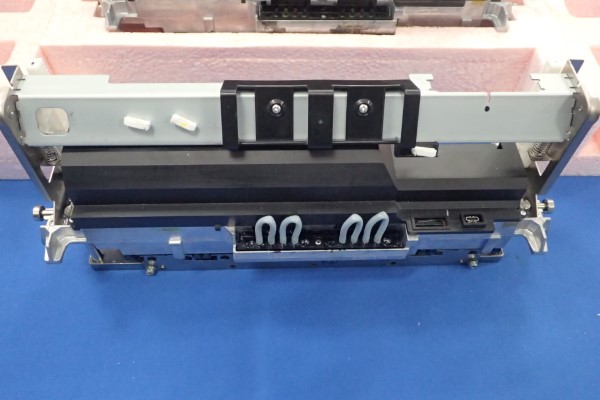
 Check Point / チェックポイント
Carefully remove the four tubes attached to the new Head Unit as they may be sticking.
Keep the removed four tubes (or dedicated sealing part) for transplanting to the broken head unit.
- Move the new Head Unit away from the lower pallet.
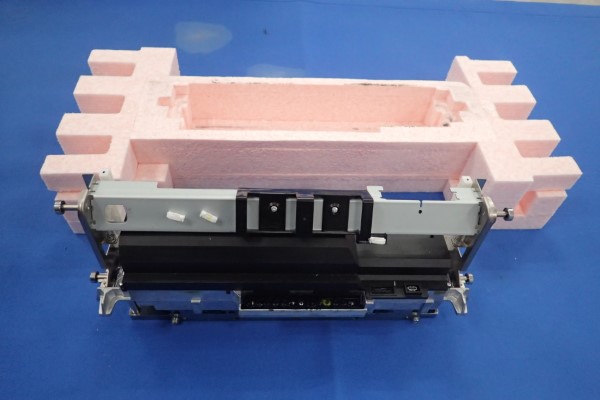 Check Point / チェックポイント
Hold the Head Unit with both hands as shown below.
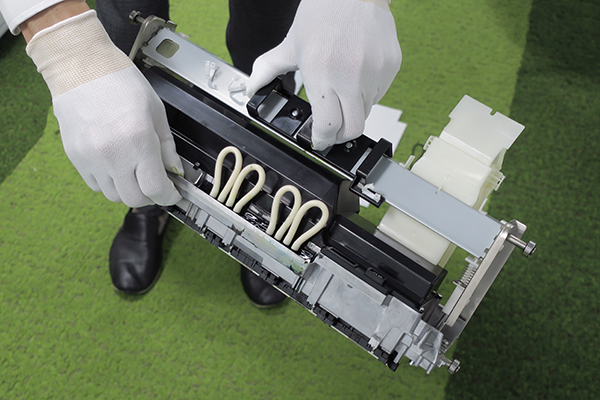
- Start the service support mode and perform the menu that is required to do before replacing for Head Unit. (5010101 Head Unit)
- Remove the defective Head Unit. (Head Unit)
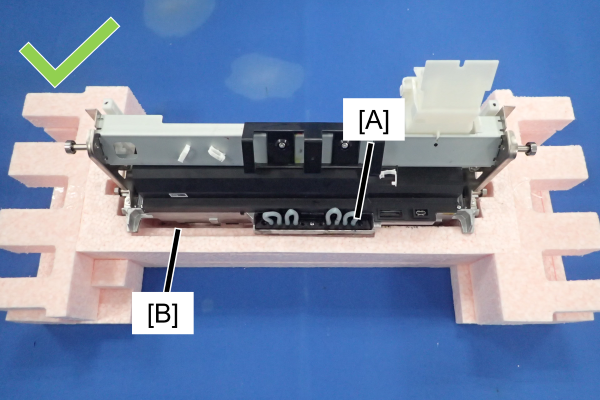
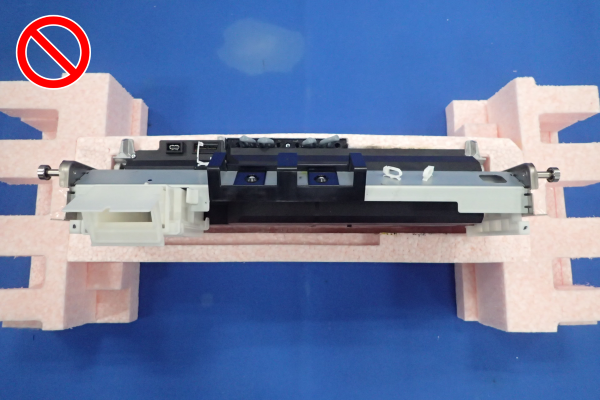
- Place the defective Head Unit (A) on the lower pallet (B) with the nozzle surface down.
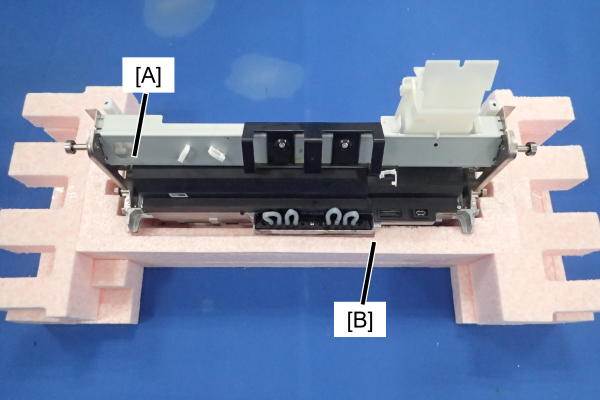 Check Point / チェックポイント
When placing the Head Unit on the lower pallet, pay attention to the orientation of the Head Unit. The ink supply port section (A) must be fitted in the recess (B) of the pallet.
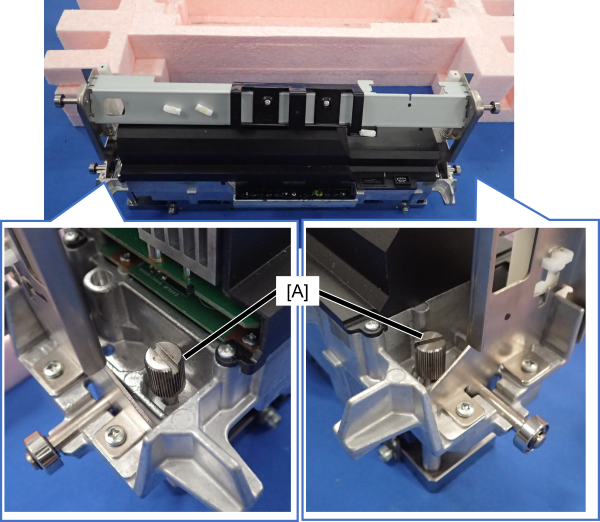
- Using a flathead screwdriver, remove the two nuts (A) from the cap jig attached to the new Head Unit.
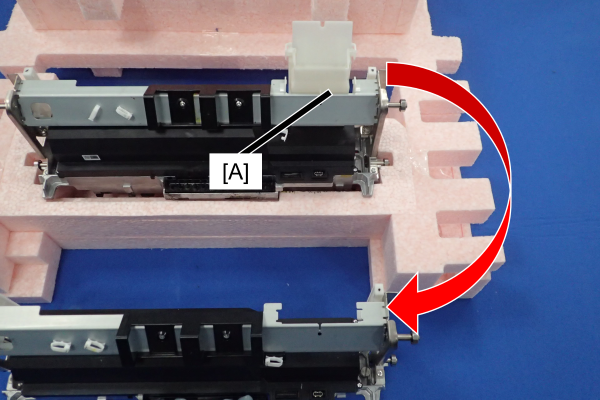
- Remove the duct (A) from the defective Head Unit, and install it to the new Head Unit.
Lift the new Head Unit to remove it from the cap jig and install the Head Unit to the printer.
Reassemble the printer. (Head Unit)
Start the service support mode and perform the menu that is required to do after replacing the Head Unit.(5010101 Head Unit)
Attach the four tubes (or dedicated sealing part) removed in step 4 to the broken head unit.
 Caution / 注意
Be sure to attach the tubes to the defective Head Unit. Transporting the Head Unit without attaching the tubes may cause ink leakage.
- Attach the cap jig to the defective Head Unit and secure it with the nuts.
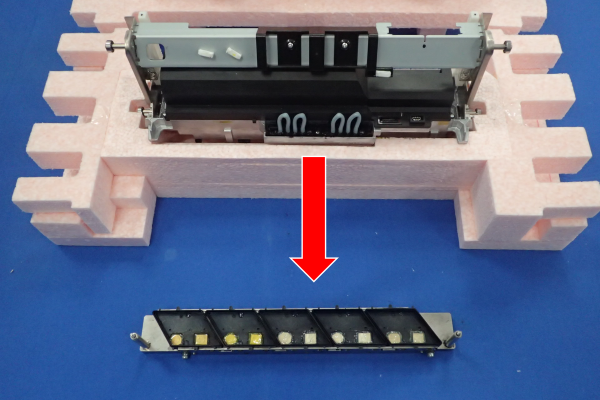
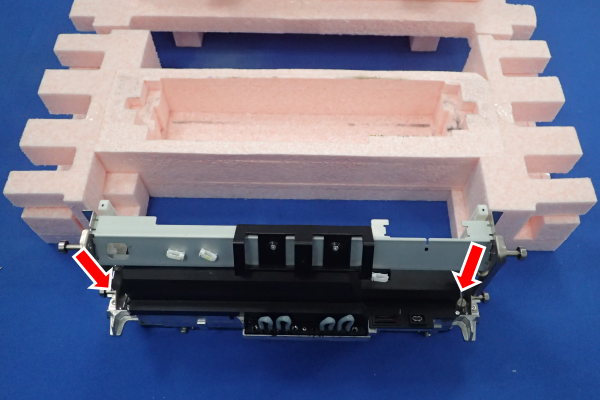
 important / 重要
- If the nuts are not tightened enough, ink leakage may occur. Make sure the nuts are tightened securely.
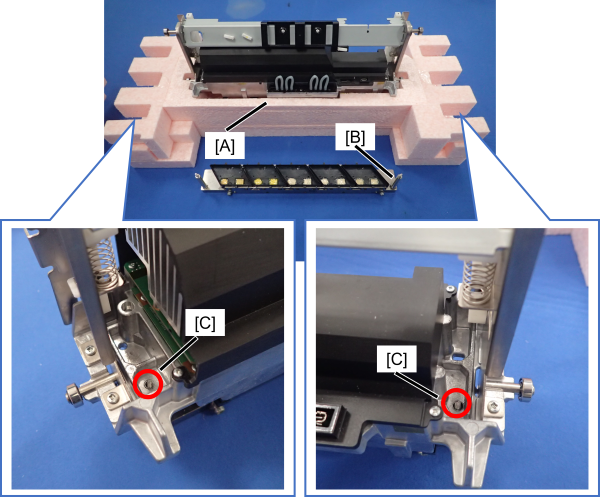
- The Head Unit has four holes through which the cap jig can be inserted, but two are not used.
Make sure that the ink supply tube (A) and the pins (B) of the cap jig are facing toward you, and the nuts are inserted in the correct holes (C).
If the Head Unit or jig is oriented incorrectly, the screw heads interfere with the Head Unit and the nuts cannot be tightened.
- Place the defective Head Unit onto the lower head palette with the nozzle side down.
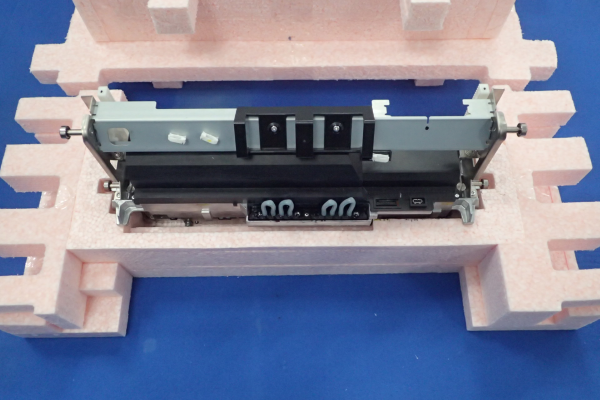
Attach the upper head pallet, and put the defective Head Unit set into the head packing bag in which the new Head Unit was placed. If the plastic bag is torn, use the spare head packing bag.
Check Point / チェックポイント- The head packing bag does not have a zipper.
Fold or roll the opening of the bag several times to prevent the bag from opening. If possible, tape the opening of the bag.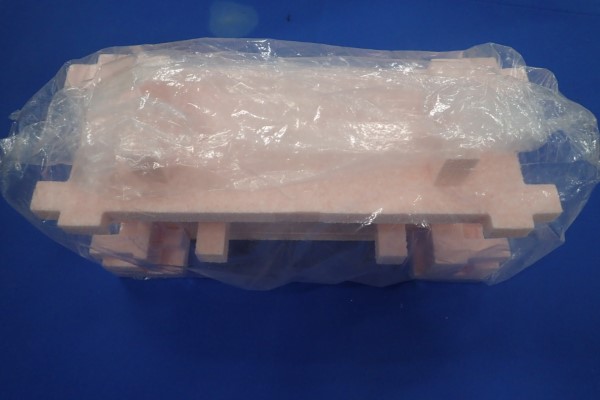
- The head packing bag does not have a zipper.
- Put the bagged Head Unit set into the plastic bag used for the new Head Unit set, and then put it in the box.
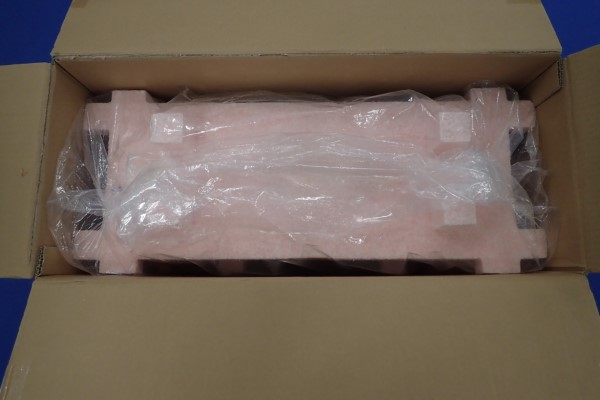
- Close the box and tape it securely.