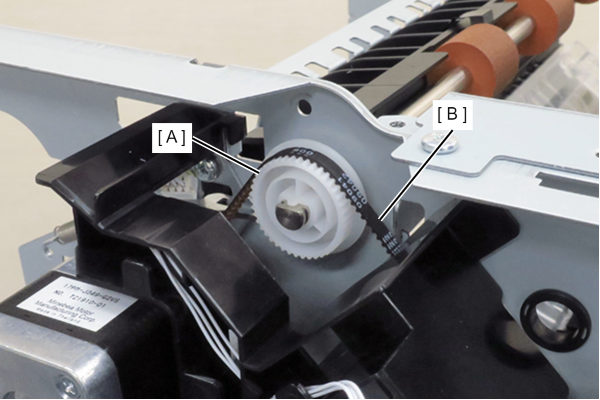
Upper Tray Paper Eject Roller
- Refer to the following and remove the floor finisher from the printer main unit.
Floor Finisher Installation Procedure
 Caution / 注意
- When disconnecting the Floor Finisher from the Main Unit, the power of the Main Unit must be turned off.
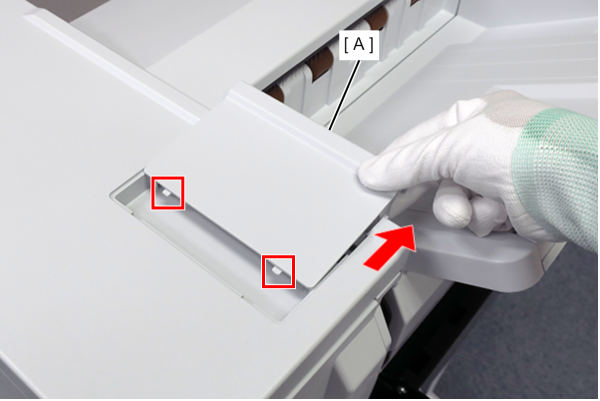
- Using a flathead screwdriver, release the hooks (x2) on the top small cover and front (A).
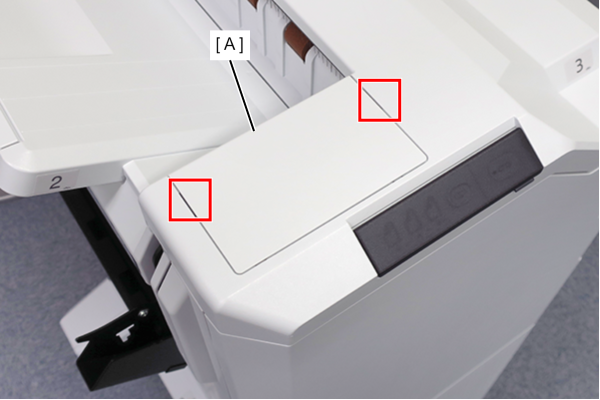
- Slide the small top cover front (A) in the direction of the arrow to release the tabs (x2) and remove the cover.
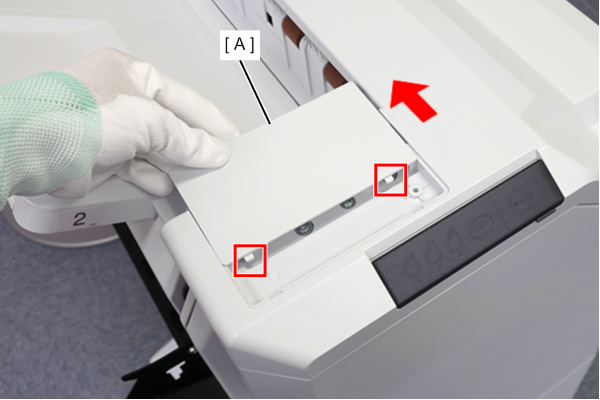
- Using a flathead screwdriver, release the hooks (x2) on the small top cover and rear (A).
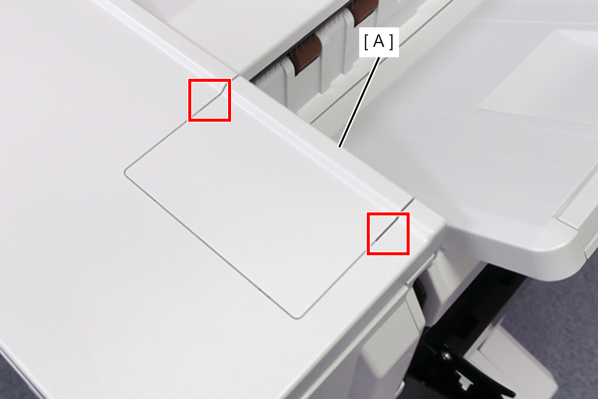
- Slide the small top cover rear (A) in the direction of the arrow to release the tabs (x2) and remove it.
Remove 4 screws of the Top Cover (A).
Release the hook (x2) and lift the Top Cover (A).
- Disconnect the cable (C) from the connector (B) and remove the Top Cover (A).
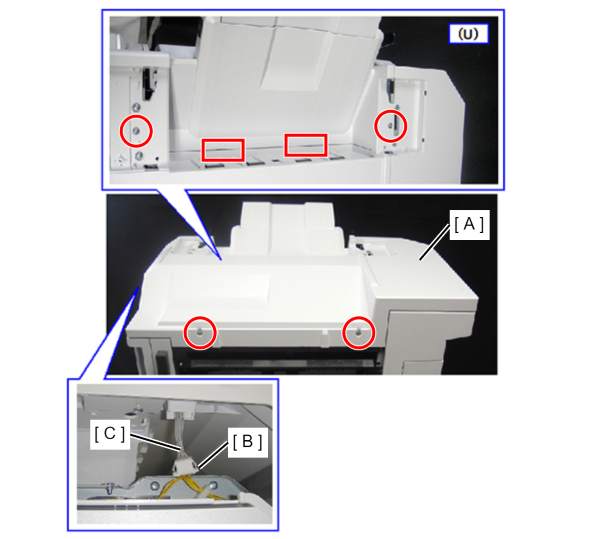
 : 4x10DC
Remove 4 screws.
Disconnect the cable (A) from the connector.
- Remove the Upper Paper Eject Feed Sub-roller Unit (B).
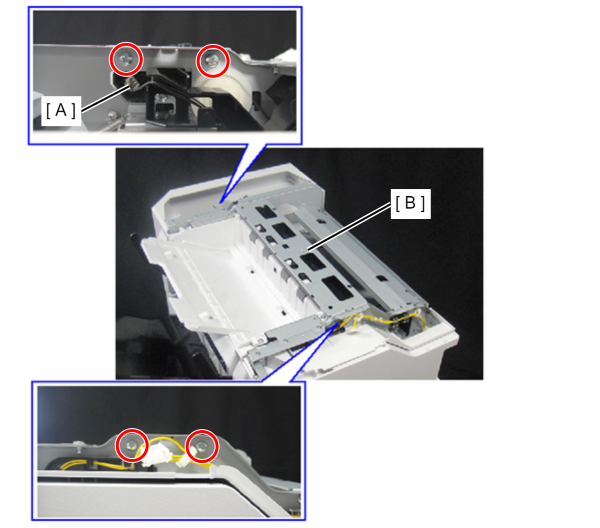
- : 4x8D/P
- Remove the two screws and tilt the lower document ejection cover (A).
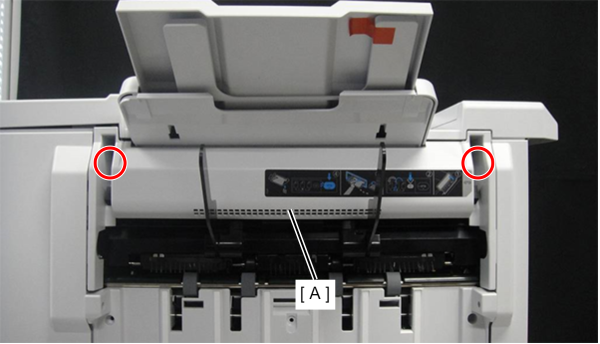
- : 4x10DC
- Open the T1 door (A) and open the jam clearing guide T3 (B).
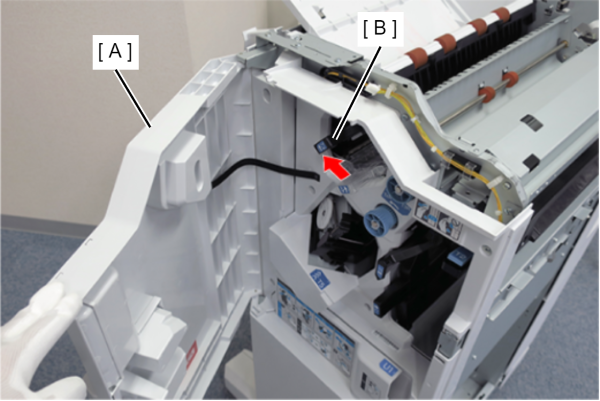
- Remove the cable (A) from the relay connector on the left side of the product.
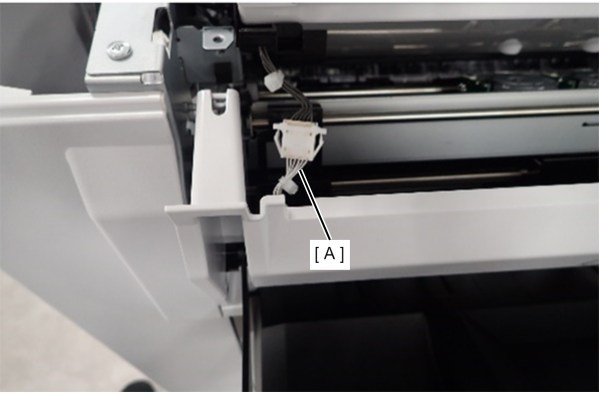
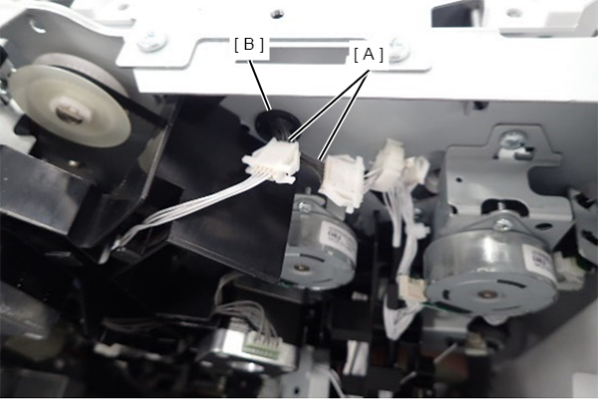
- Remove the cables (x2) (A) from the relay connectors (x2) on the rear side of the product.
- Pass the cables (x2) (A) through the hole (B).
- Remove 4 screws.
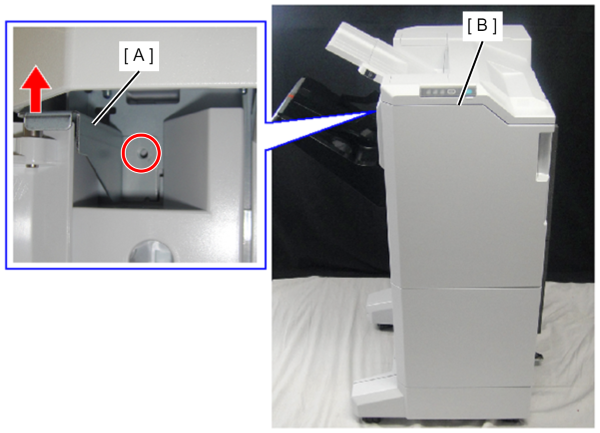
- : 4x10DC
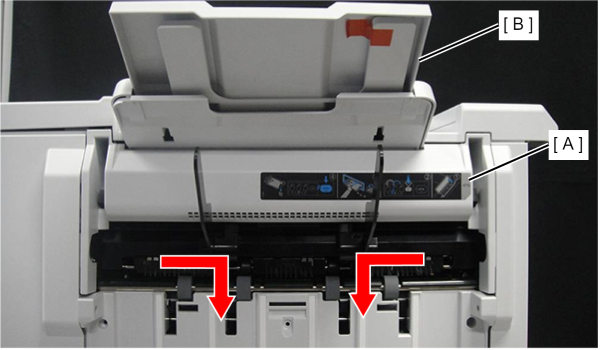
Detach the upper document ejection tray base (B) while bending the lower document ejection cover (A) in the direction of the arrow.
- Remove the plastic E-ring (A) and belt cover (B) on the rear side.
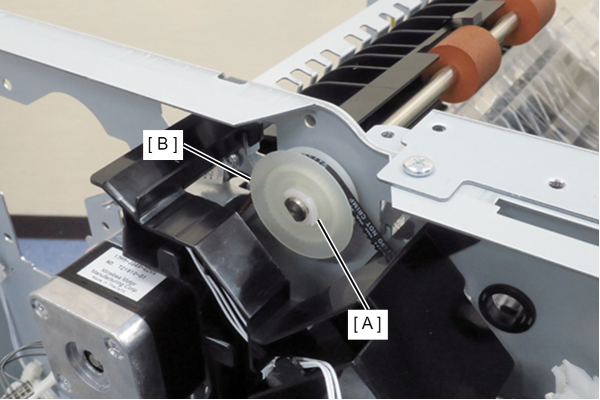
- Remove the belt (B) from the gear (A).
- Remove gear (A).