
101 ESAgent Setting
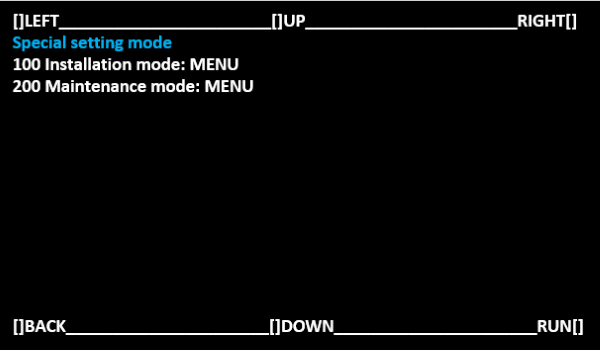
- Start special setting mode.(Special Setting Mode Starting Method)
Select [100 Installation mode: MENU] and select [RUN].
 Note / 補足
Operate with the following buttons.
[UP] button: Move the selected item (move up)
[DOWN] button: Move the selected item (move down)
[RUN] button: Execute the selected item
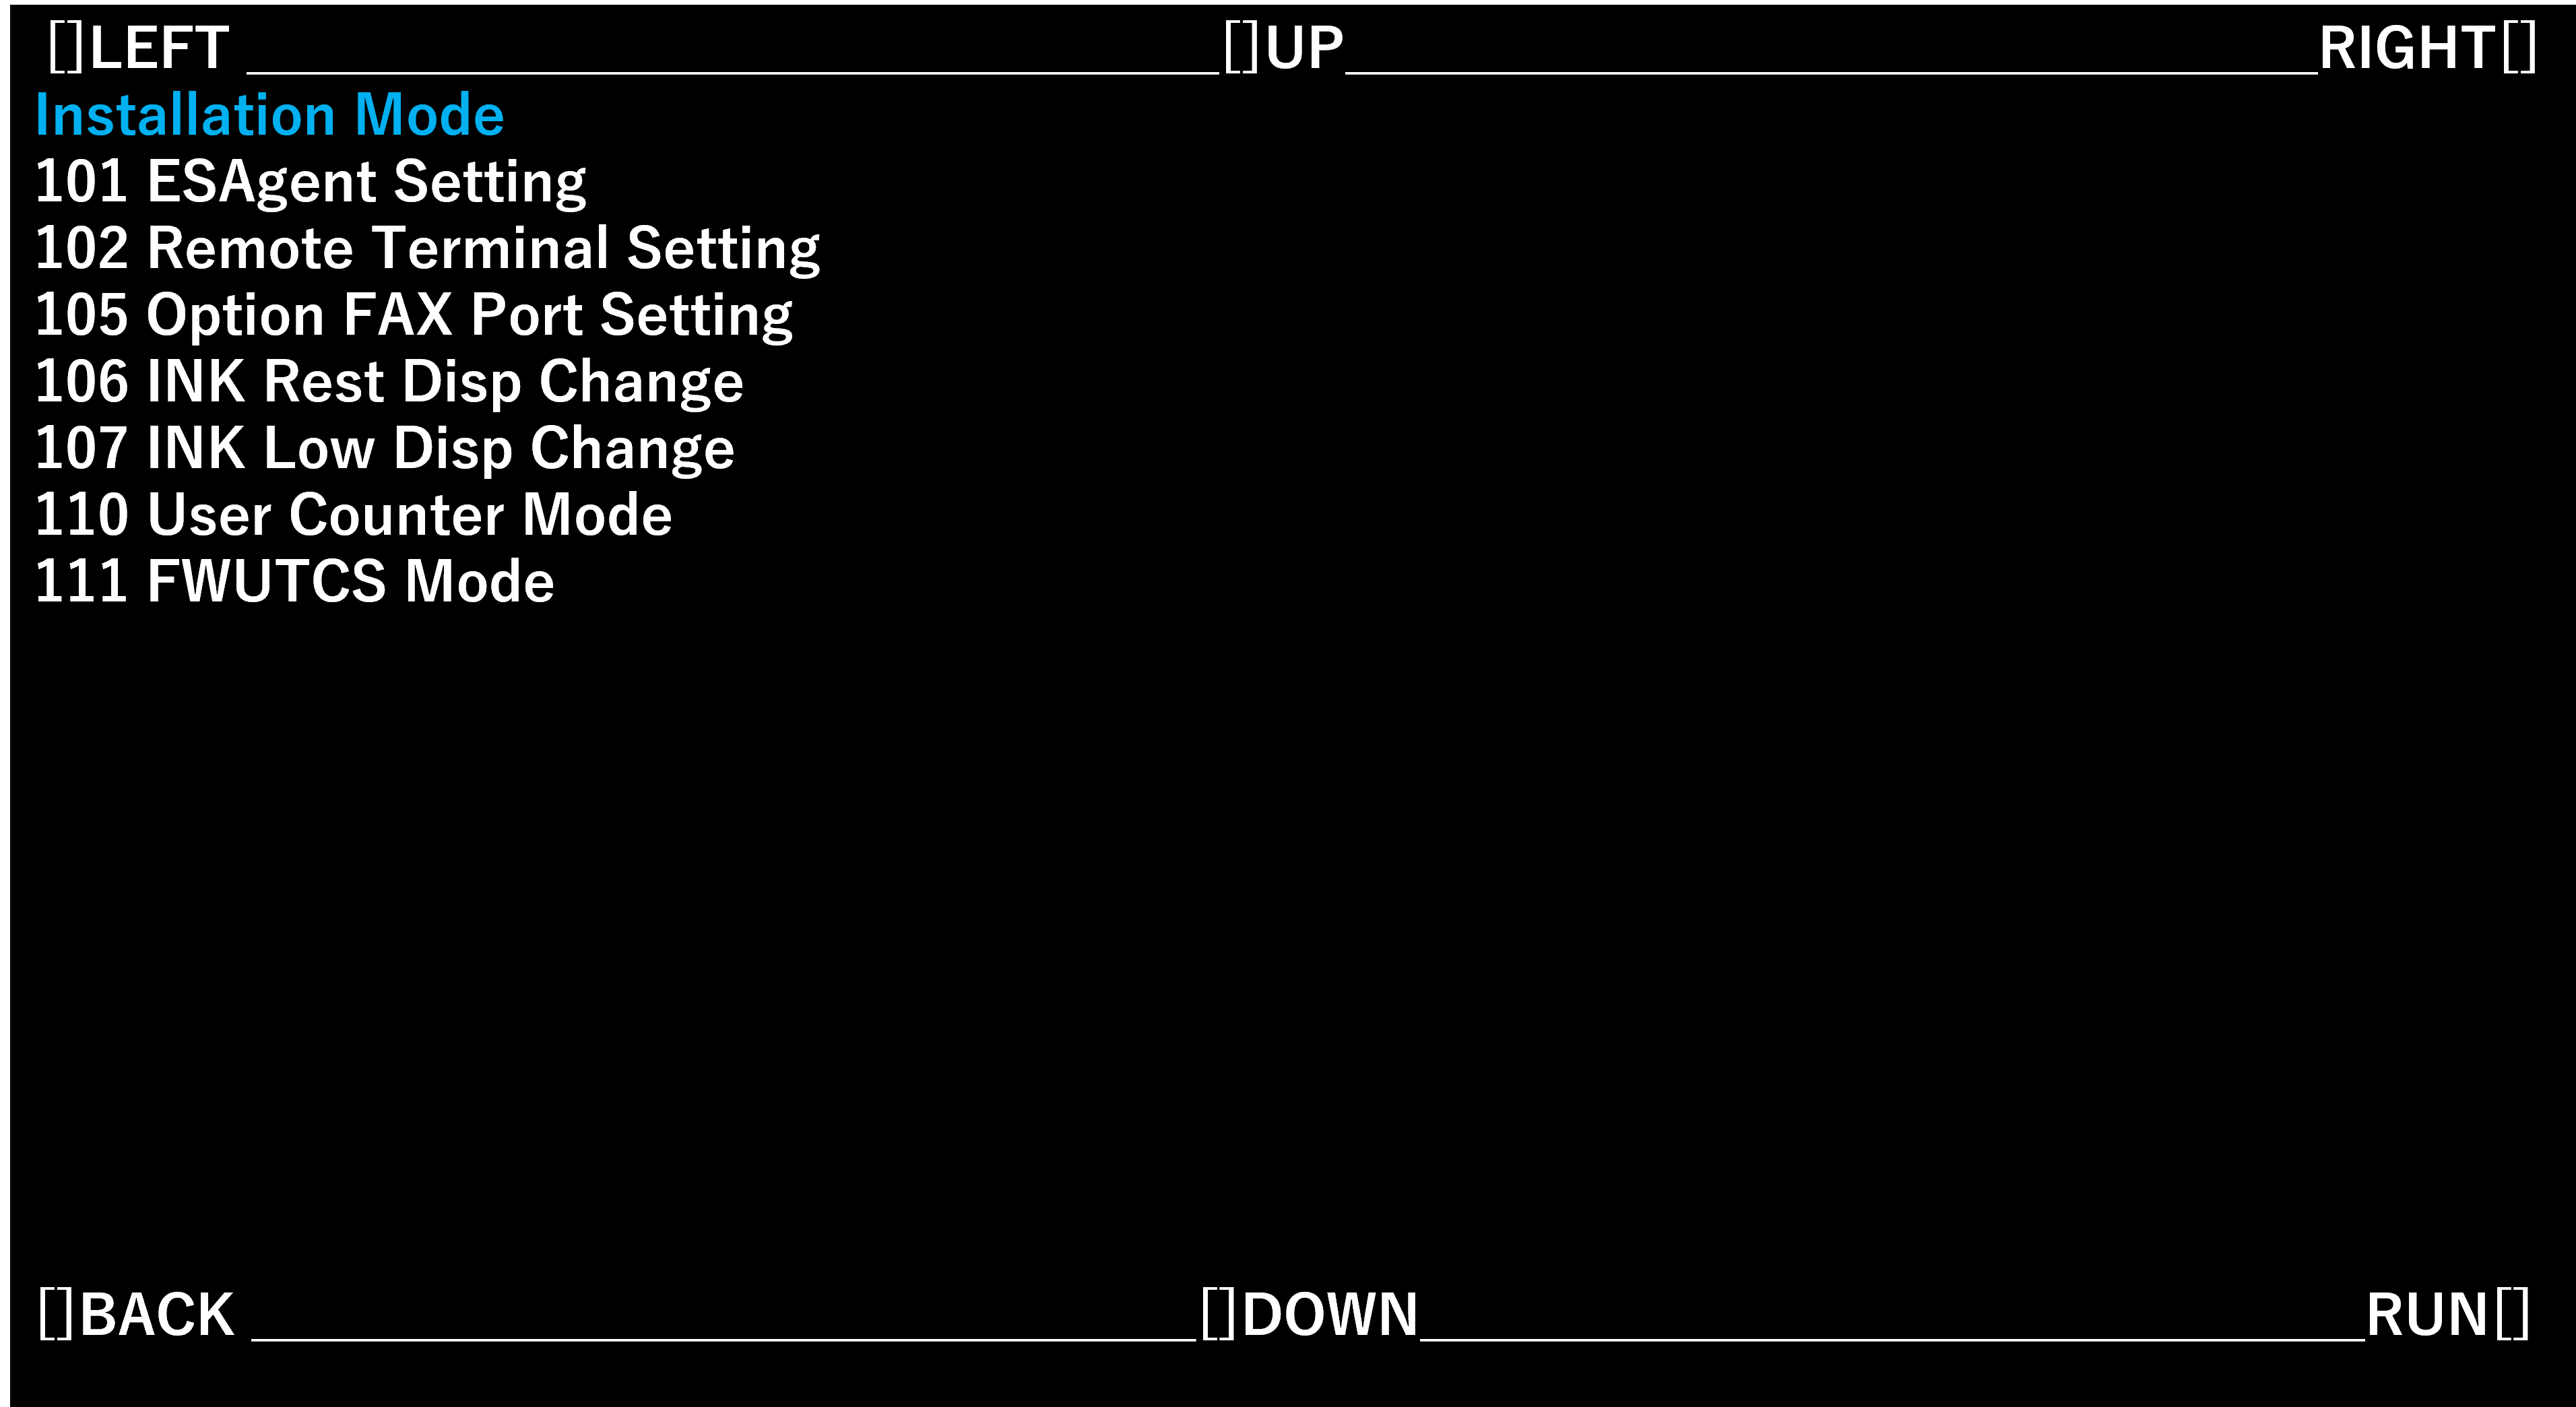
- Select [101 ESAgent Setting] and select [RUN].
- Confirm that the Embedded Status Agent setting screen appears.
Check the settings. To change the settings, press the center of the screen. The screen changes to Embedded Status Agent setting mode selection screen.
When there is no need to change the settings, press the power button to turn off the power.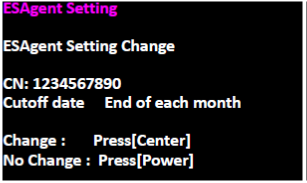
- Embedded Status Agent setting mode
On the “Choose Cutoff date” screen, press the center of the screen to select the cutoff date using the software keyboard.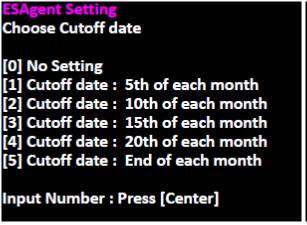
- Confirm the screen changed to the software keyboard screen.
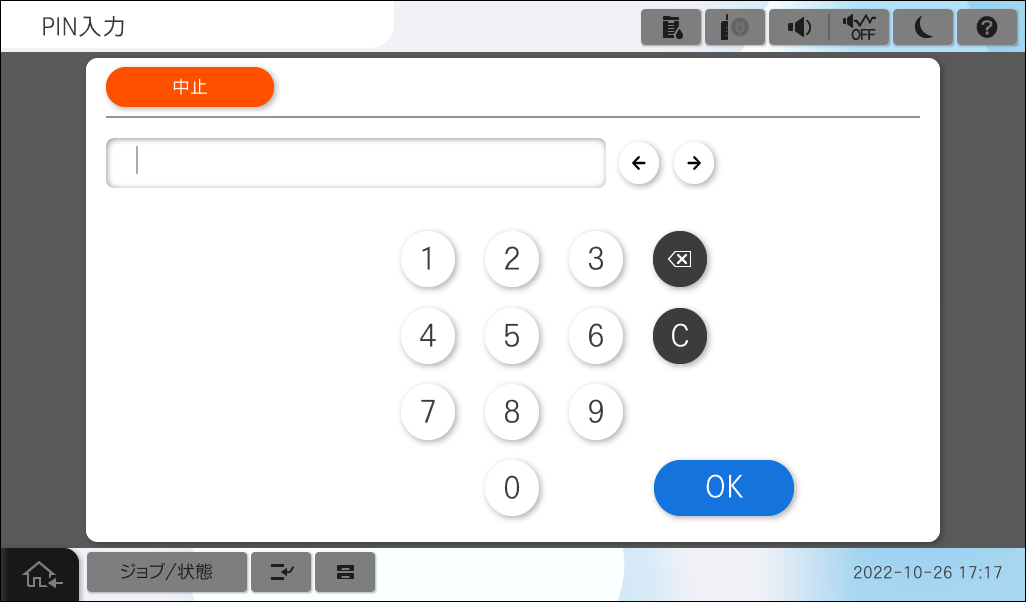
- Enter one of the cutoff dates from [1] to [5] referring to the customer's hearing sheet and press [OK].
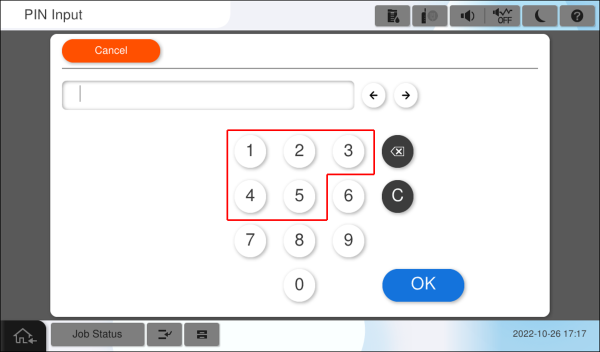
[0] No Setting (Not set)
[1] Cutoff date : 5th of each month (5th)
[2] Cutoff date : 10th of each month (10th)
[3] Cutoff date : 15th of each month (15th)
[4] Cutoff date : 20th of each month (20th)
[5] Cutoff date : End of each month (end of month) - Confirm that the screen has changed from the software keyboard to the Embedded Status Agent setting mode contract number entry screen.
Press the center of the screen to display the software keyboard screen.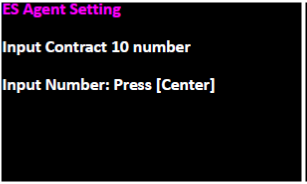
- Confirm the screen changed to the software keyboard screen.
- Enter the 10-digit contract number referring to the customer's hearing sheet and press [OK].
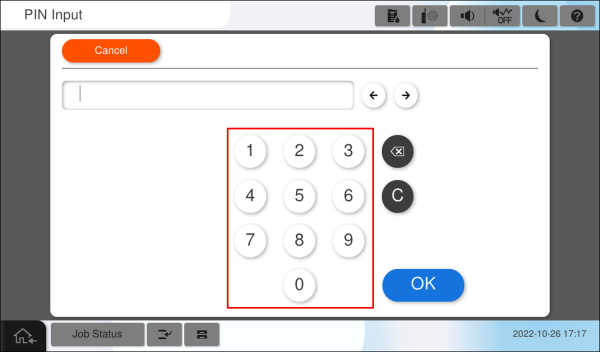
- The screen switches from the software keyboard to the Embedded Status Agent setup completion screen.
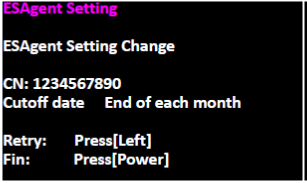
- To correct the settings, press the left side of the screen and re-enter from the cutoff date. To complete, press [Power] to turn off the power.