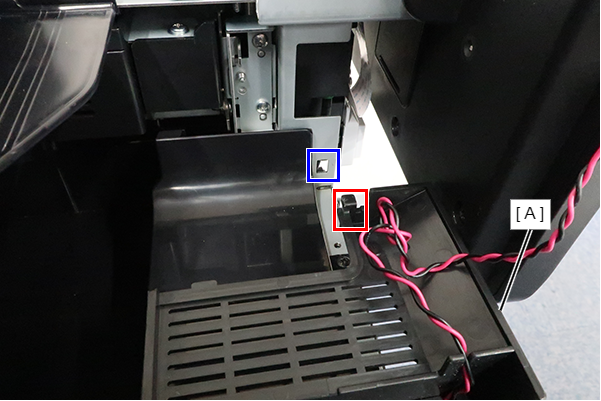
Speaker Assy
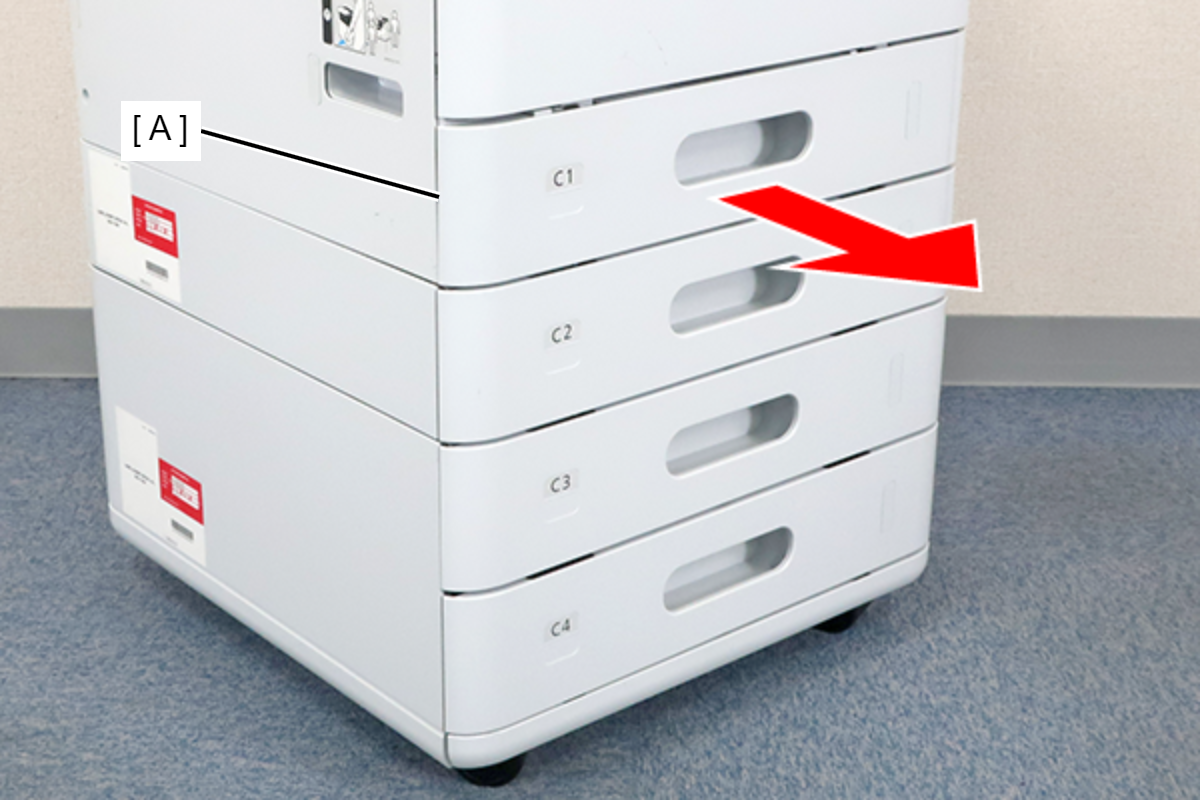
- Remove the C1 cassette (A).
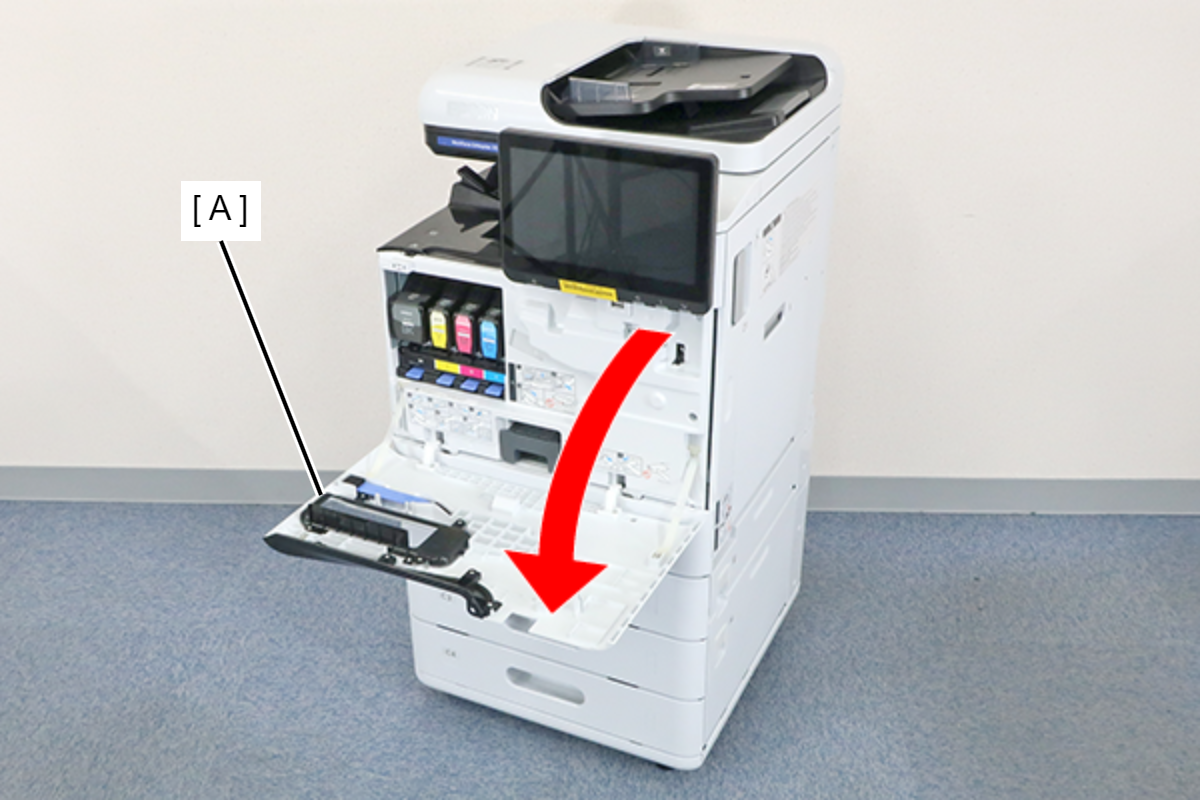
- Open the Front Cover (A).
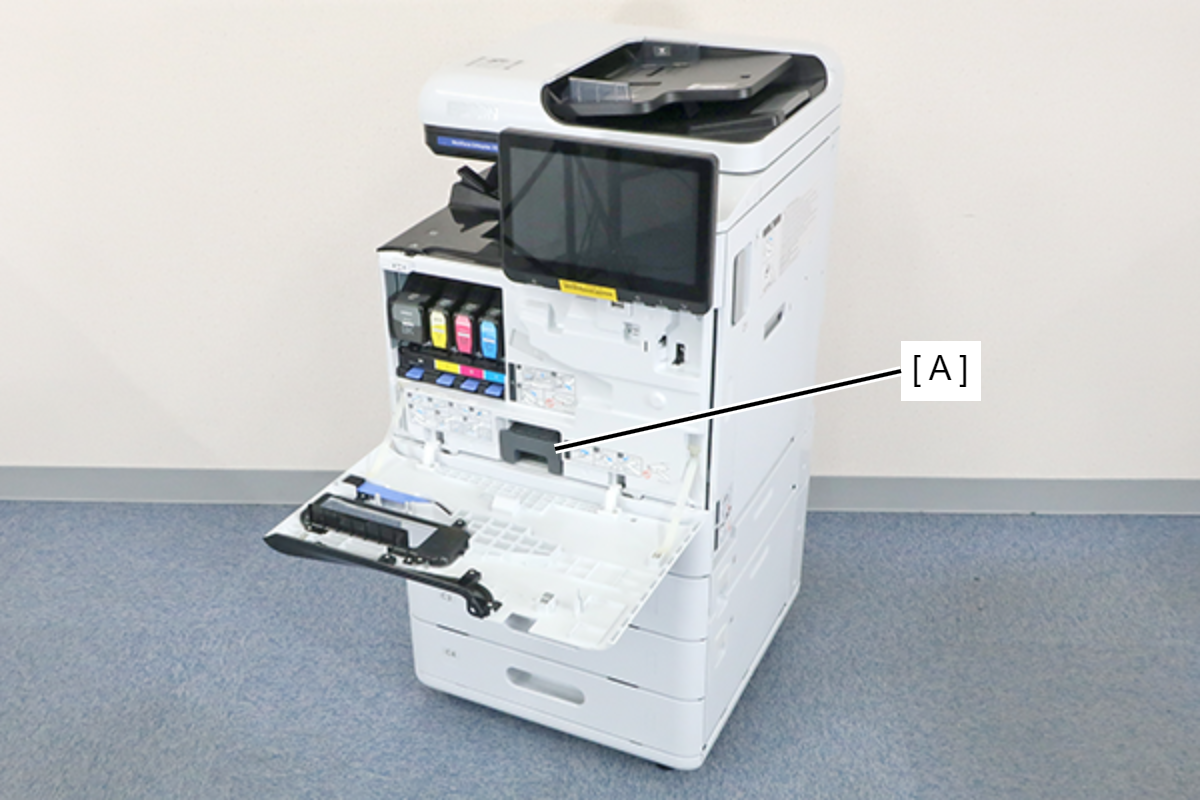
- Remove the Maintenance Box (A).
- Remove the 7 screws and remove the Front Inner Cover (A).
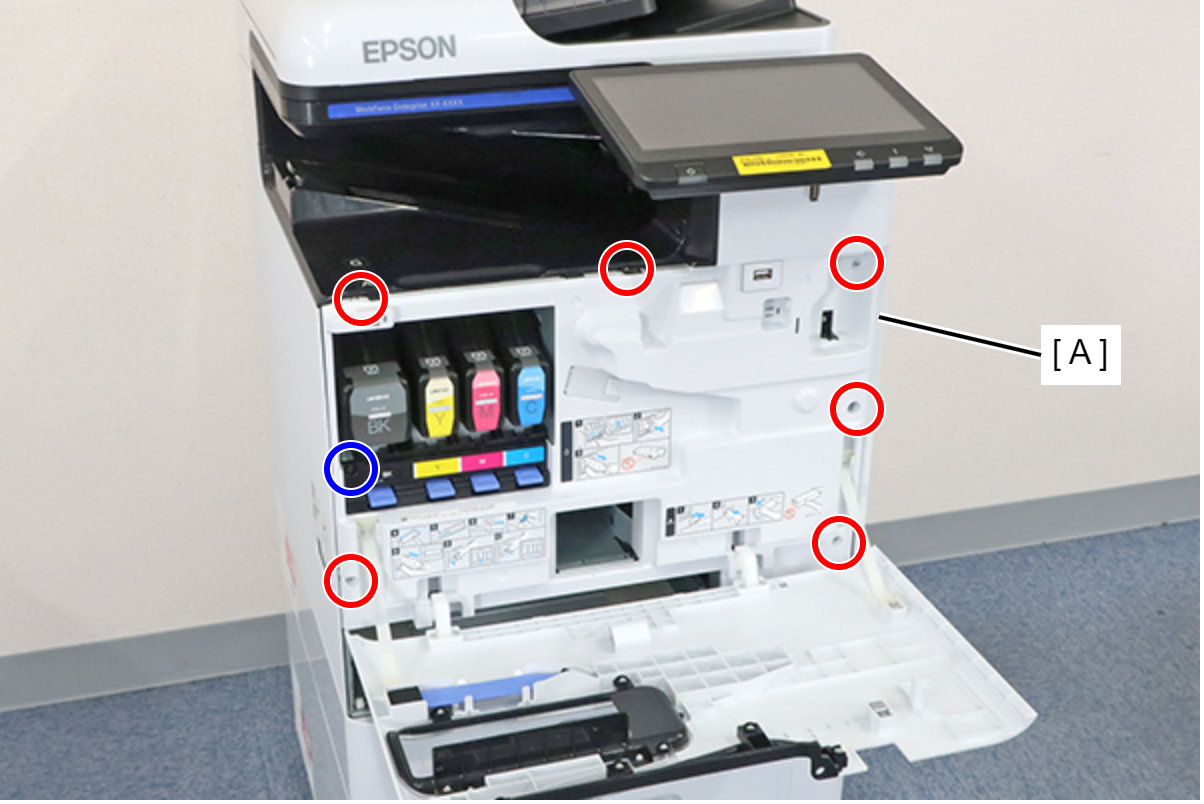
 : 3x8D
 : 3x8D/BK
 Assembly / 組み立て
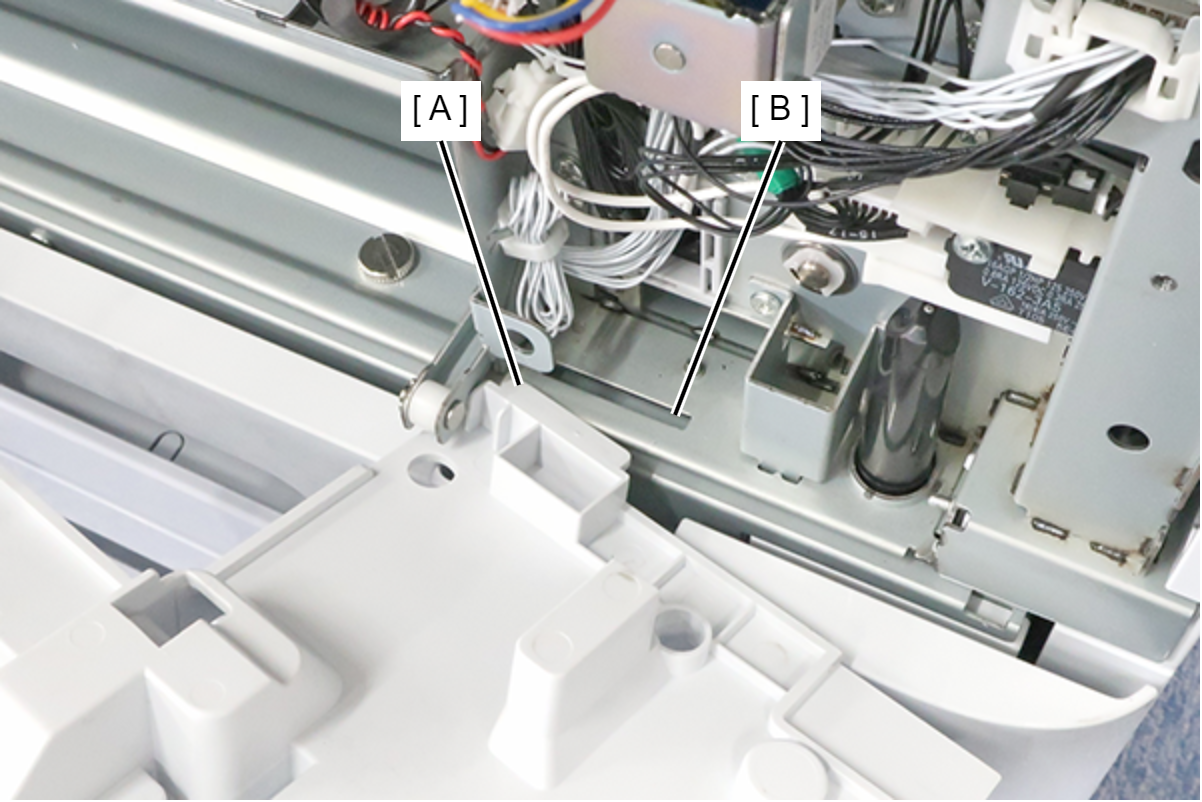
Insert the protrusion (A) of the Front Inner Cover into the hole (B) of the main unit and install.
 Note / 補足
If the wireless LAN unit (A) is installed, remove it.

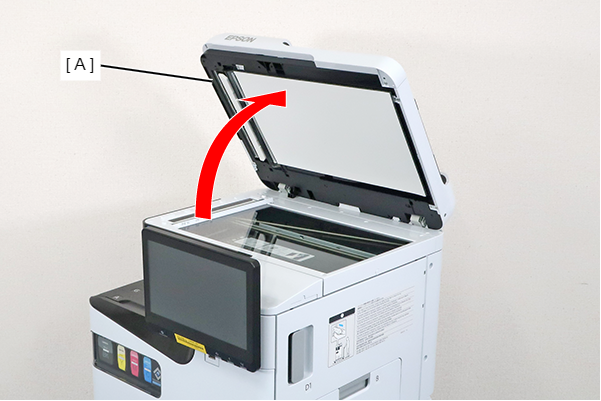
- Open the ADF (A).
- Remove the screw and slide the Panel Upper Cover (A) in the direction of the arrow to remove it.
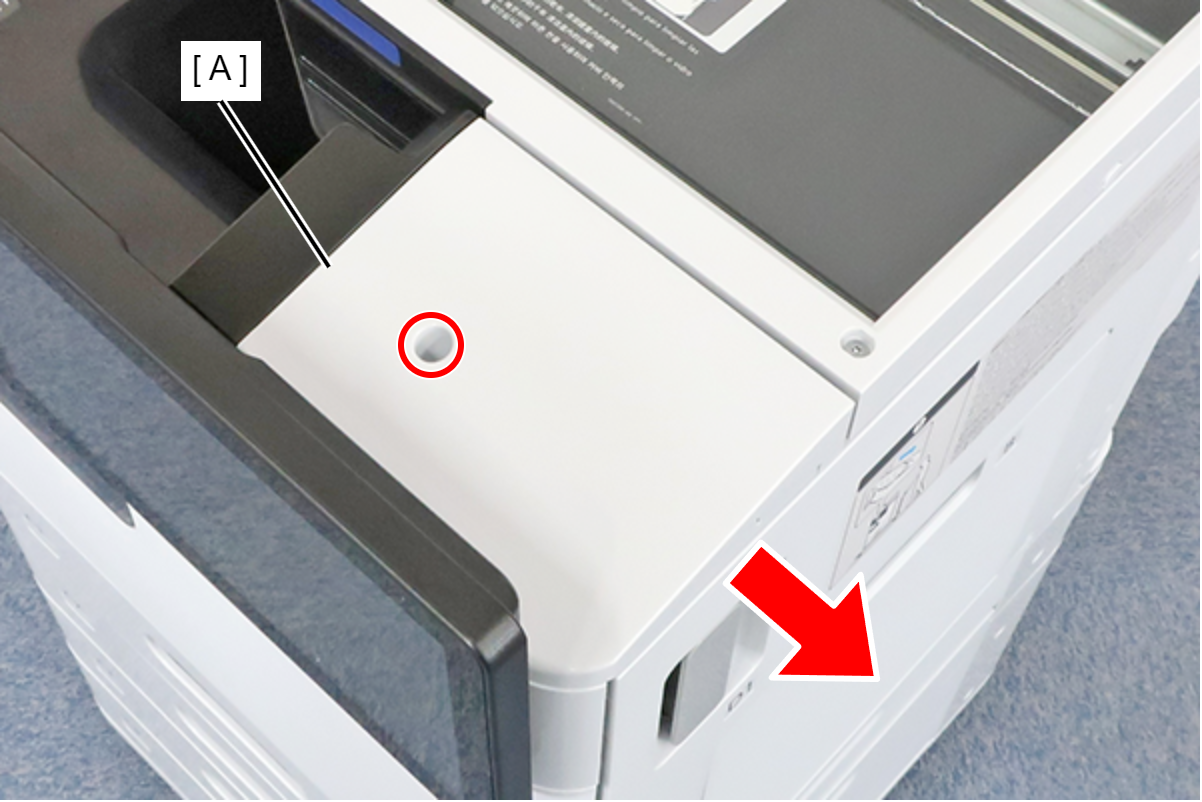
- : 3x8D
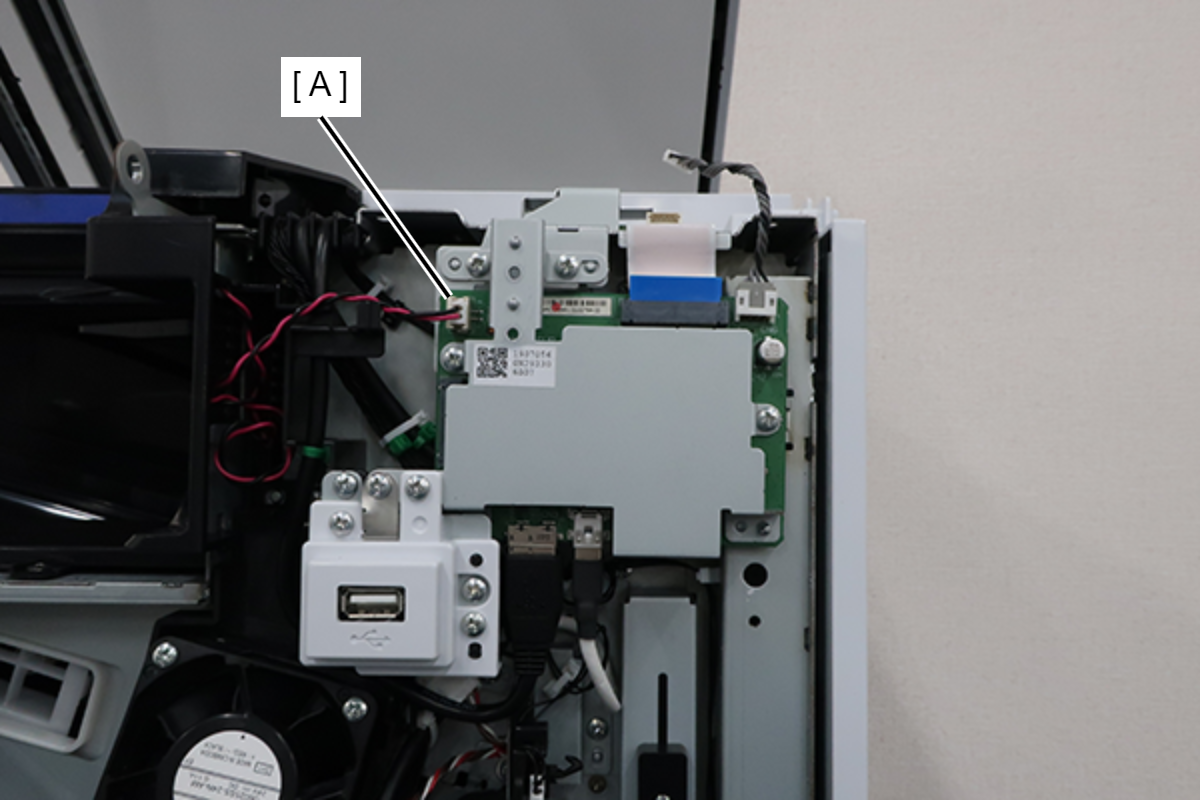
- Remove the cables from the connector (A).
- Remove 2 screws and remove the Speaker Assy (A) in the direction of the arrow.
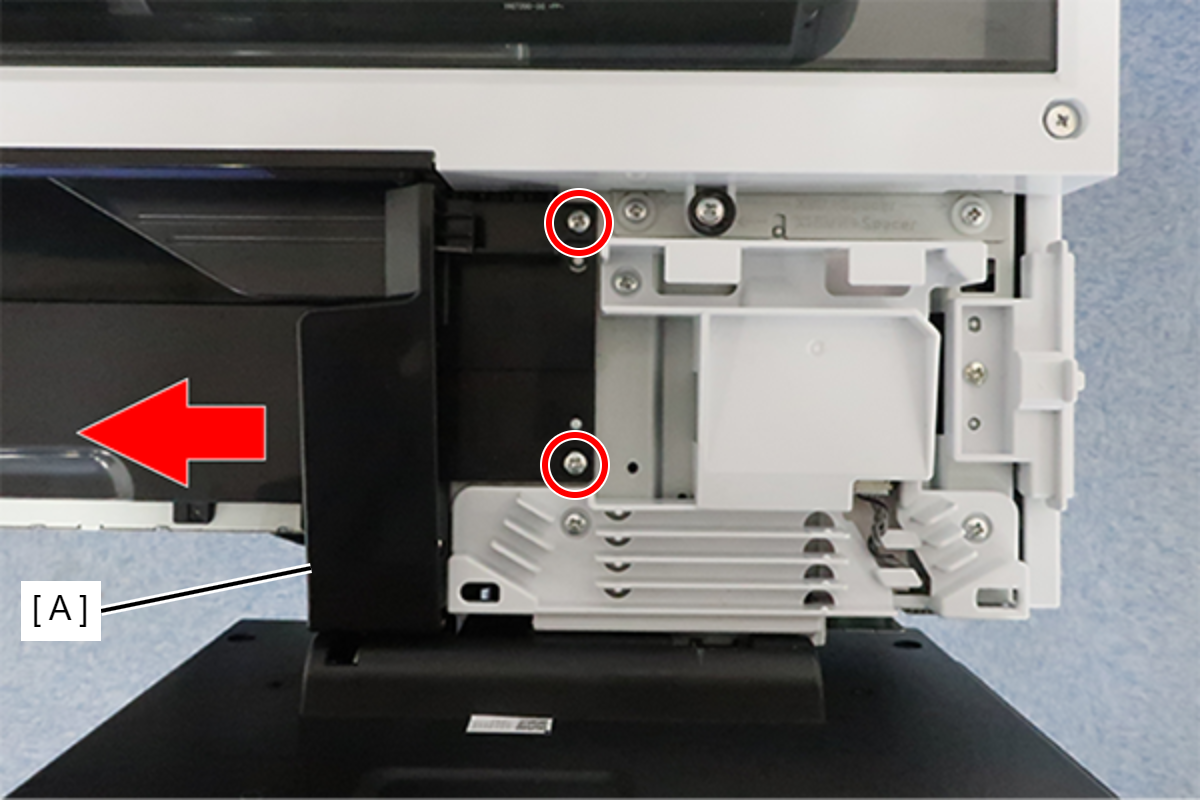
 : 3x8D
Assembly / 組み立てWhen installing the Speaker Assy, align the protrusions with the notches on the main unit side.