
Main Unit Bundled Items and Unpacking
Bundled Items
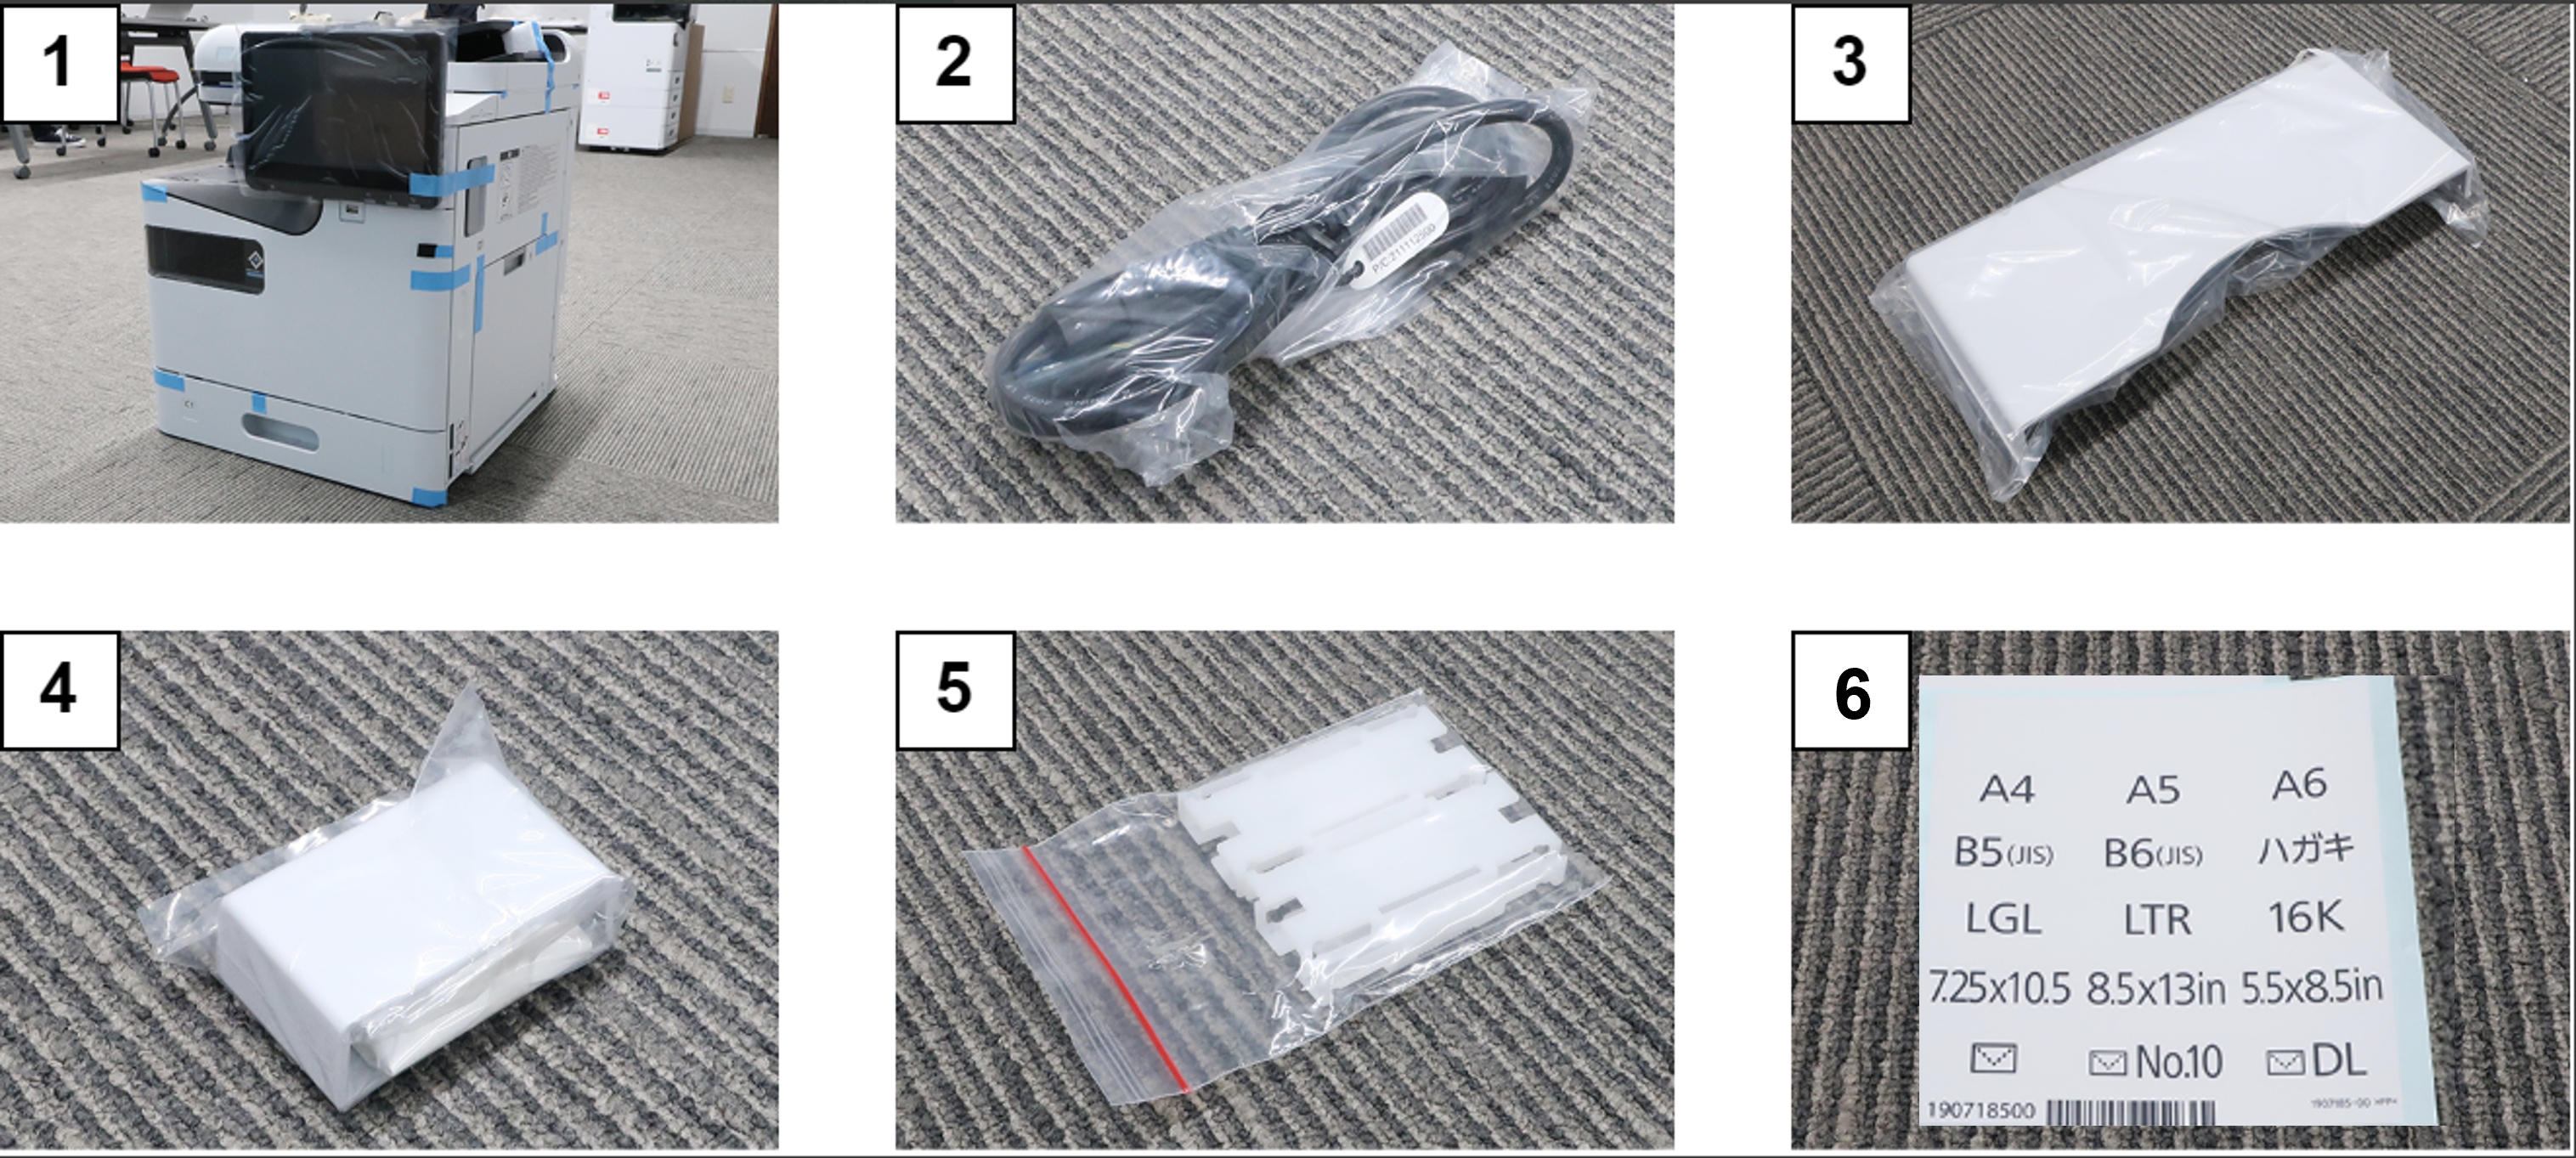
| No. | Bundled Items | Qty. |
|---|---|---|
| 1 | Main Unit | 1 |
| 2 | Power cable | 1 |
| 3 | Manual holder | 1 |
| 4 | Cleaning cloth holder | 1 |
| 5 | Ink cartridge cover (for transportation) | 4 |
| 6 | Paper size label | 1 |
Unpacking Procedure
Items to Prepare
- Gloves
- Cutter
Minimum number of workers
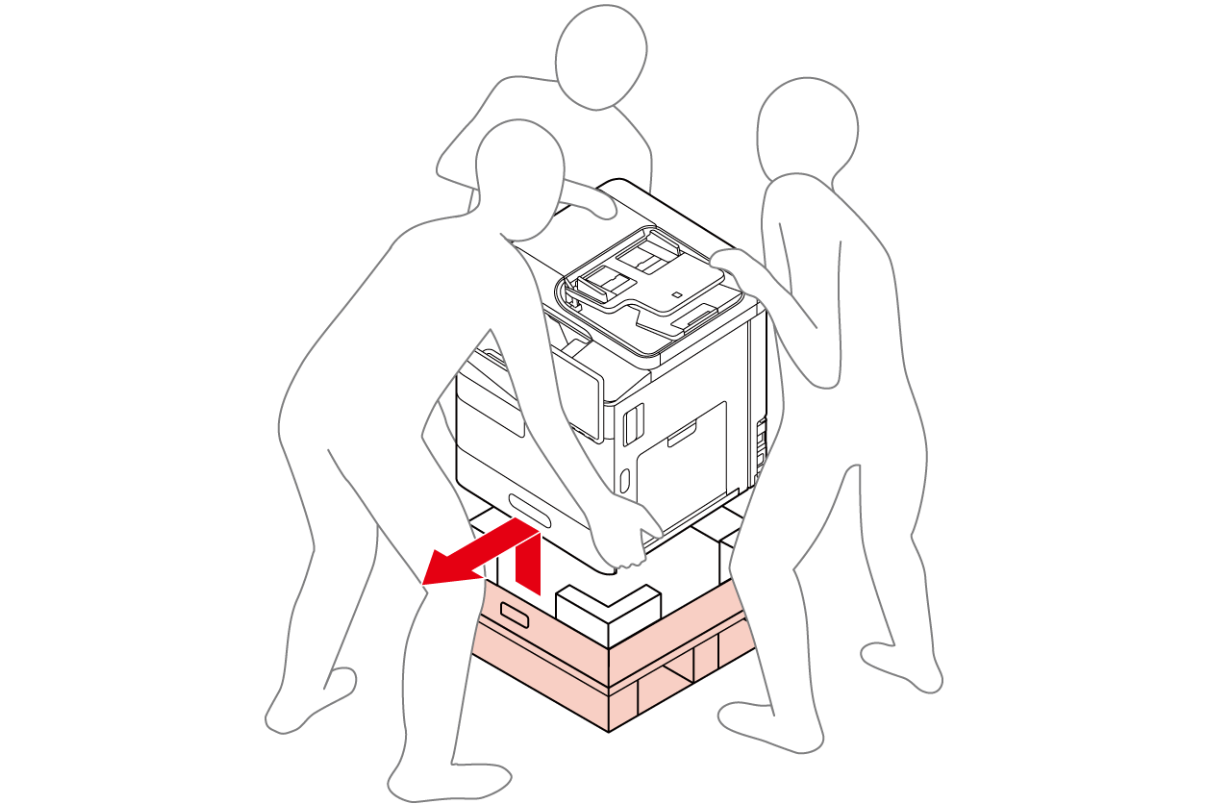
3 persons
 Caution / 注意 Caution / 注意 |
Be sure to check the following precautions before unpacking.
|
Unpacking Procedure
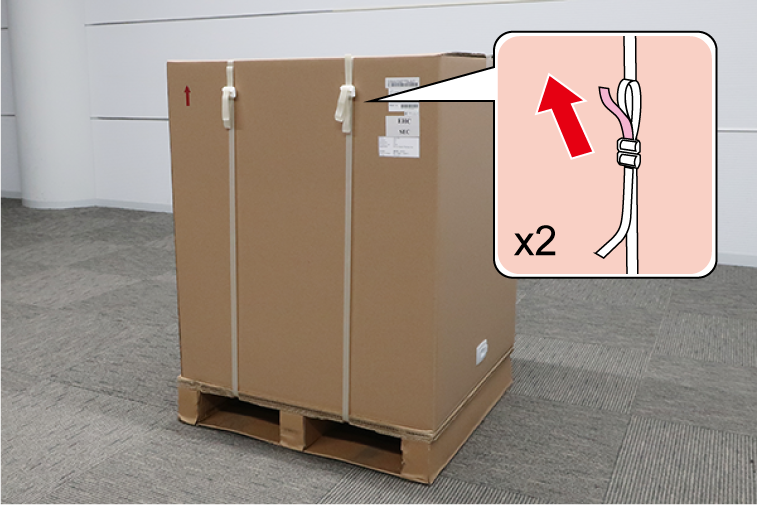
- Hold the end of the PP band on the looped side and lift it up to remove the two PP bands.
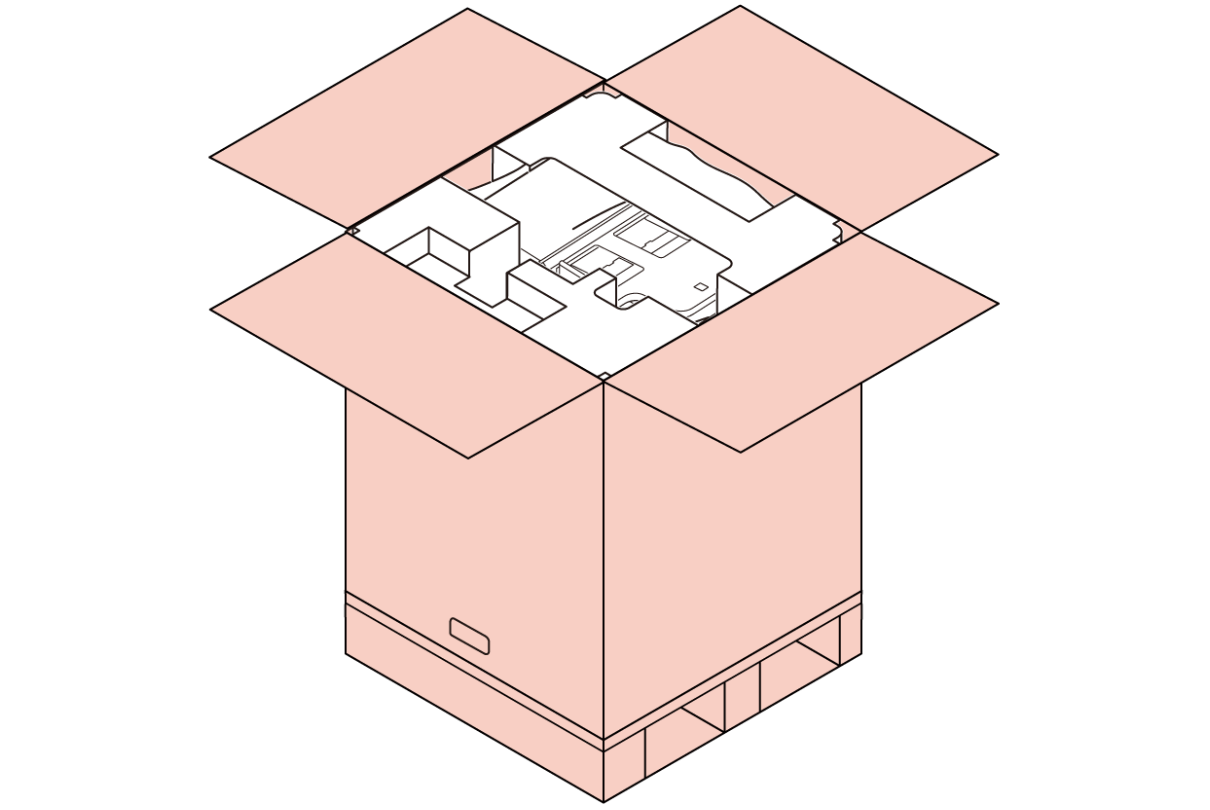
- Remove the tape and open the top side.
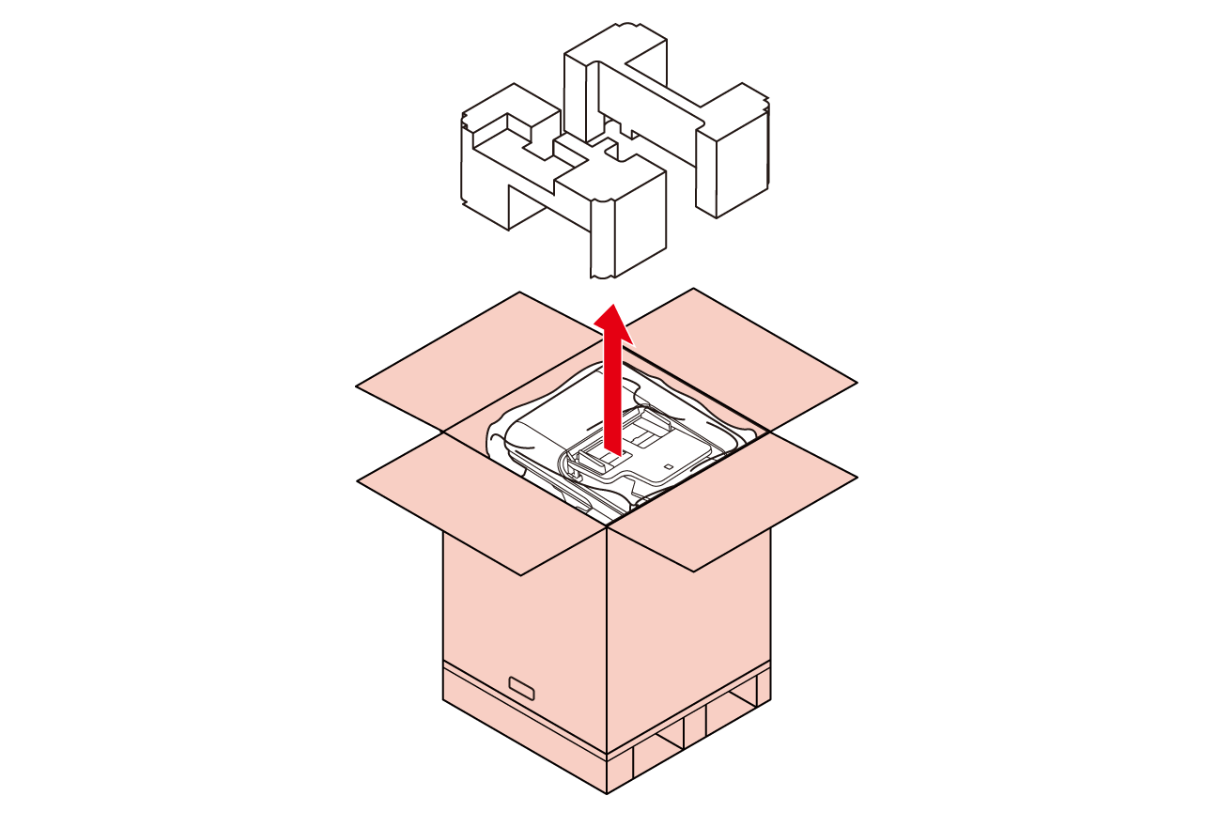
- Remove the cushioning materials on the top. Be careful not to drop the manual box and AC cable stored in the cushioning material.
- Remove 4 corner angles.
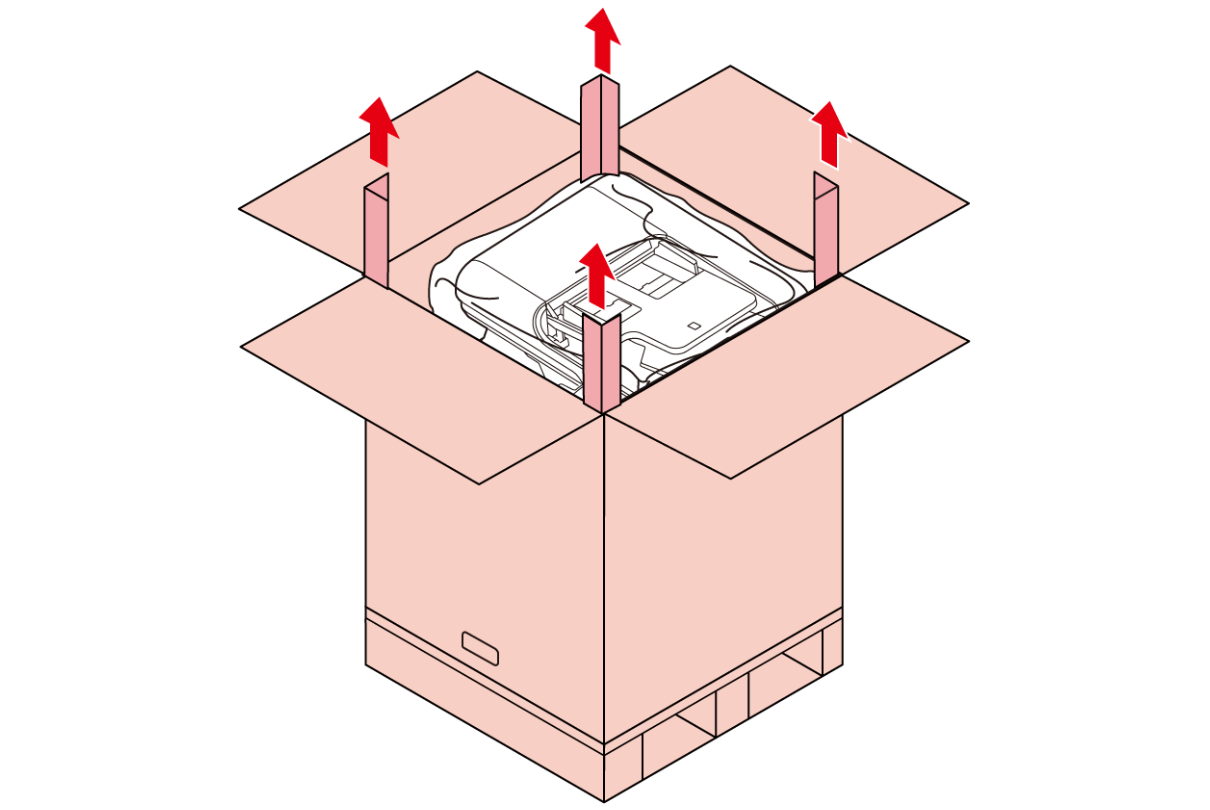
- Remove 2 joints.
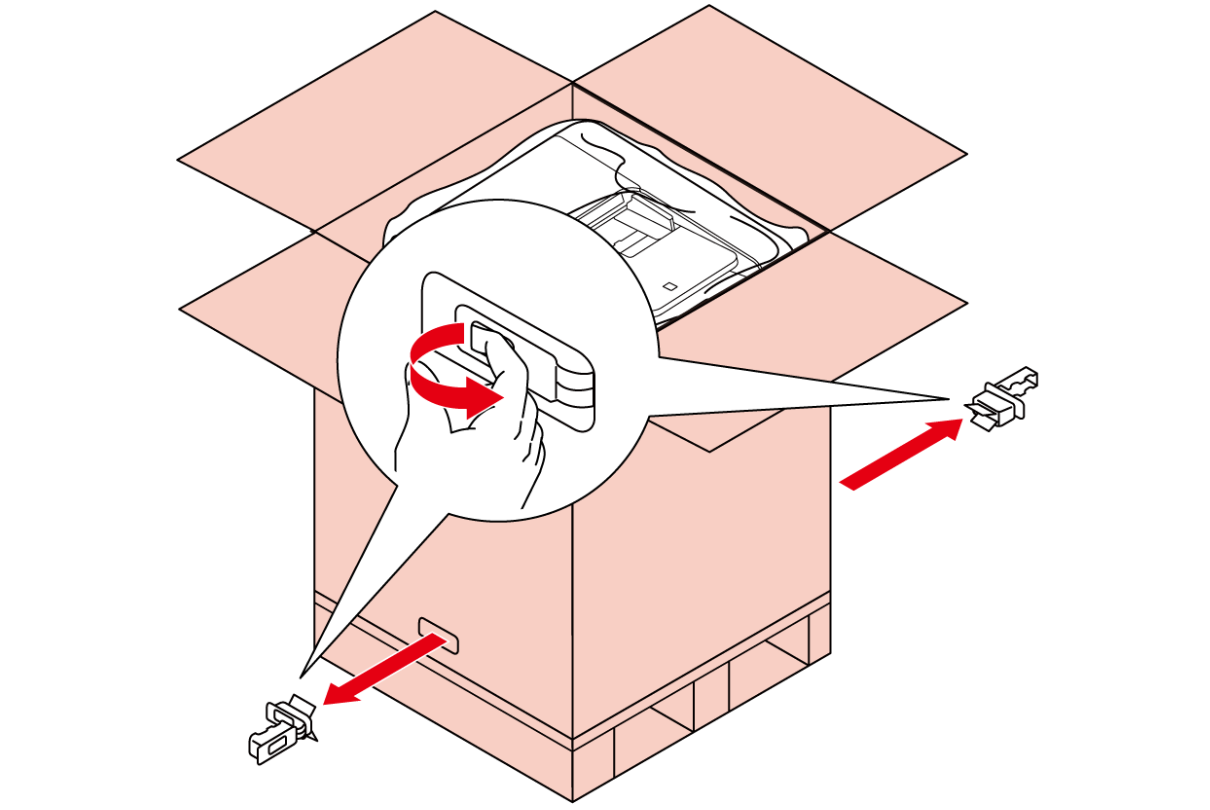
- Remove the packing box upwards.
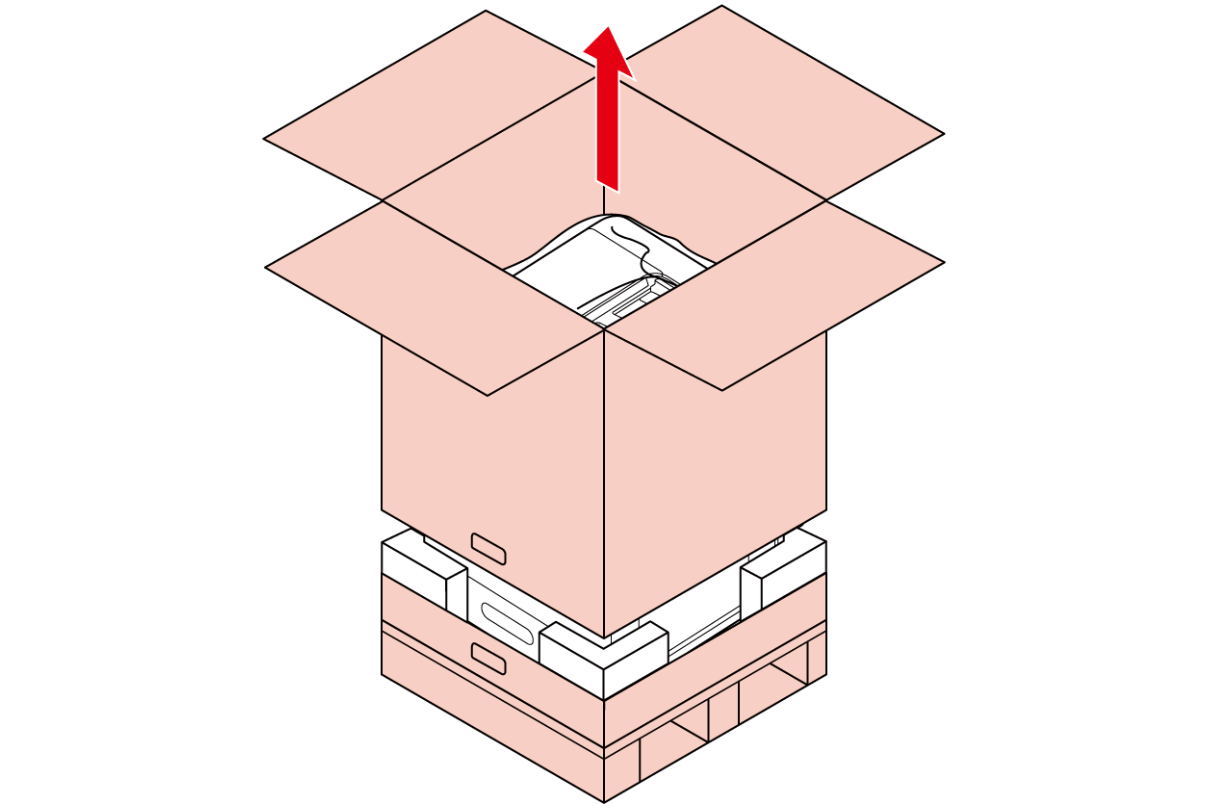
- Peel off the 4 blue tapes that hold the vinyl sheet under the 4-sided body to the Main Unit.
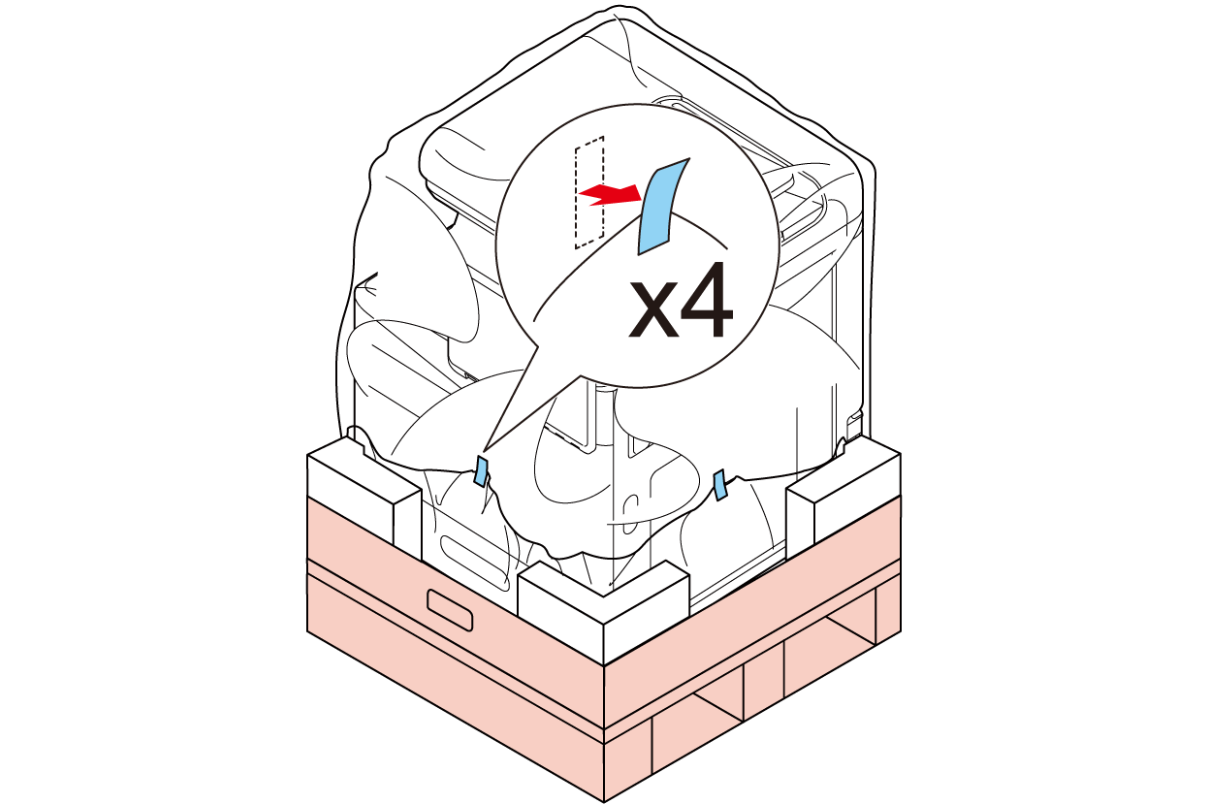
- Remove the plastic bag.
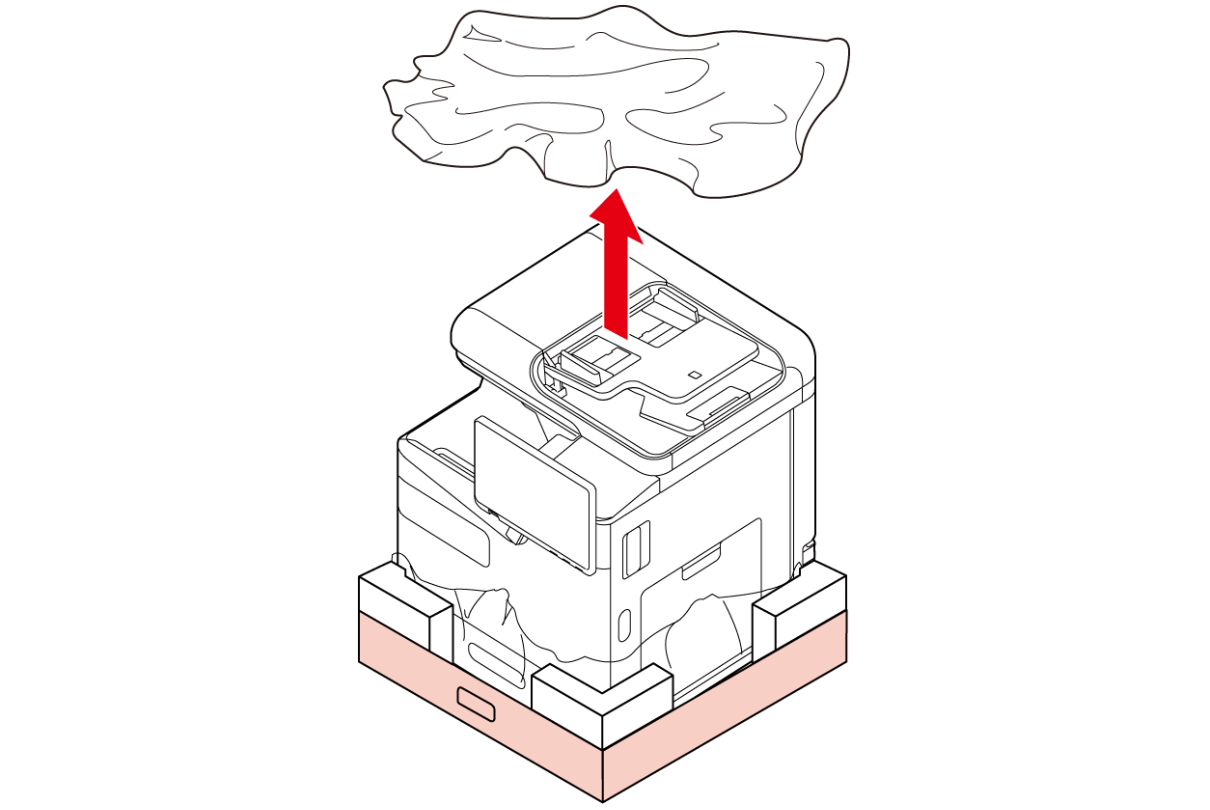
- Remove the cushioning material.
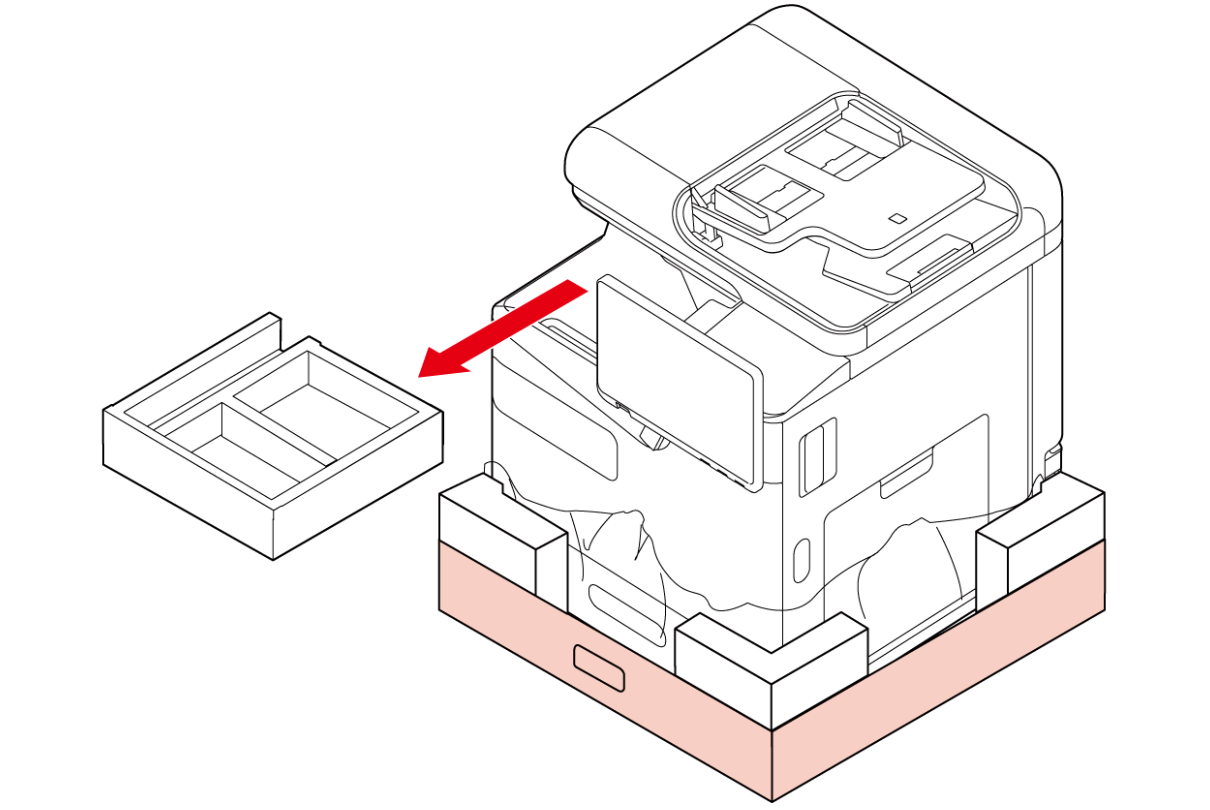 Caution / 注意
The cushioning material must be reused for pre-delivery while transporting, so make sure to save it until pre-delivery transporting is complete.
Lift the main unit and remove it from the packing box.
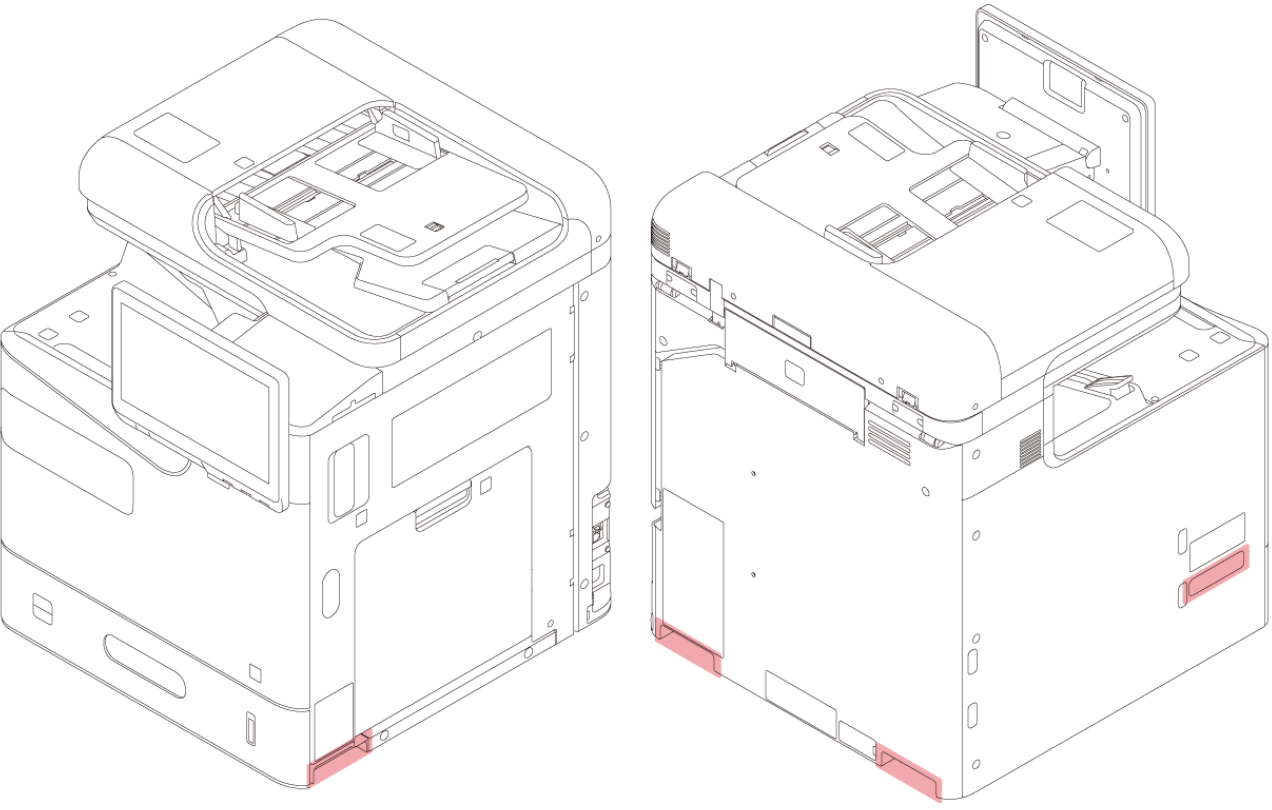
 Check Point / チェックポイント
Hold on the positions shown in the figure when lifting the main unit.
Remove the exterior, internal protective tape, and protective materials.
Caution / 注意This product has three transportation parts required for transportation. When unpacking, be careful not to accidentally throw it away (see below for details).
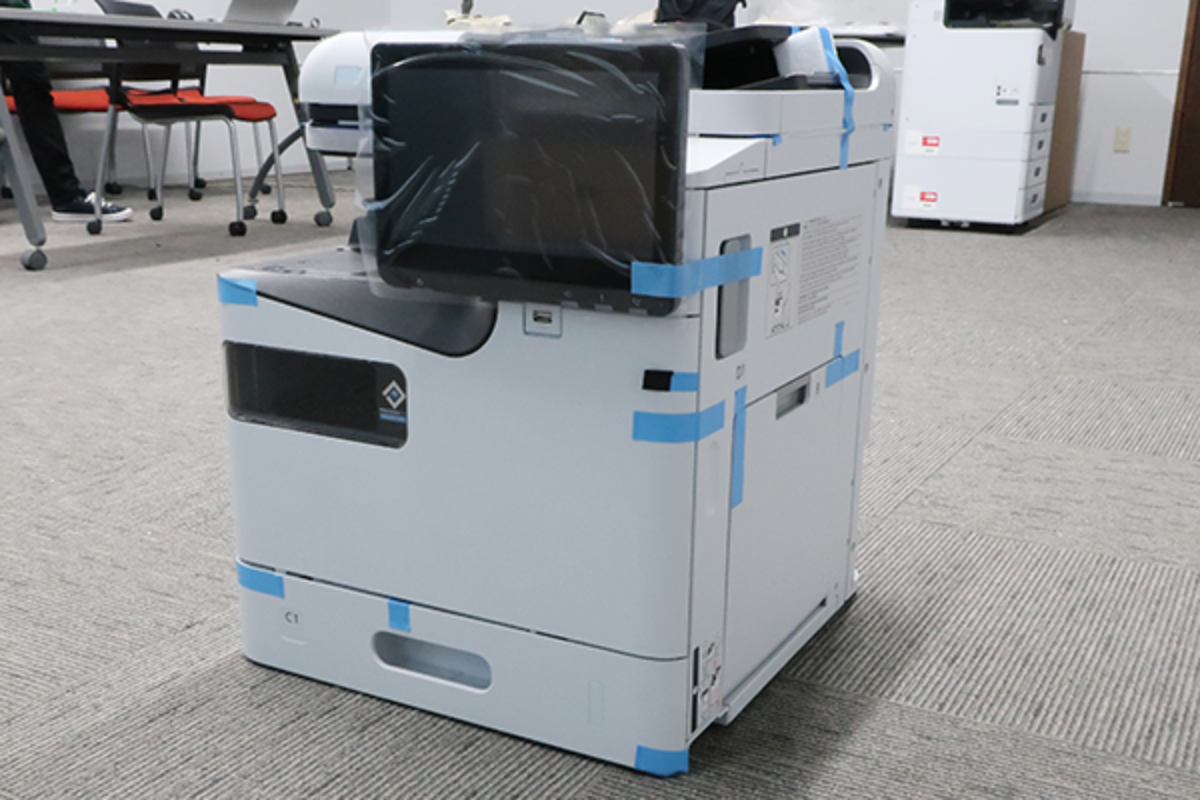
- Front side/ Right side
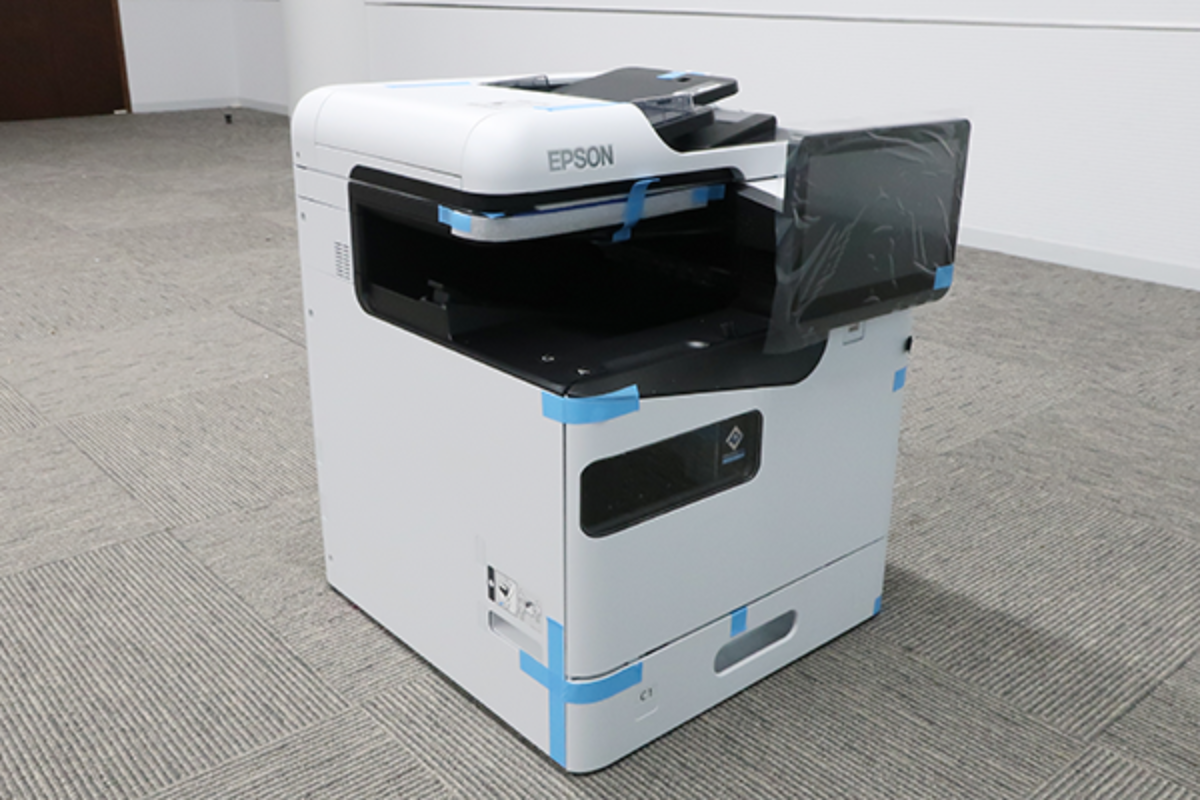
- Front side/ Left side
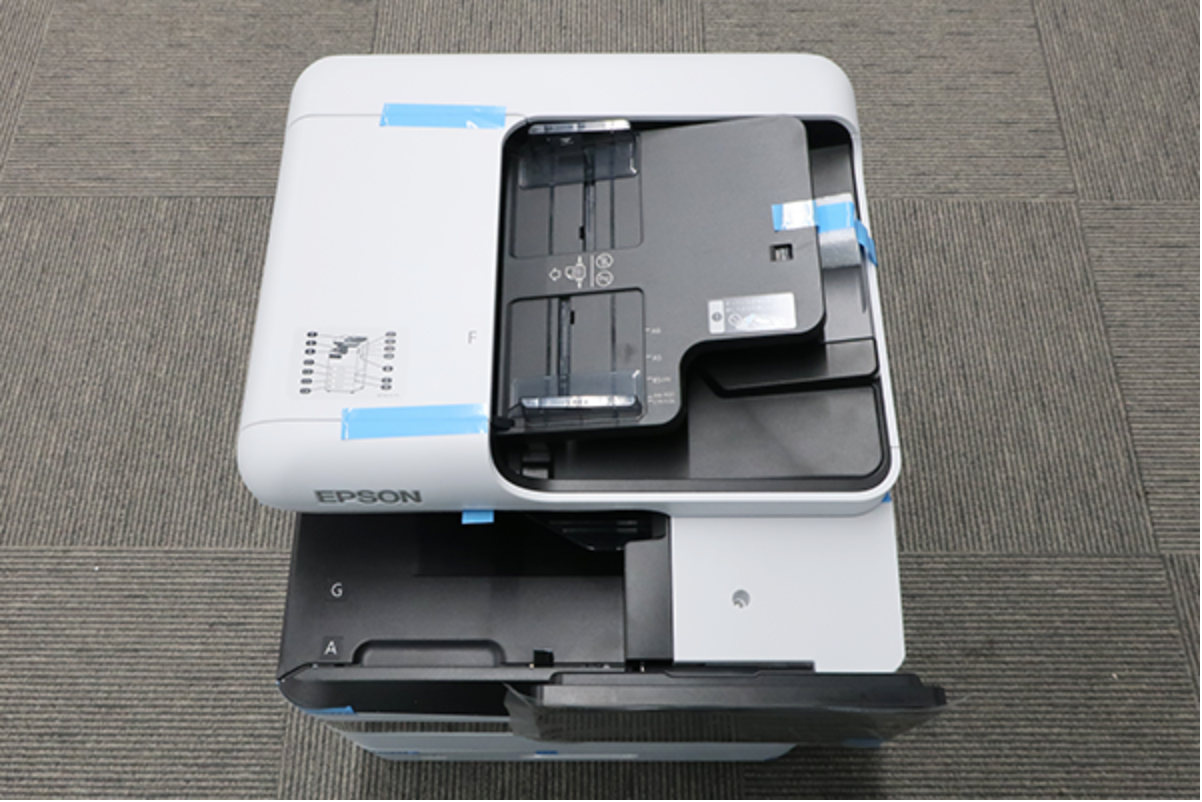
- ADF
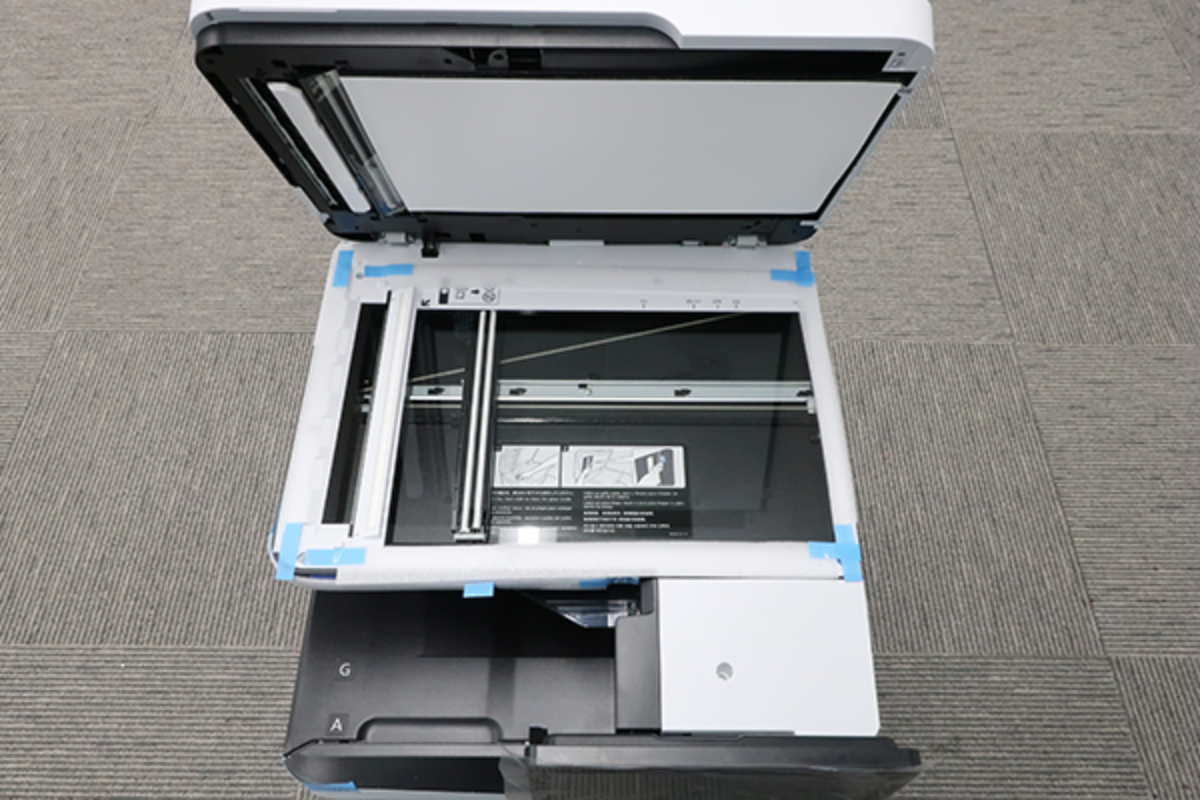
- SCN
- C1 Cassette
- Front side/ Right side
- Open the Front Cover.
- remove the protect tape and remove the Head Lock Shaft transport fixing parts2 (a).
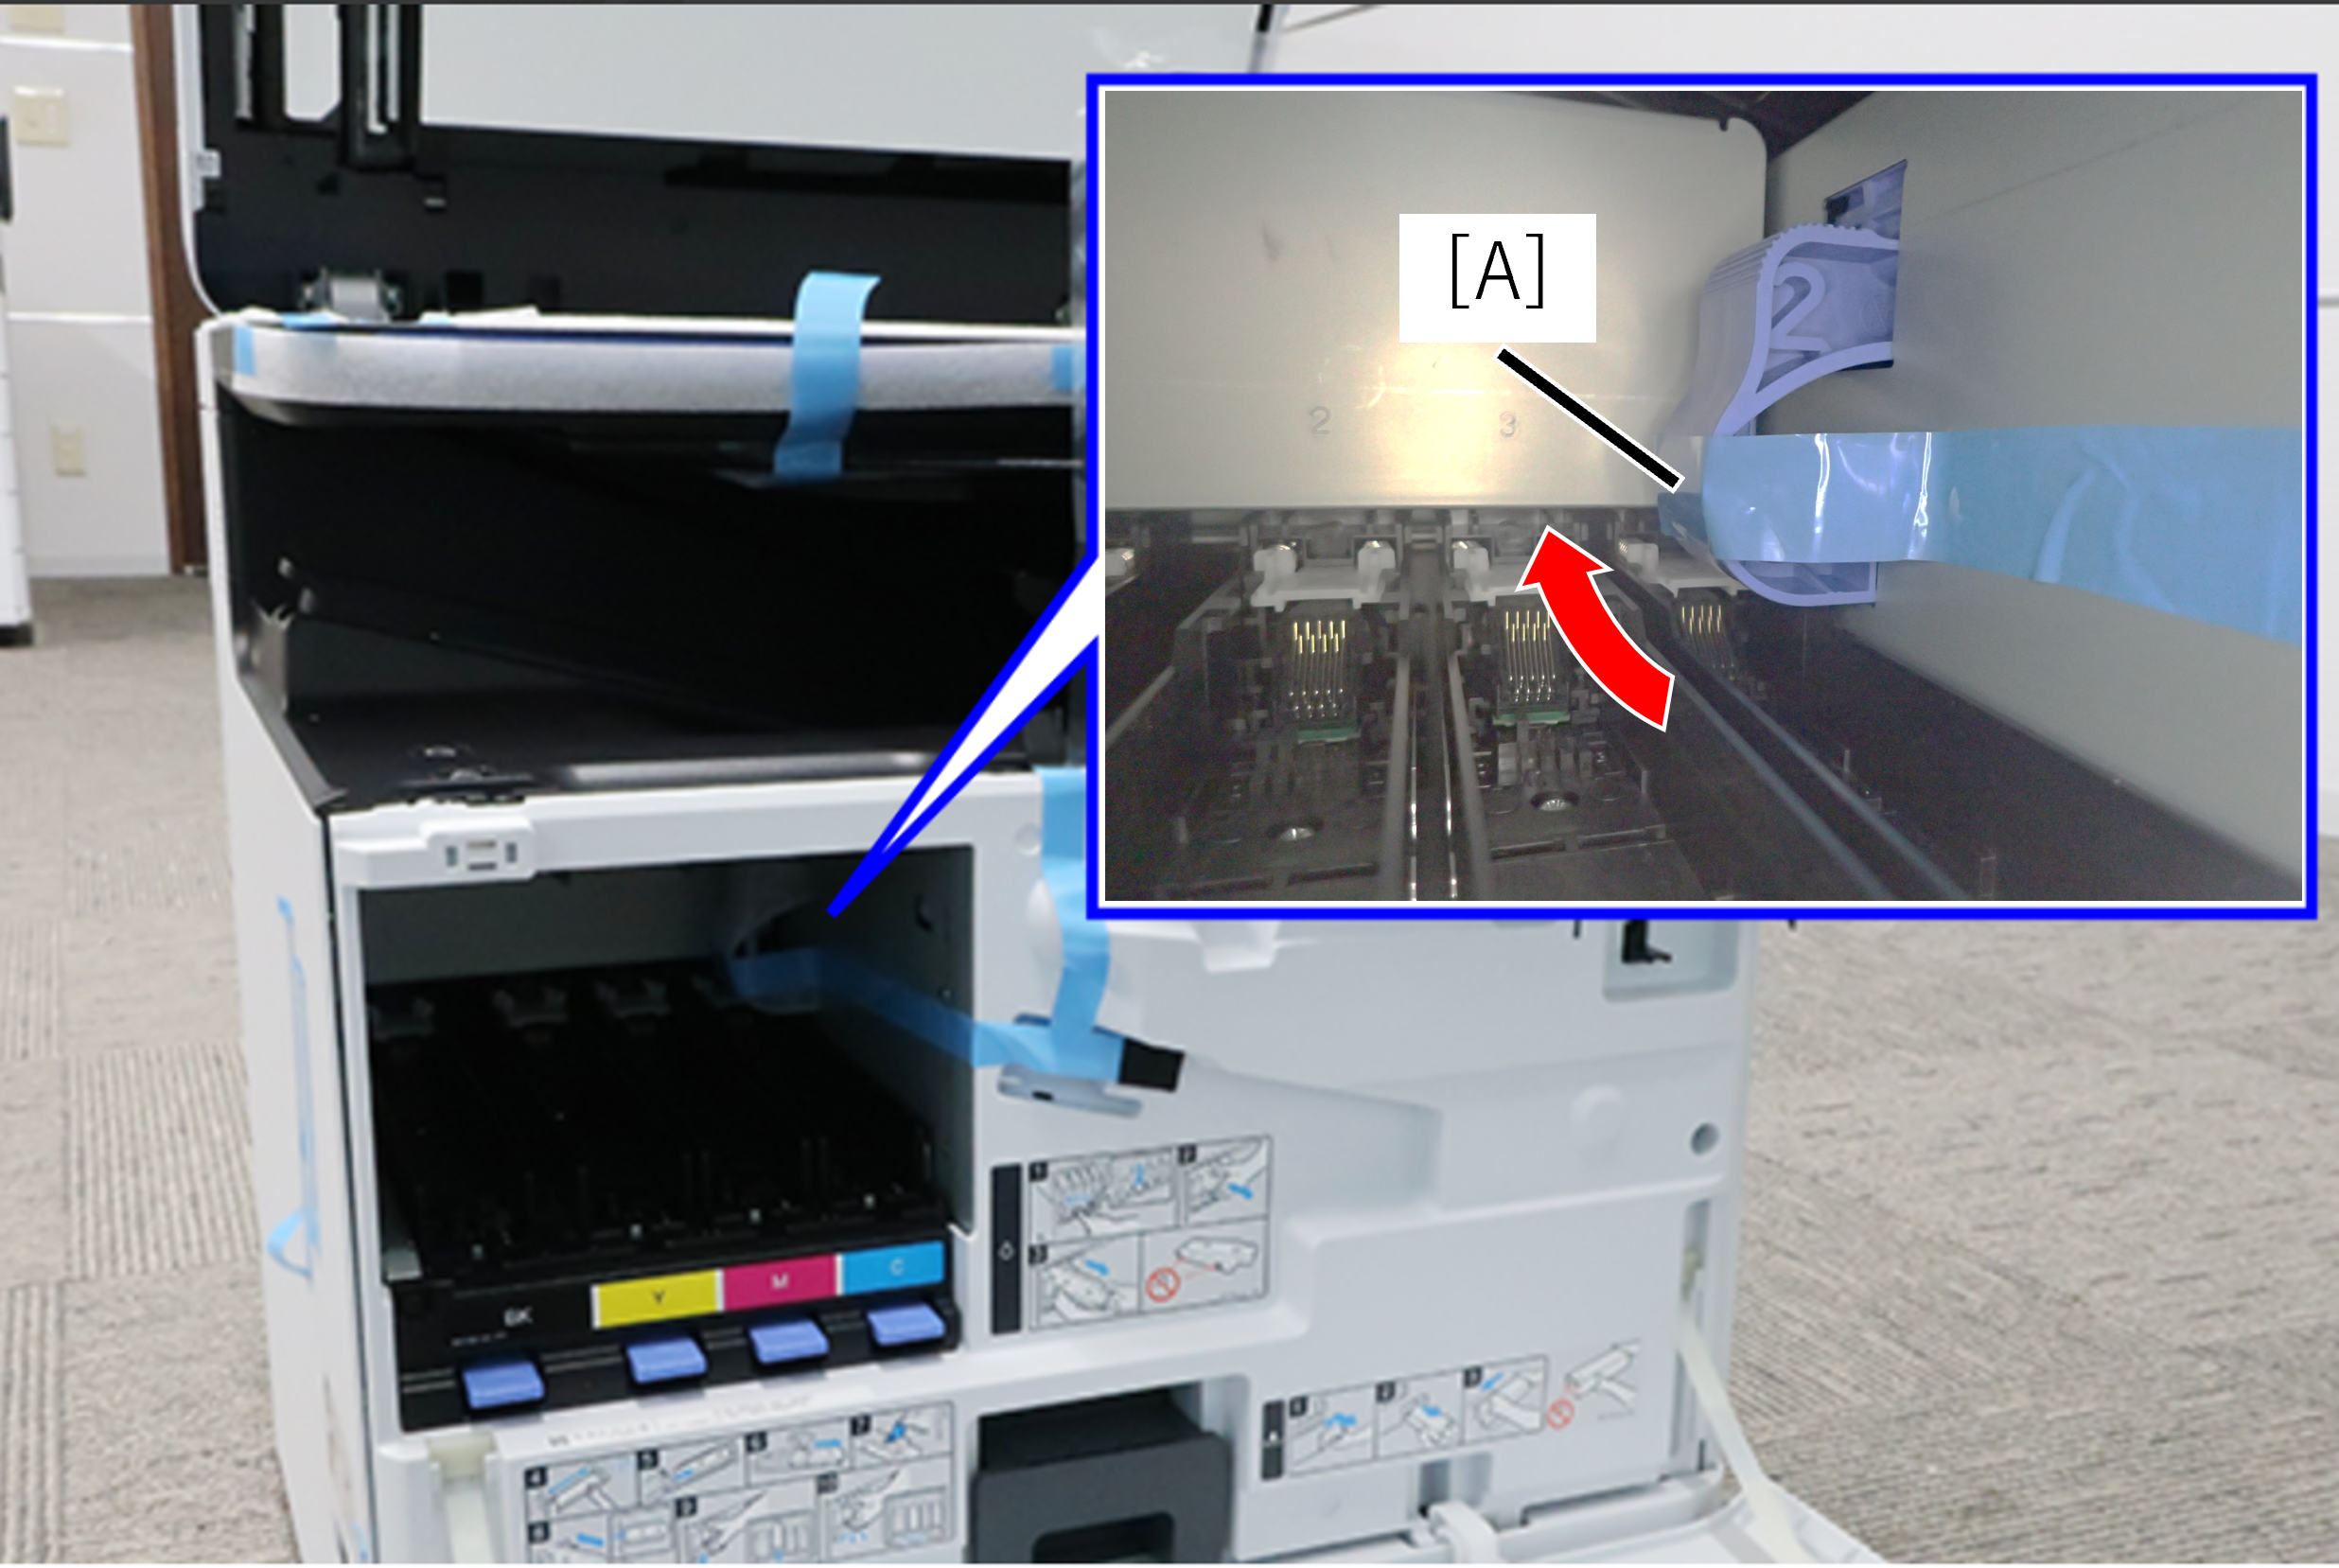 Caution / 注意
do not throw away the Head Lock Shaft transport fixing parts2 as it will be used for re-transportation.
- Pull out the C1 cassette.
- install and store the Head Lock Shaft transport fixing parts2 (a) to the c1 cassette bottom.
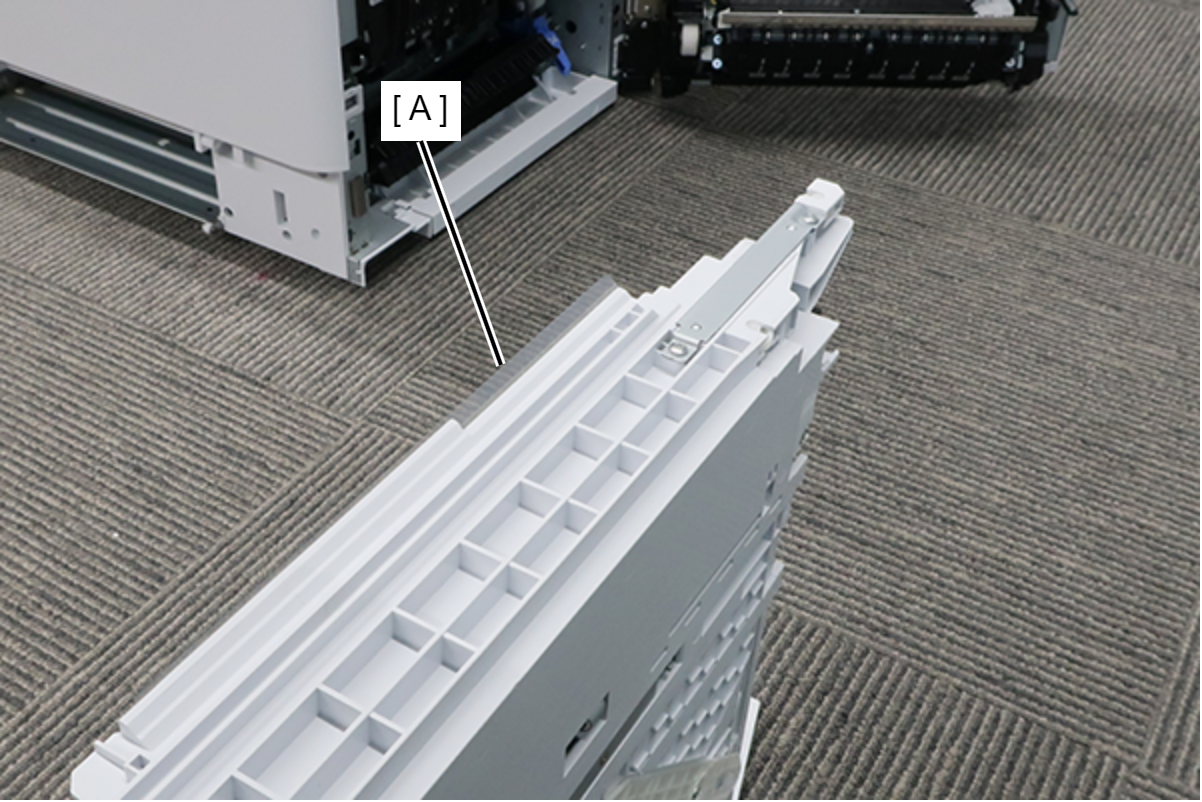
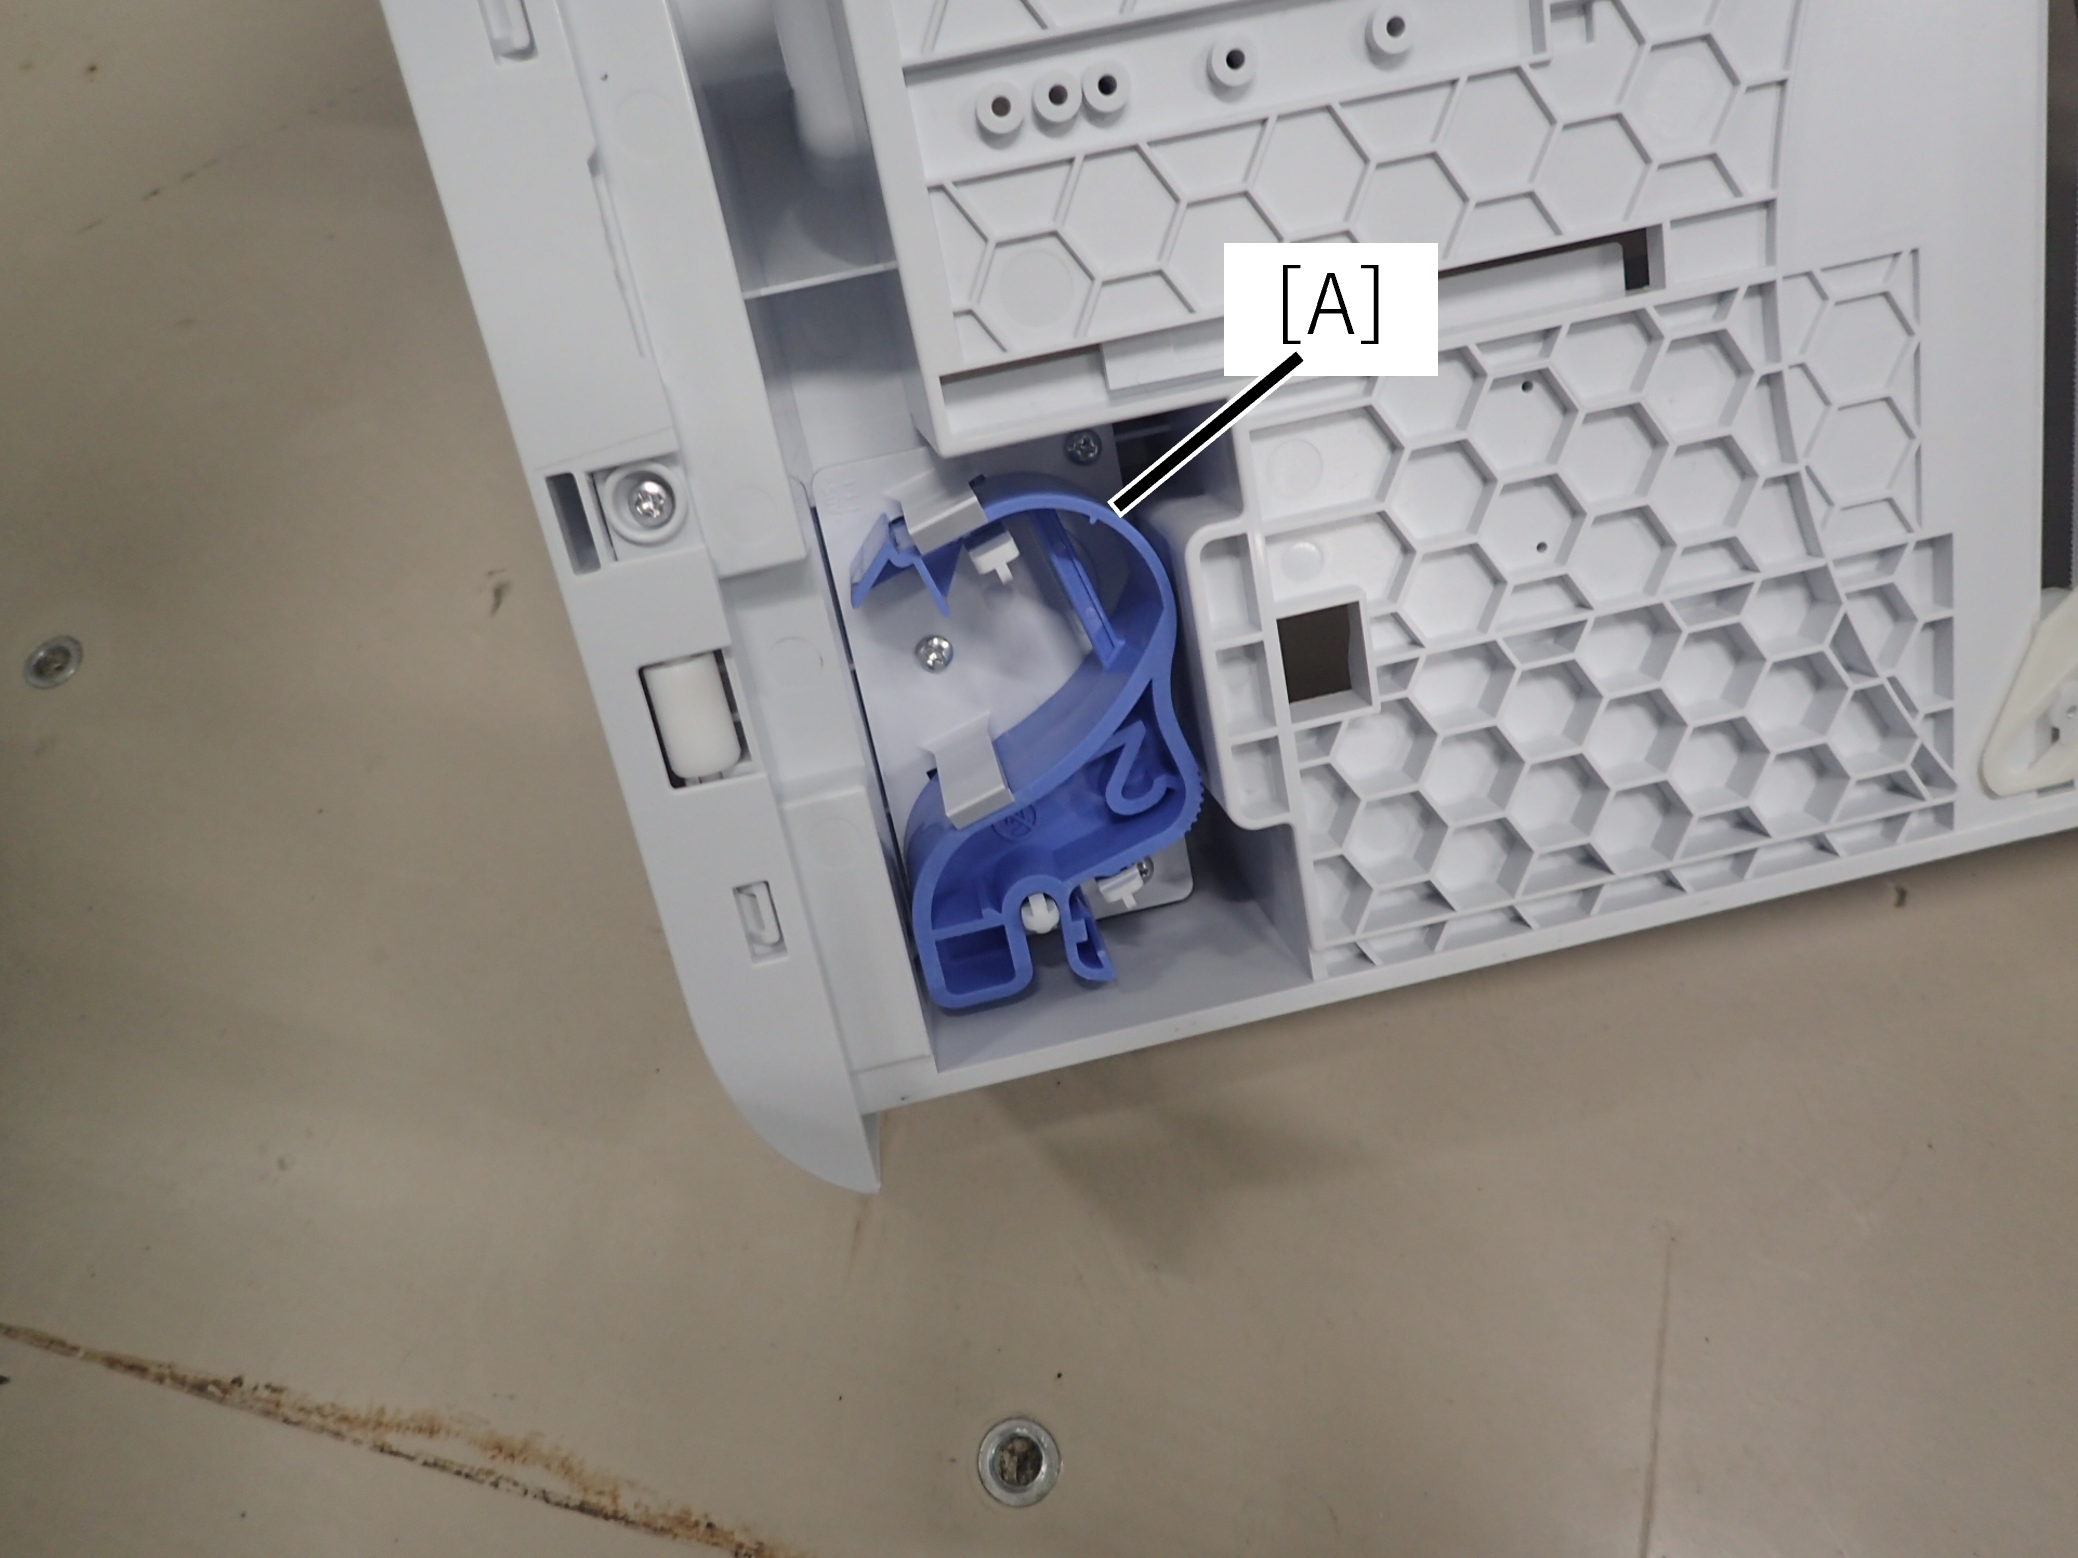 Caution / 注意
when installing the transport fixing parts for the Head Lock Shaft to the c1 cassette, press the film (a) against the floor and ensure that it is not deformed.
- Remove the protect tape and remove the head transport fixing parts1 (A) .
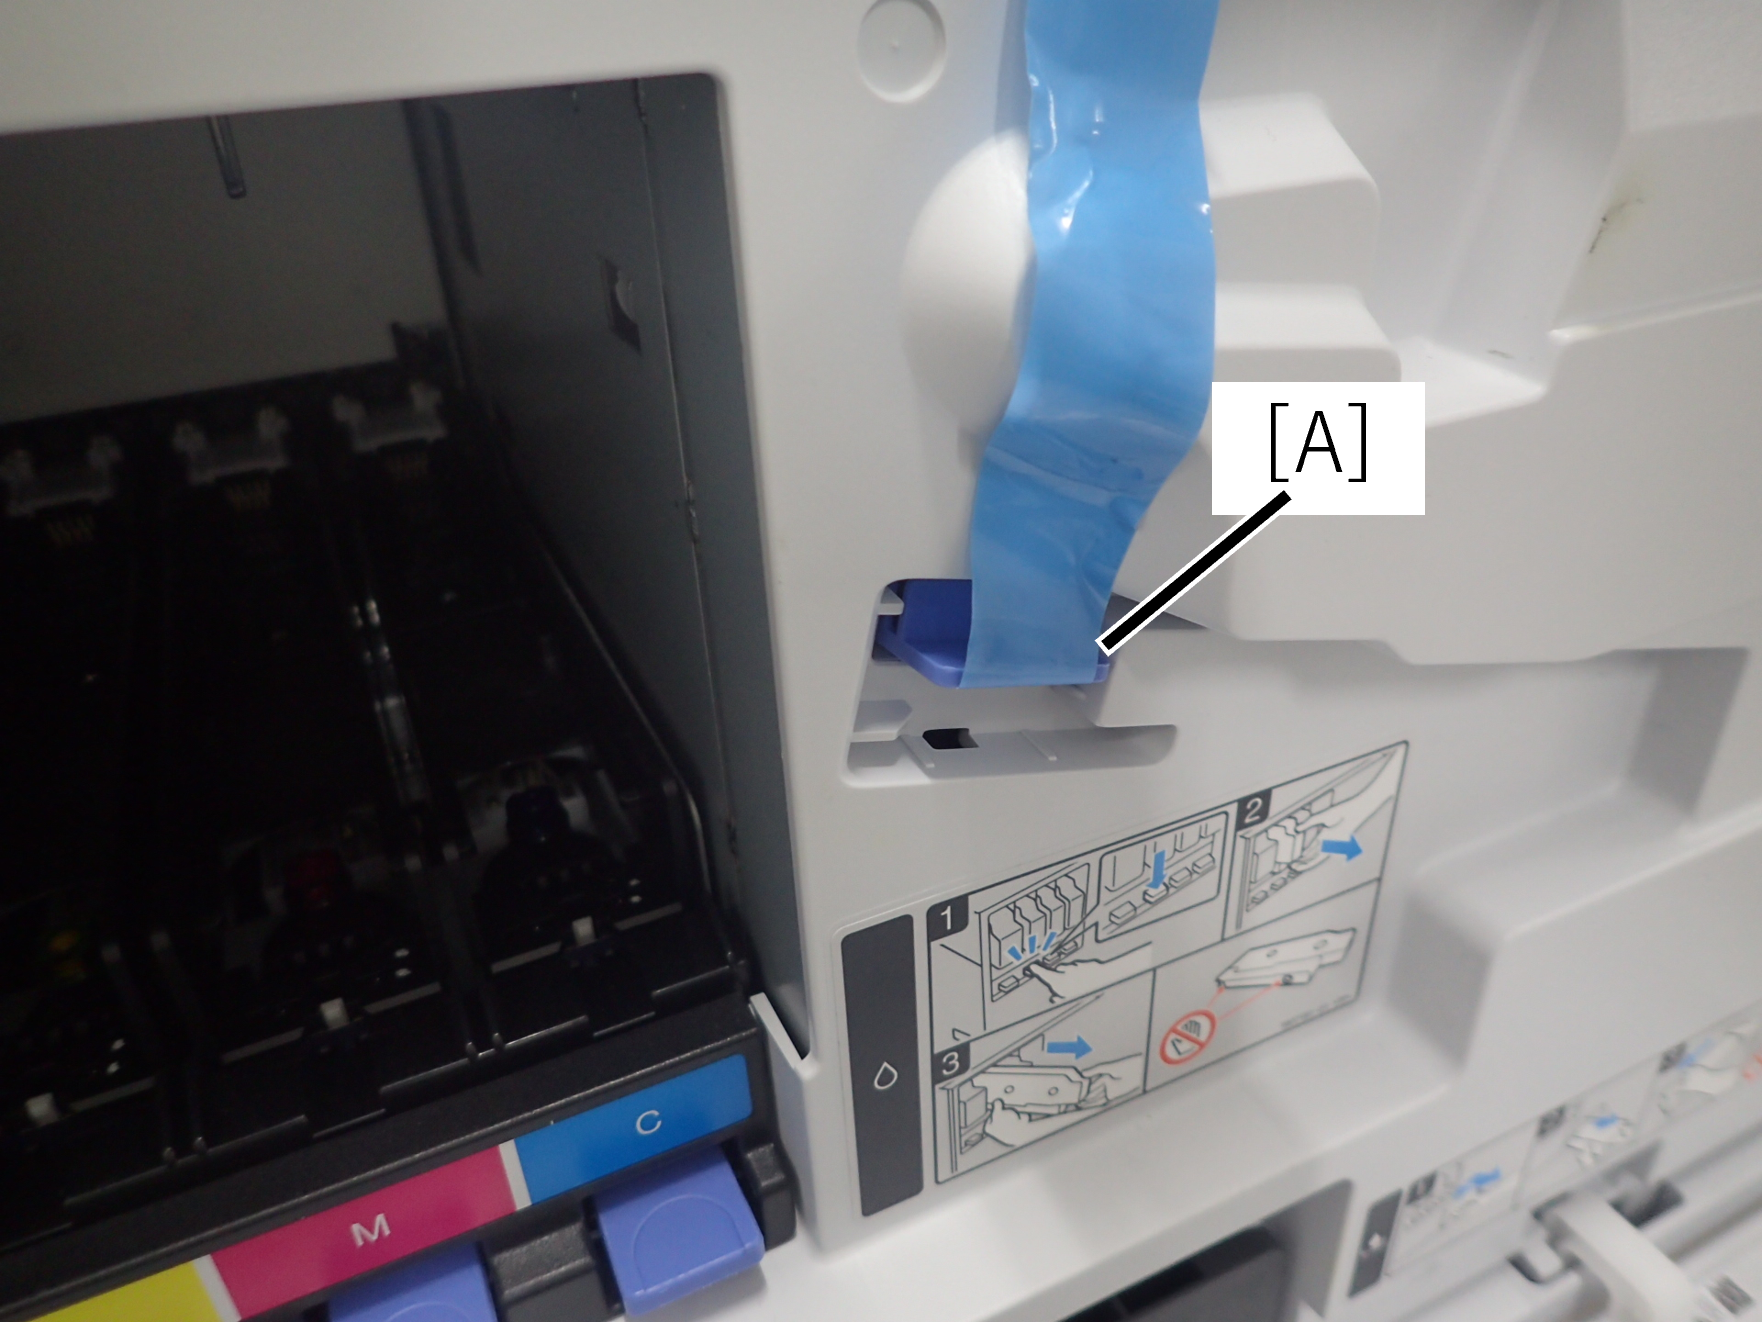
- Store the head transport fixing parts1 (A) according to the shape of the hole in the cover.
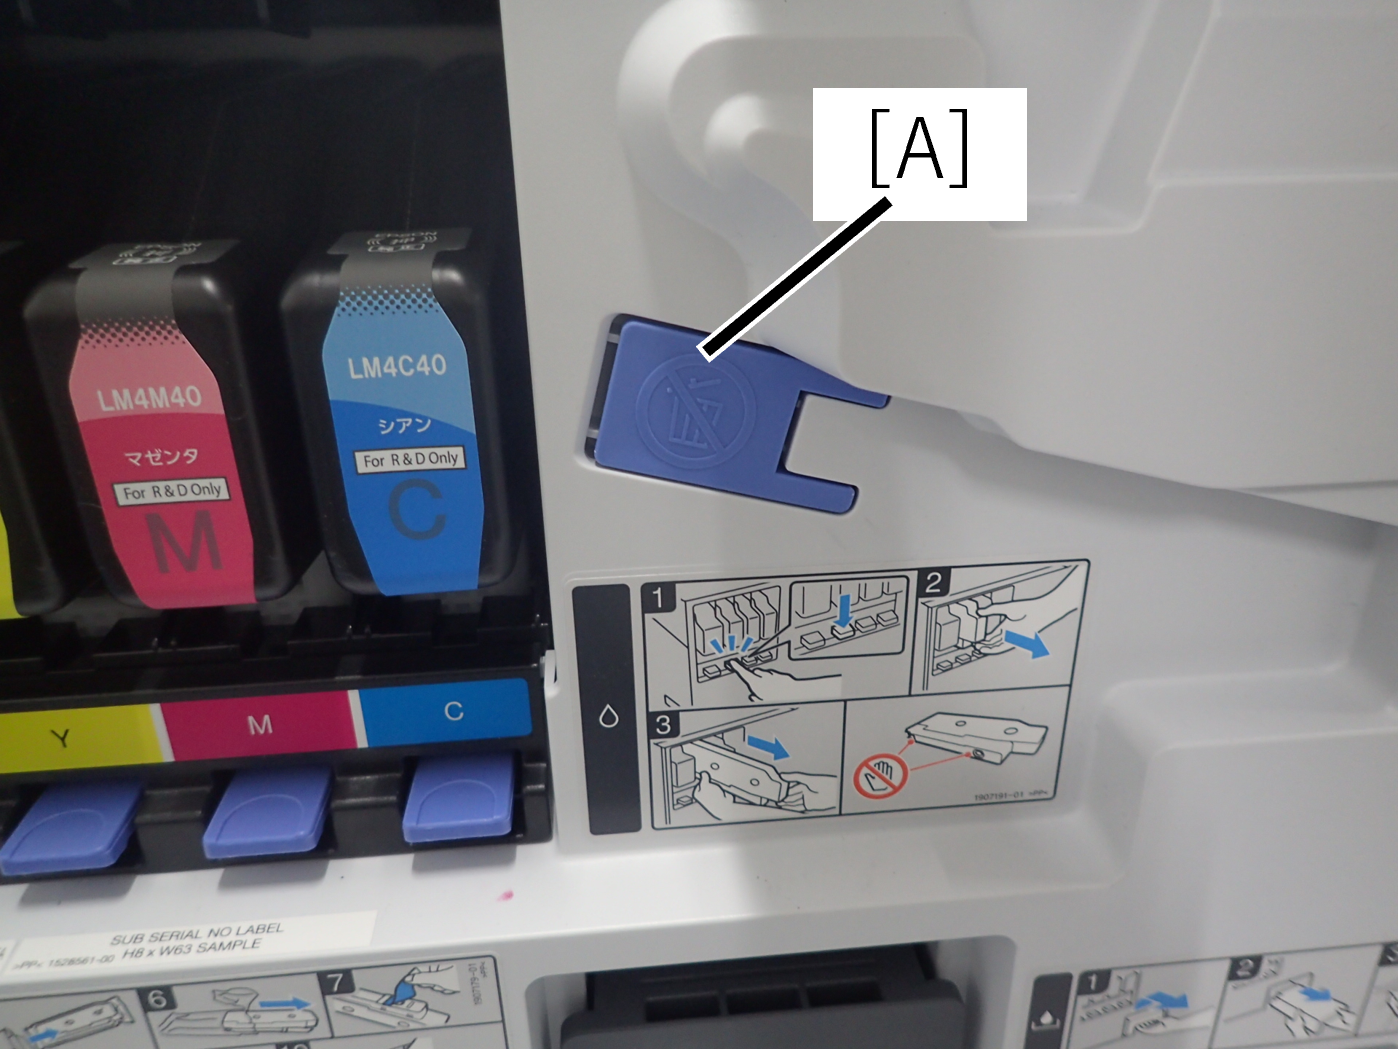 Caution / 注意
Do not throw away the head transport fixing parts1 as it will be used for re-transportation.
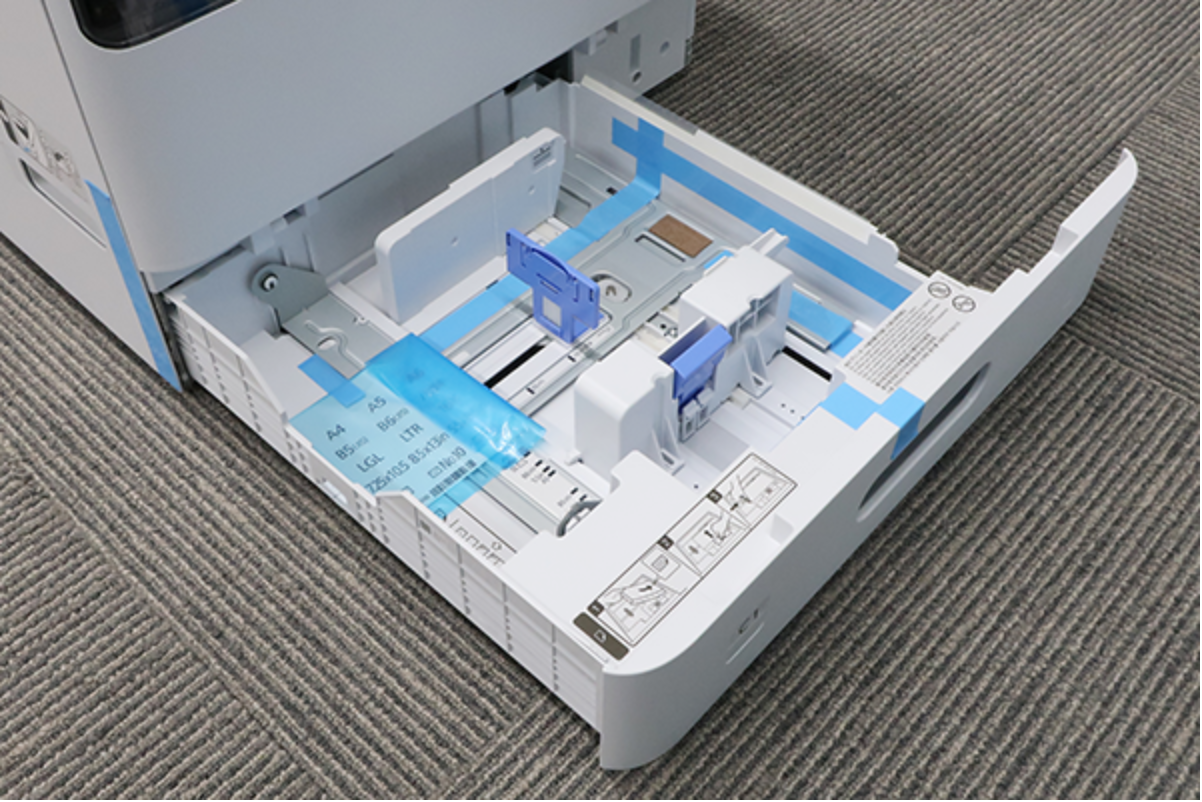
- open the Paper Tray (a) and remove the protective tape.
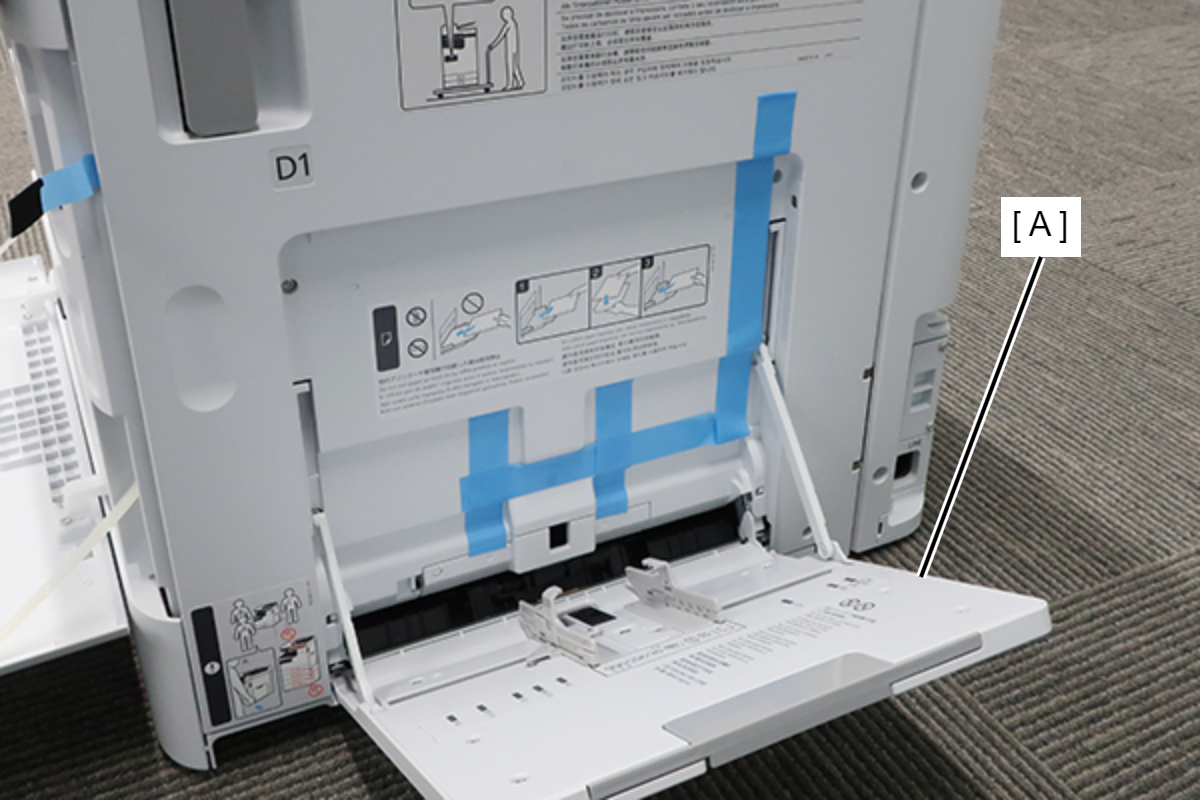
- close the Paper Tray.
- Open the right door unit (A).
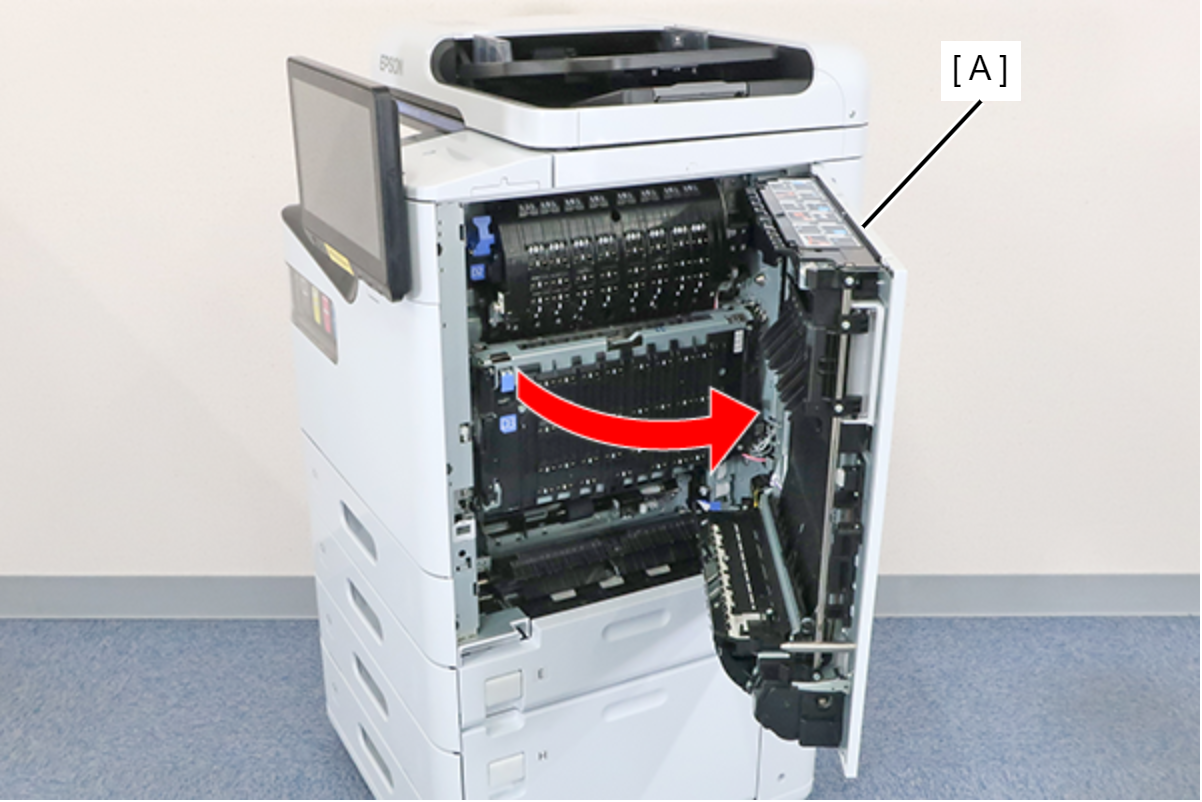
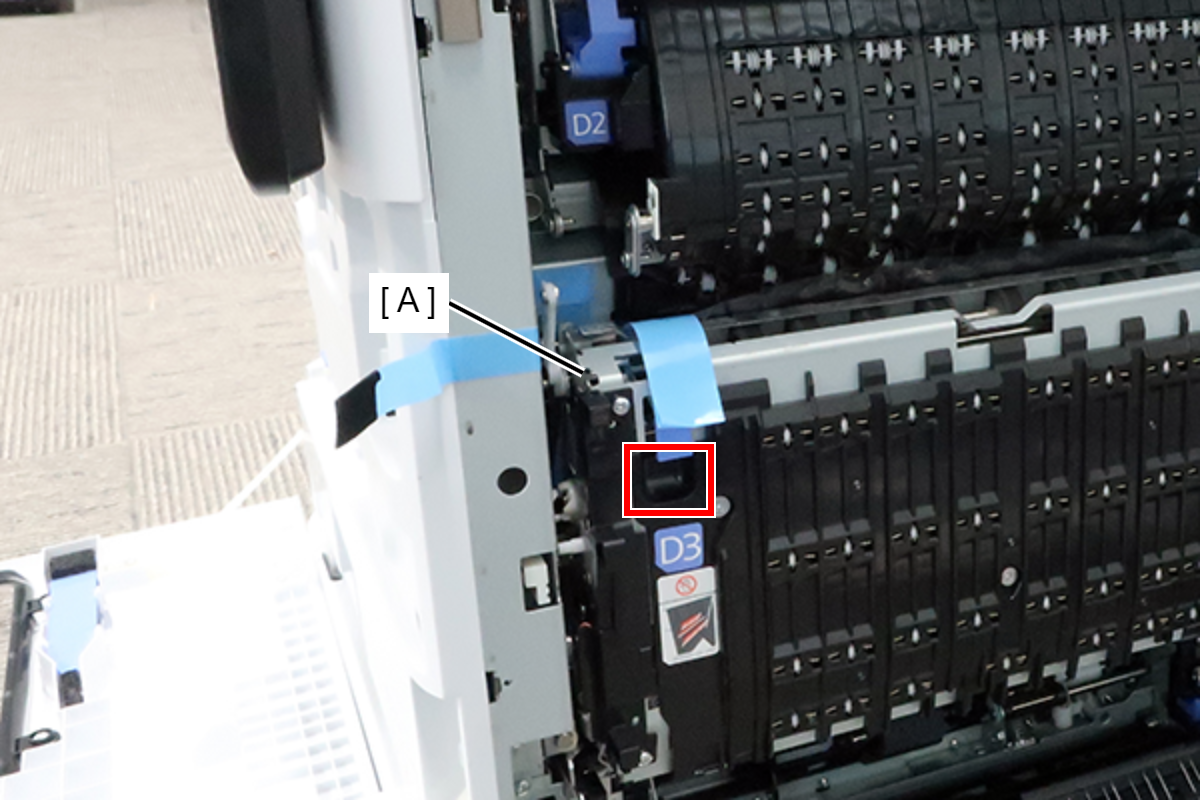
- Pull the lever to open the belt unit (A) slightly.
 Caution / 注意
- Do not touch the belt transport surface of the belt unit.
- Do not remove the protective film shown in the figure below until the tape is removed in the following procedure.
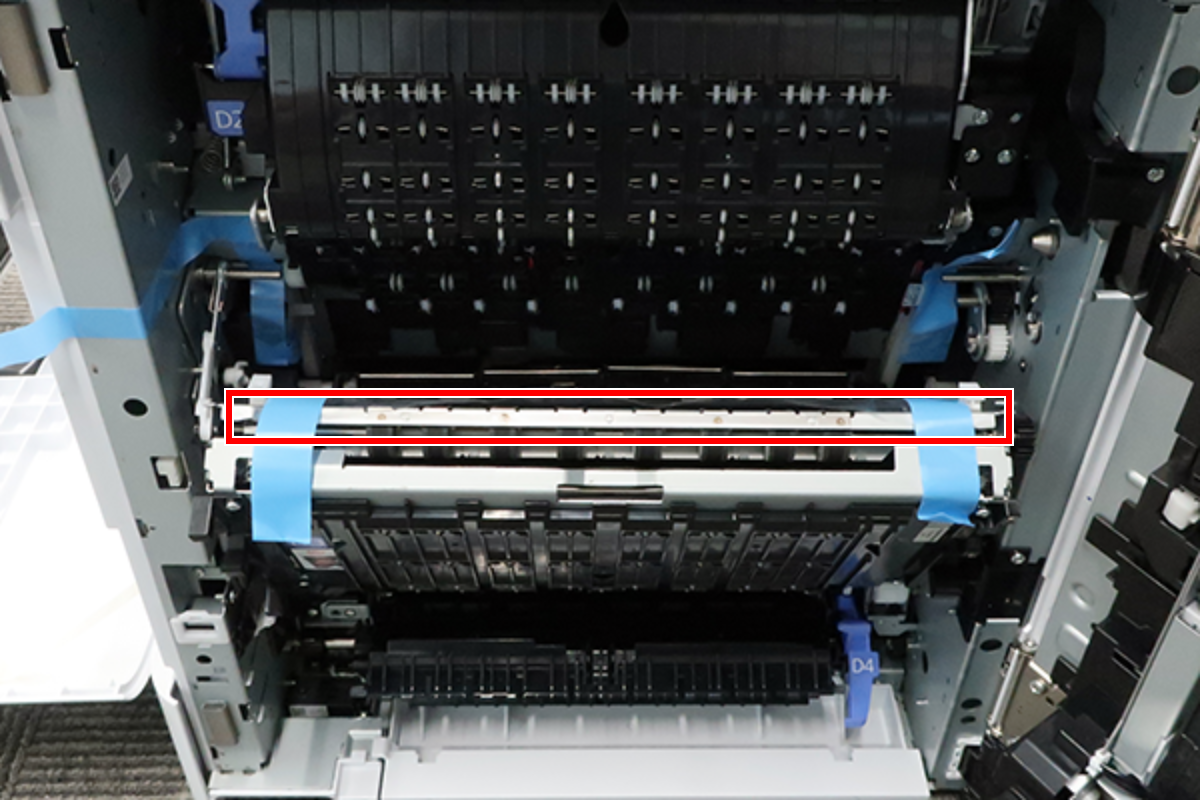
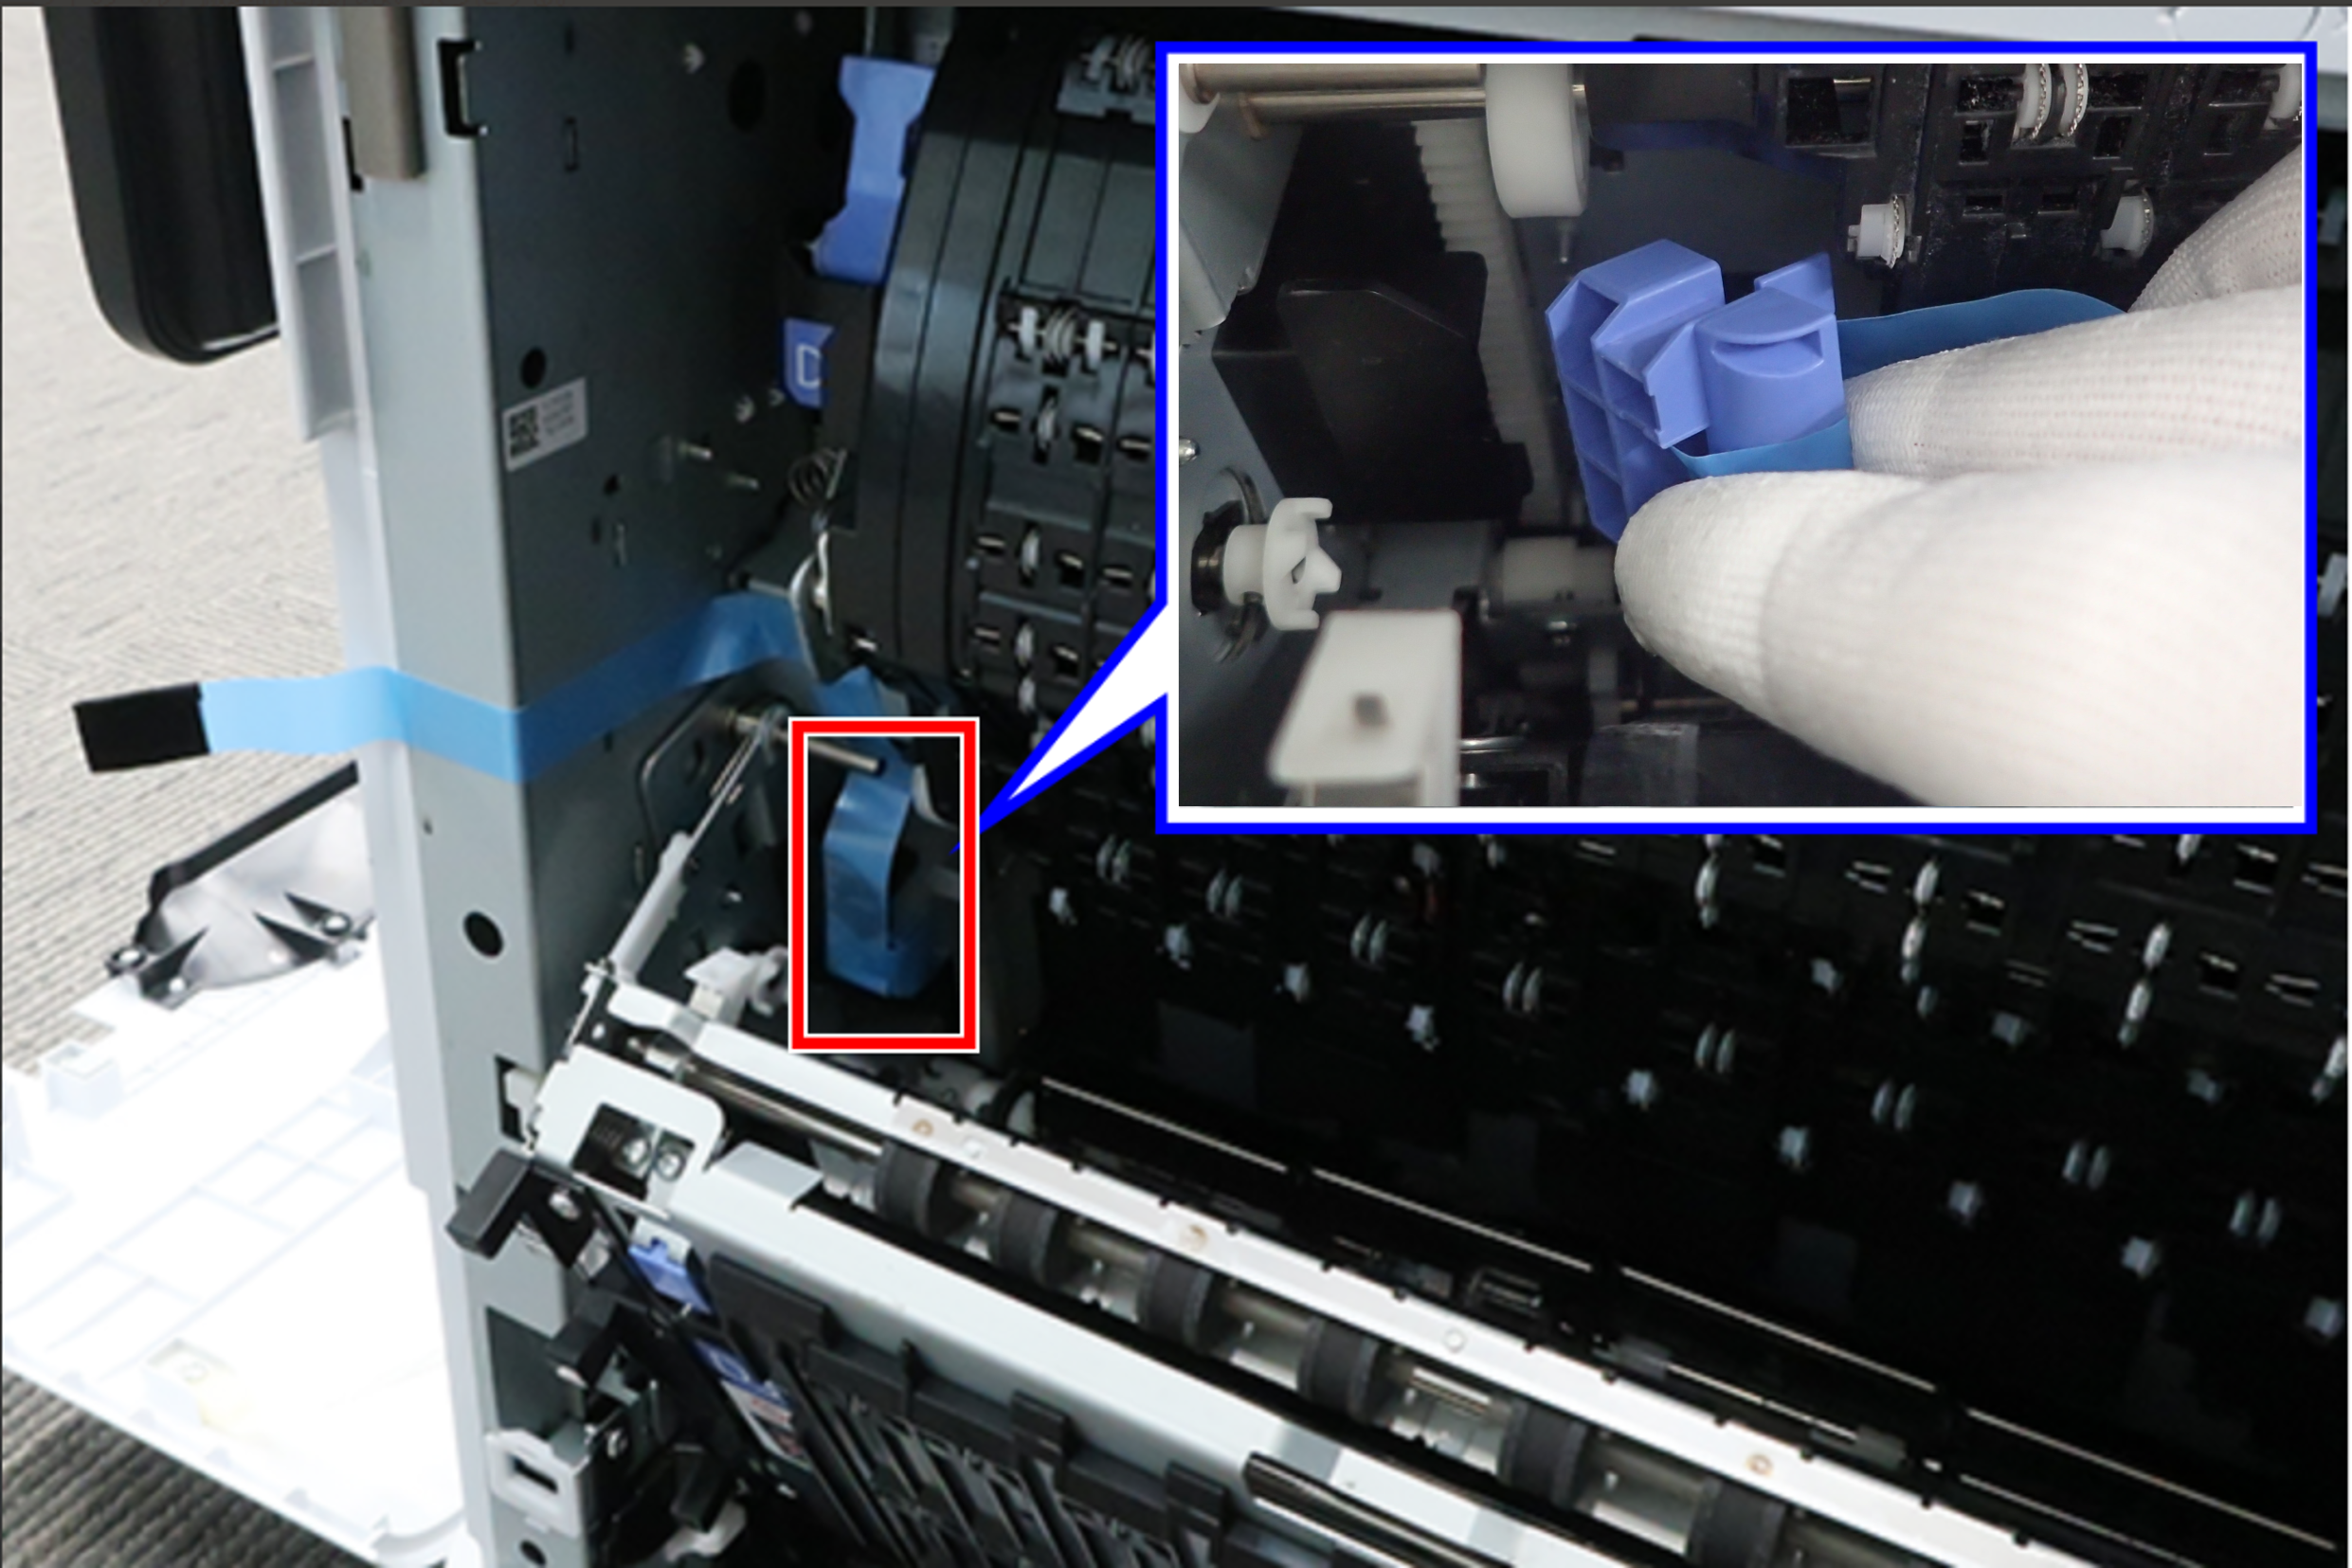
- Remove the protective tape and remove the transport fixing parts for cap.
 Check Point / チェックポイント
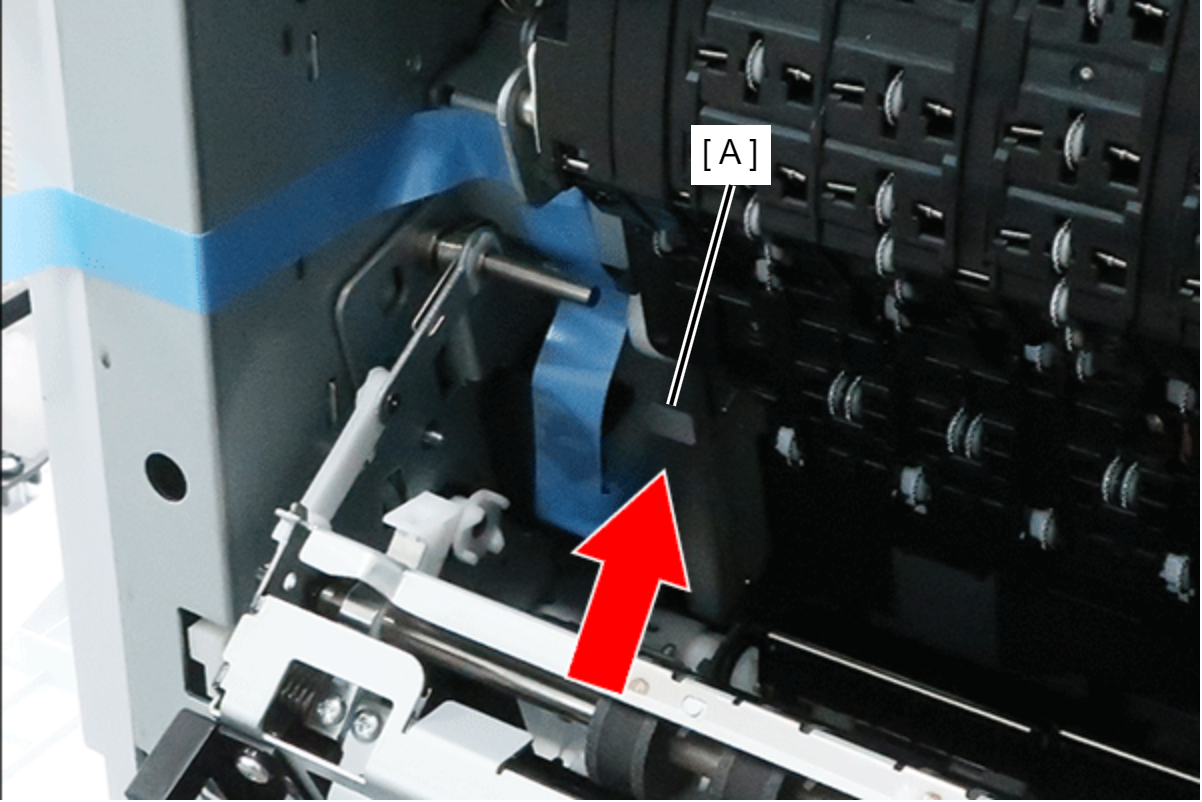
If the transport fixing parts cannot be removed by pulling the tape, press the lever (A) on the it to remove it.
 Caution / 注意
Do not throw away the cap transport fixing parts as it will be used for re-transportation.
Install the cap transport parts (A) in the position shown in the Right Door Unit figure.
Align the protrusion (B) and hole (C) when installing it.
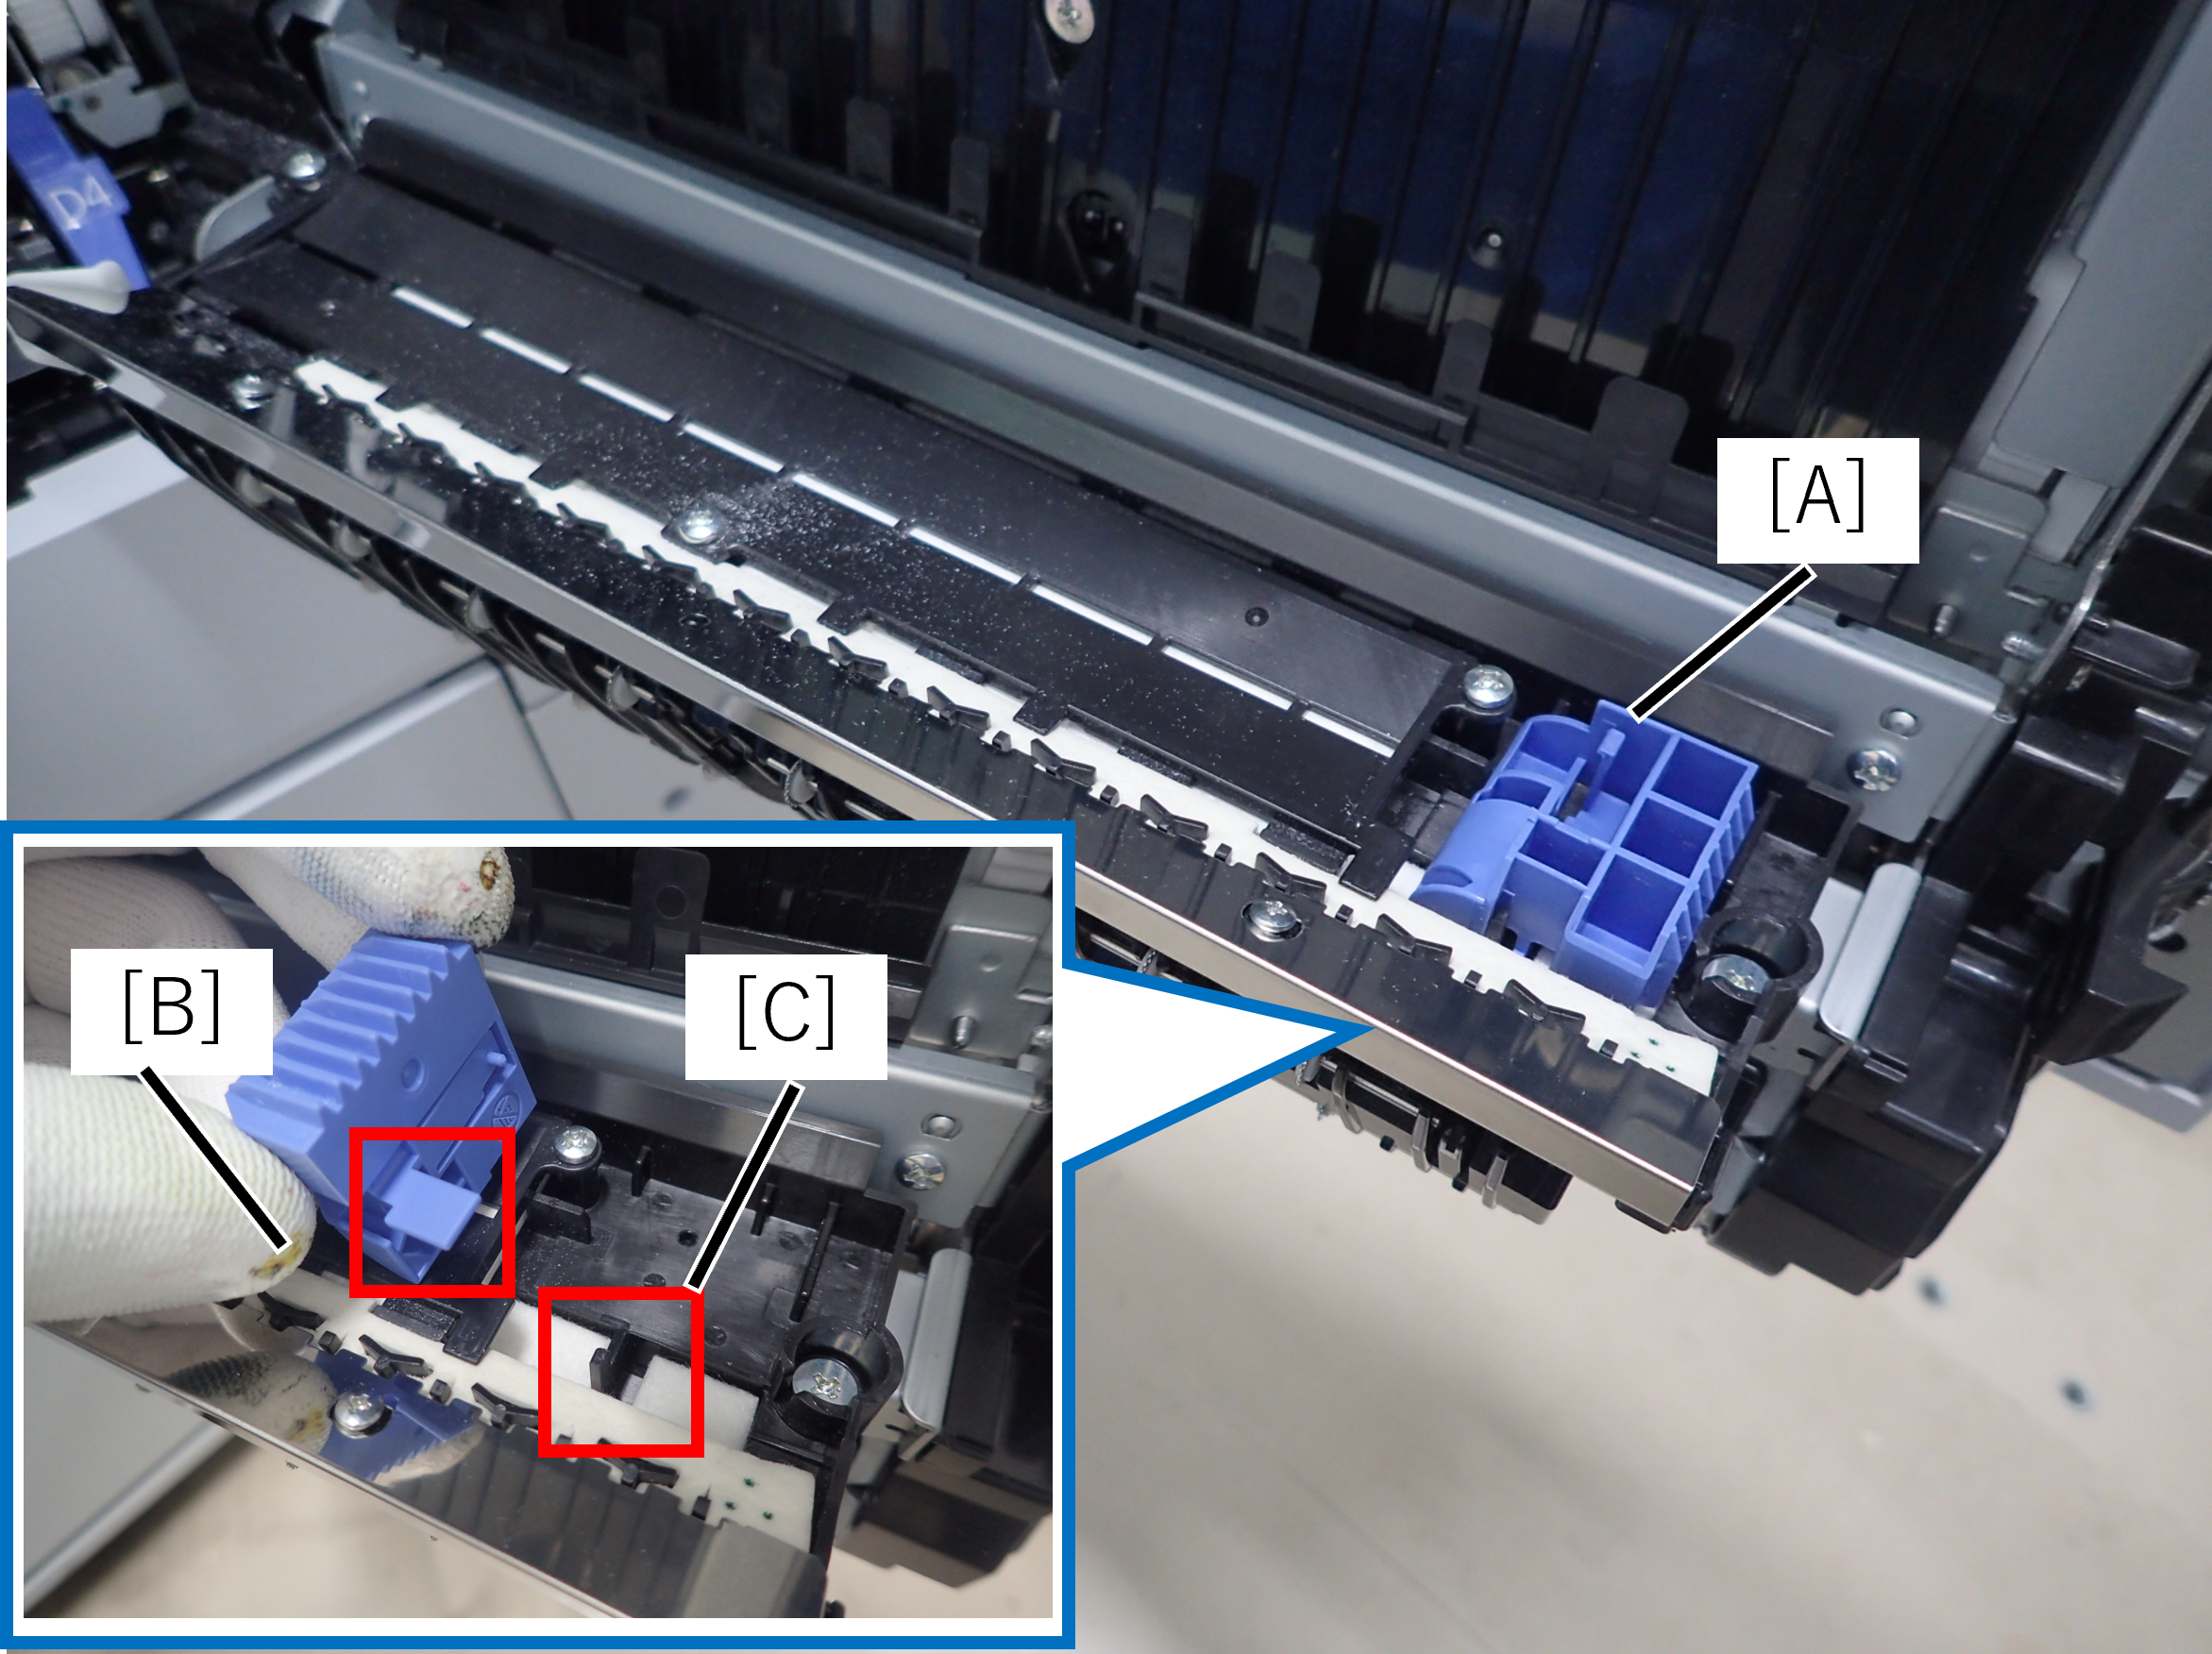
- Peel off the 2 tapes and remove the protective sheet (A).
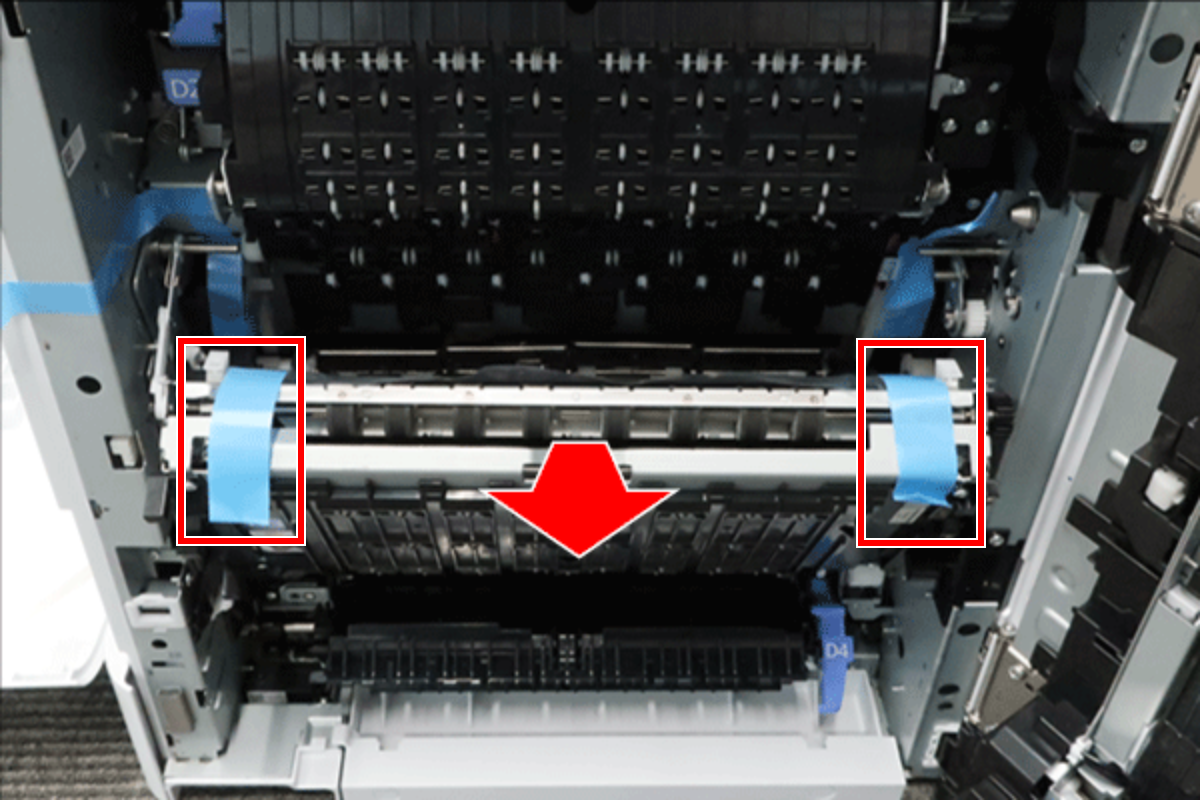
- Close the Belt Unit.
- Close the Right Door Unit.
- Close the front cover.