
60109 Special Side Registration Adjustment
Adjust the deviation of the paper feed position with the head center position (change the ink ejection position by software control for the deviation of duplex paper feeding for each paper feed tray).
 important / 重要 important / 重要 |
|
Adjustment preparation
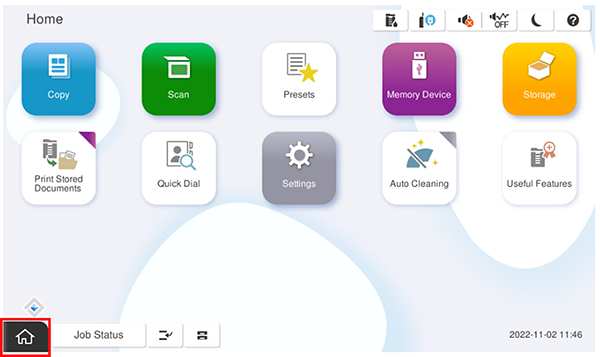
- Start the service support mode.
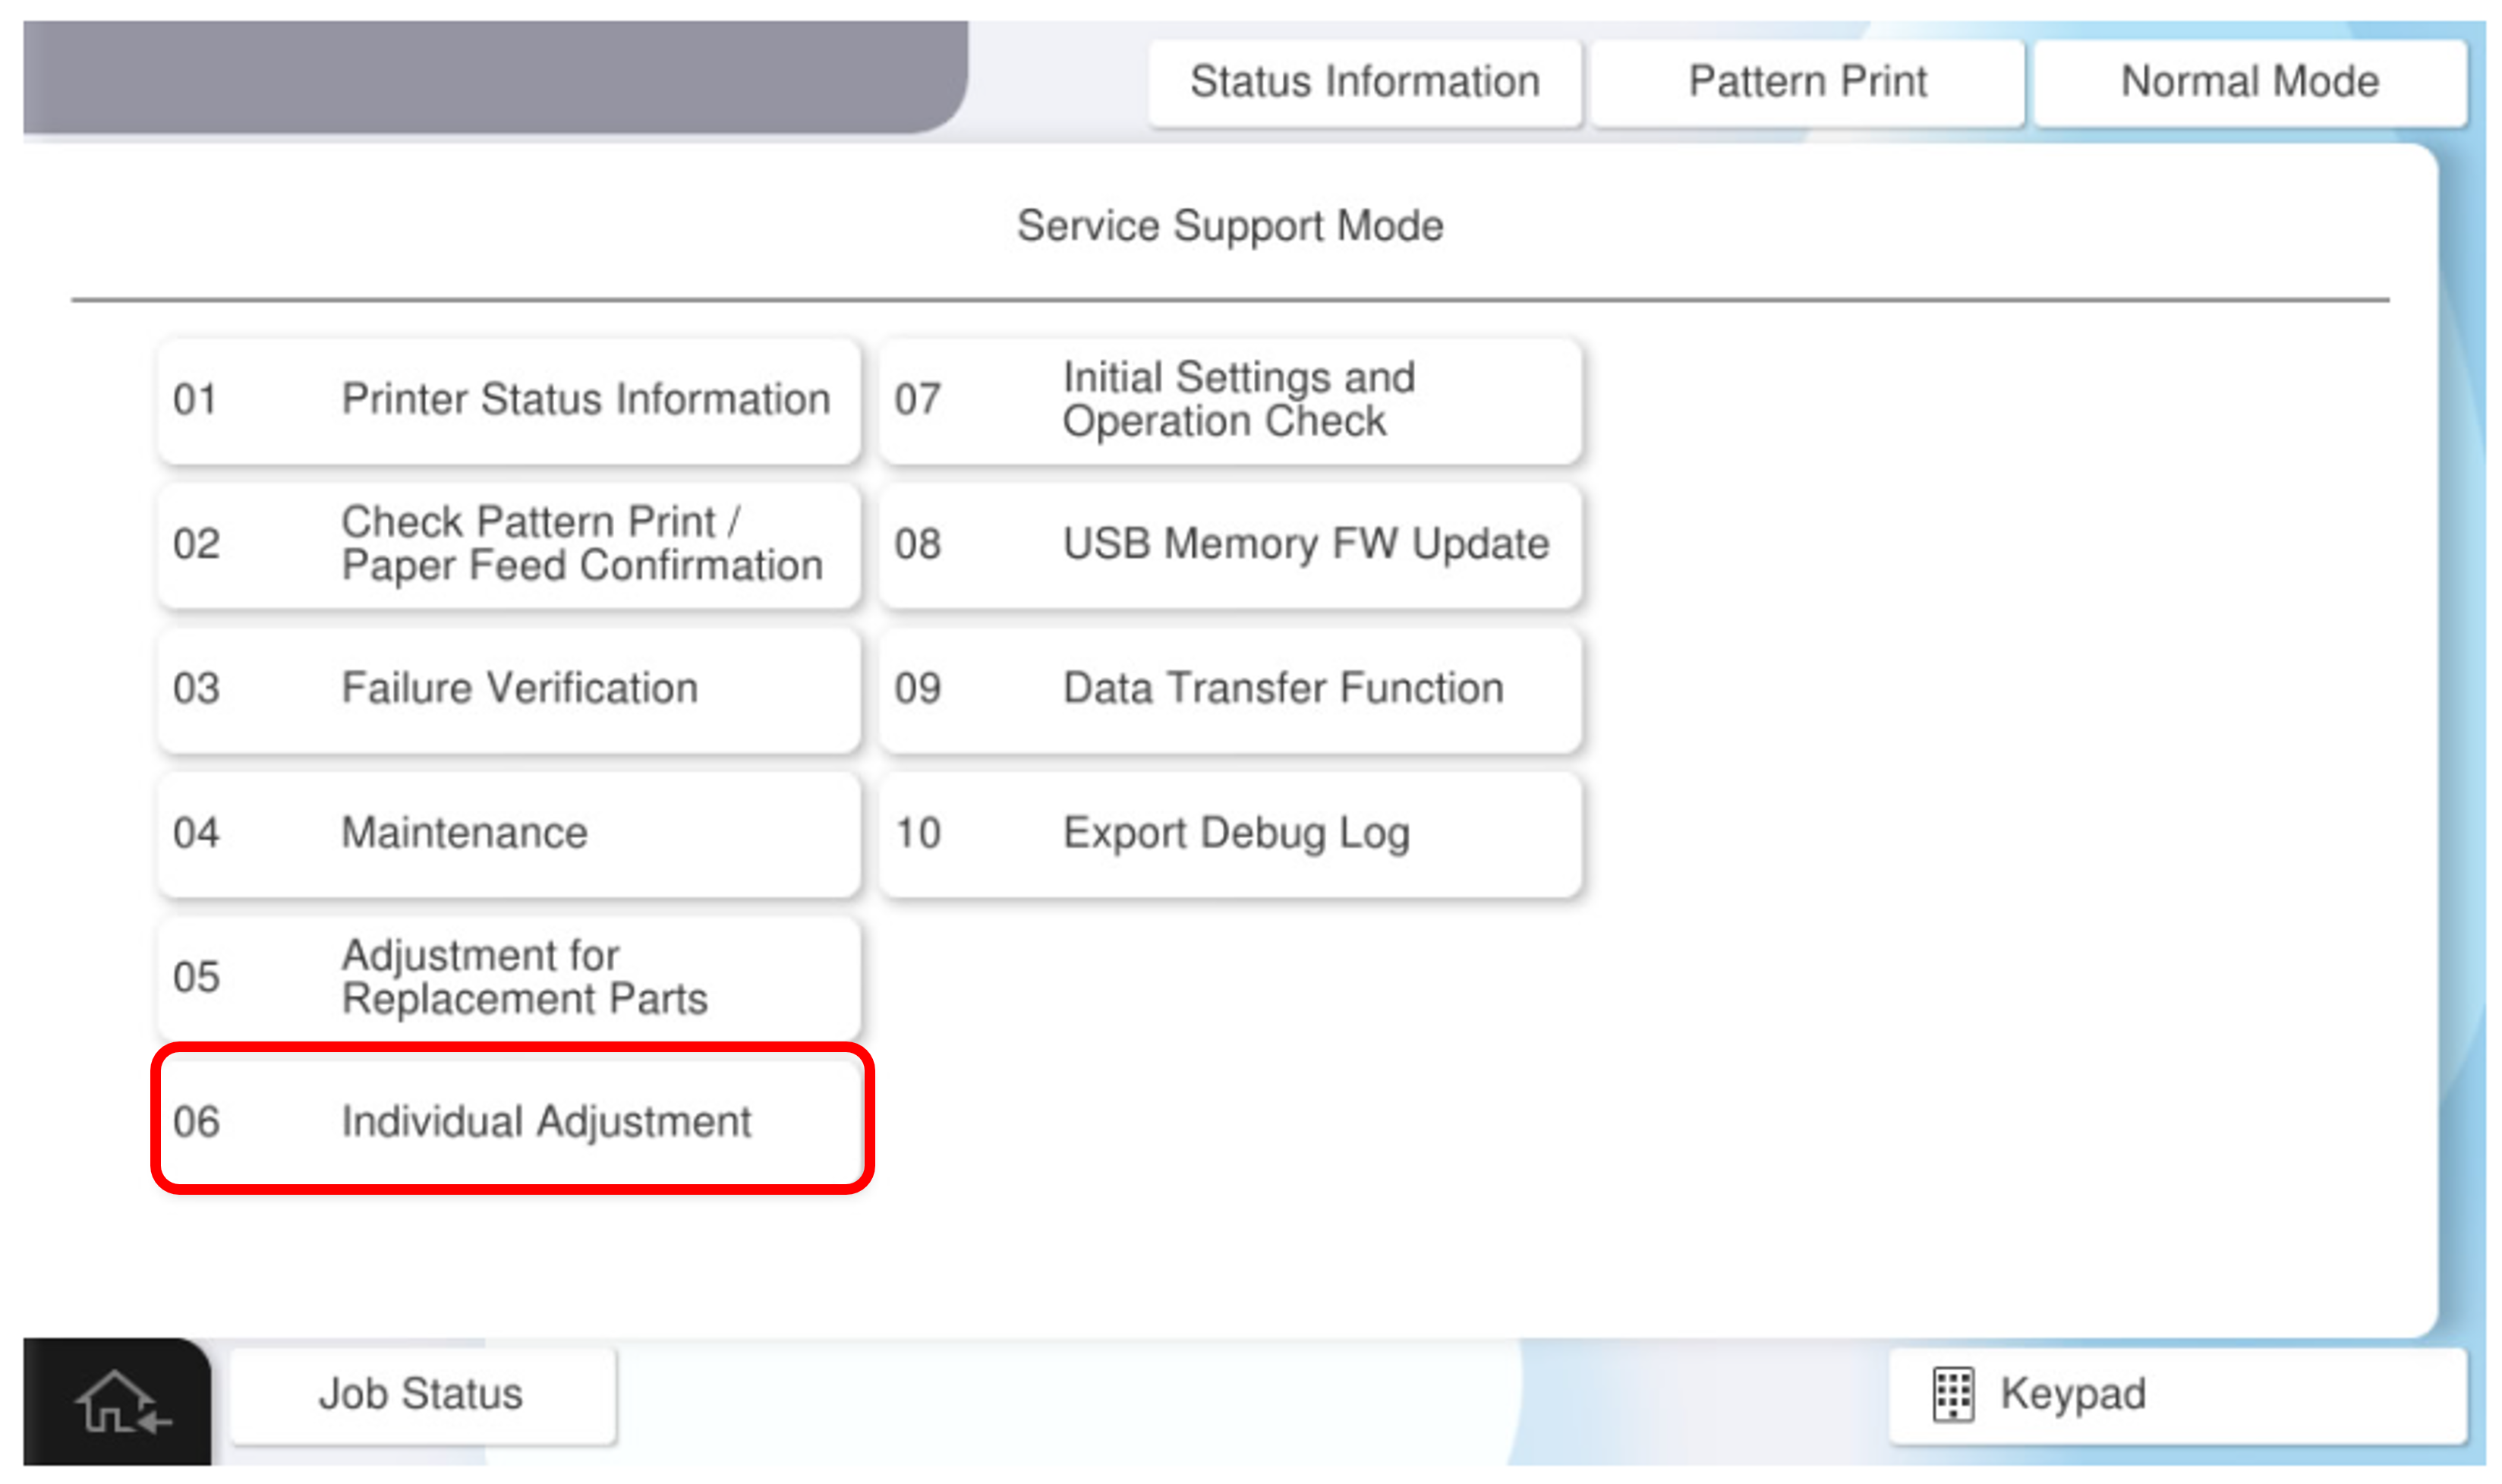
- Select [06 Individual Adjustment].
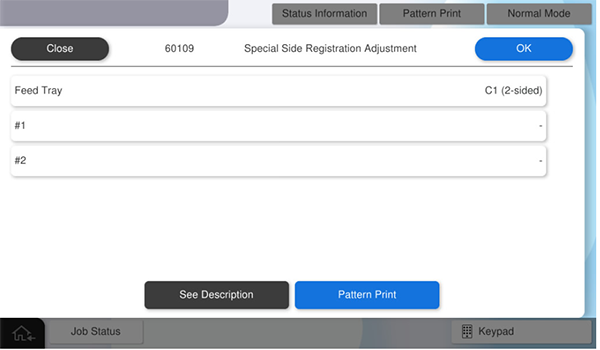
- Select the [Main Unit・Additional Cassette] tab.
- Select [60109 Special Side Registration Adjustment].
- Press [Pattern Print].
- press each setting item button to make the print settings.
the parameters that can be set are as follows.setting items choice feed tray c1, c2, c3, c4, Paper Tray available paper sizes a4, letter  Check Point / チェックポイント
match the paper feeder to be adjusted with the paper feed tray for pattern printing.
e.g.) adjust the special side registration of the Paper Tray. → press [paper tray] and select [Paper Tray].
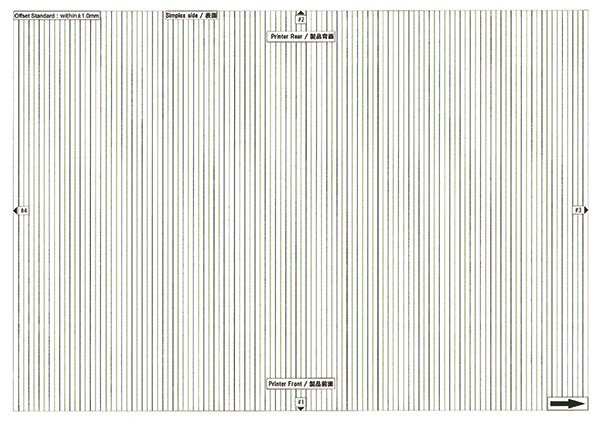
- Press [Execution] to print the pattern.
Software adjustment procedure
 Note / 補足 Note / 補足 |
|
Using duplex (2nd side) of the adjustment pattern, measure the #1 and #2 margins with a scale.
Check Point / チェックポイント- For duplex (2nd side), use the printed with "Duplex side / rear side".
- Standard value: The margin difference between the front and rear sides of the product is within 0.5mm.
Note / 補足- The method for measuring the amount of blank space is as follows.
- Distance from the paper edge to the "#1 mark"
- Distance from the paper edge to the "#1 mark"
Calculate the panel input value.
Note / 補足- The calculation formula and example of the input value are as follows.
- Input value = measurement value x 10
- e.g.) Measurement value = 7.5mm, Input value = 75
- The calculation formula and example of the input value are as follows.
- Press [Feed Tray] and select the feed tray to be adjusted.
press [paper type] and select the paper type to be adjusted. the parameters that can be set are as follows.
setting items choice feed tray c1 (duplex), c2 (duplex), c3 (duplex), c4 (duplex), Paper Tray (duplex) - Press [#1] and enter the input value #1 calculated by step 2.
- Press [#2] and enter the input value #2 calculated by step 2.
Press [OK] to reflect setting value.
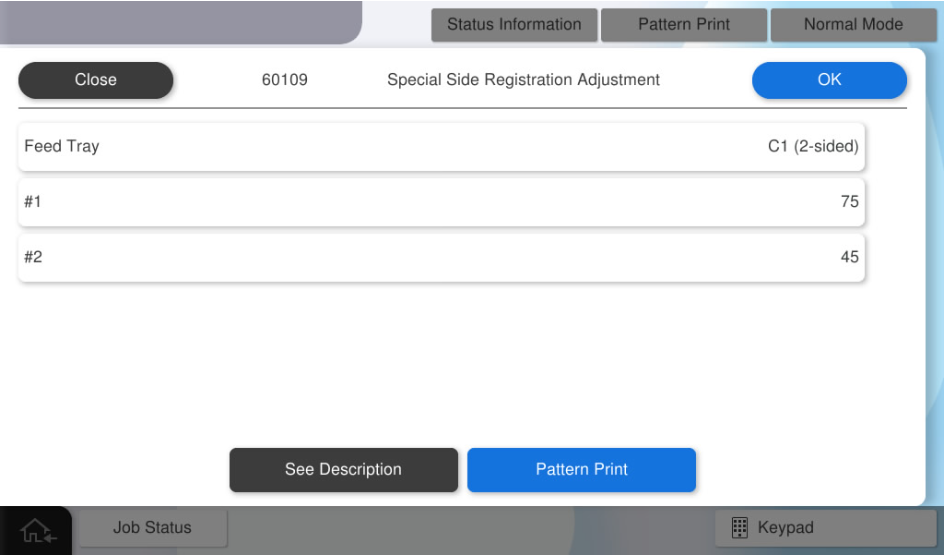 Check Point / チェックポイント
- If you press [OK] when all the values have not been entered, the following screen will be displayed.
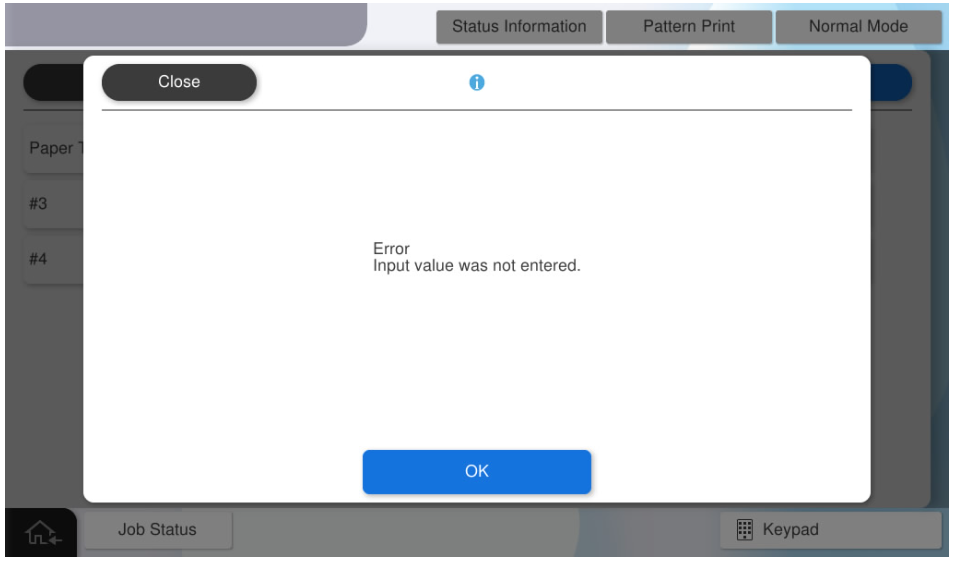
- If you press [Pattern Print] with all values entered, the adjustment values will be reflected. After the adjustment value is reflected, all the adjustment values input to the panel are cleared. Press [Close] to finish the adjustment.
By execute printing as it is, output the adjustment pattern after reflecting the adjustment values.
Note / 補足In the above-described procedure of the software adjustment, an adjustment for outputting an image to the center of the sheet is automatically performed by inputting a measured value of the margin amount to a panel as an input value.
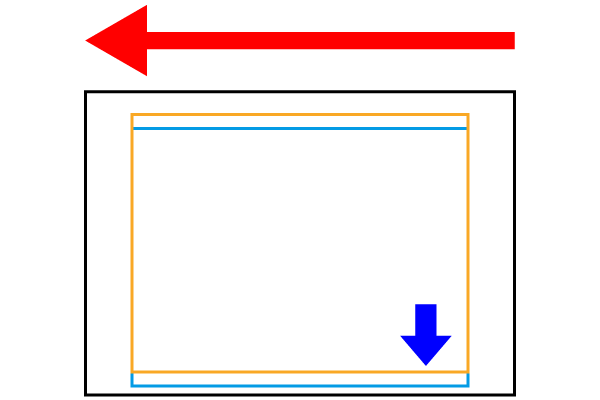
If you want to shift the image to any position (blue frame), determine the input value by referring to the following adjustment value specifications.Internal adjustment value = (input value #2-input value #1) / 2
To shift the image 1 mm upward (rear side of product) from the current position (orange frame): Internal adjustment value =-10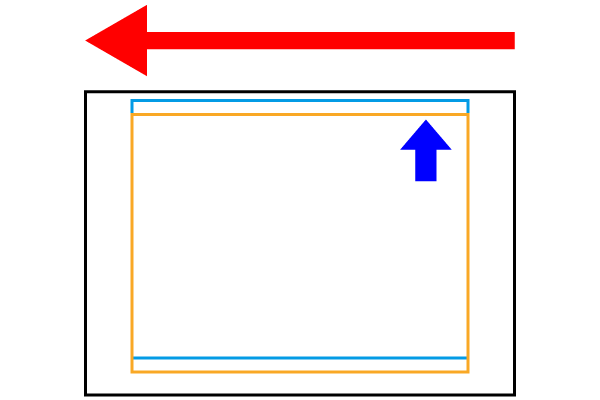
To shift the image 1 mm downward (front side of product) from the current position (orange frame): Internal adjustment value =-10
- If you press [OK] when all the values have not been entered, the following screen will be displayed.