
6011501 Banding Adjustment: Solid Black
An adjustment is performed to suppress the stripe banding of the entire print surface caused by the paper for each print mode.
If you receive an indication of streaking by user, specify the print mode in which the phenomenon occurs, and adjust the print mode by referring the "Print mode identification method". (Print Mode)
In addition, when specifying the print mode, it is recommended to check that the speed priority mode of the user setting item is ON. (If it is OFF, it is difficult to specify the print mode.)
 important / 重要 important / 重要 |
|
- Specify the print mode in which banding occurs.
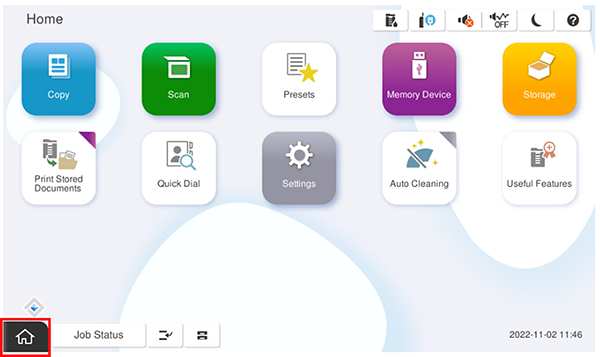
- Start the service support mode.
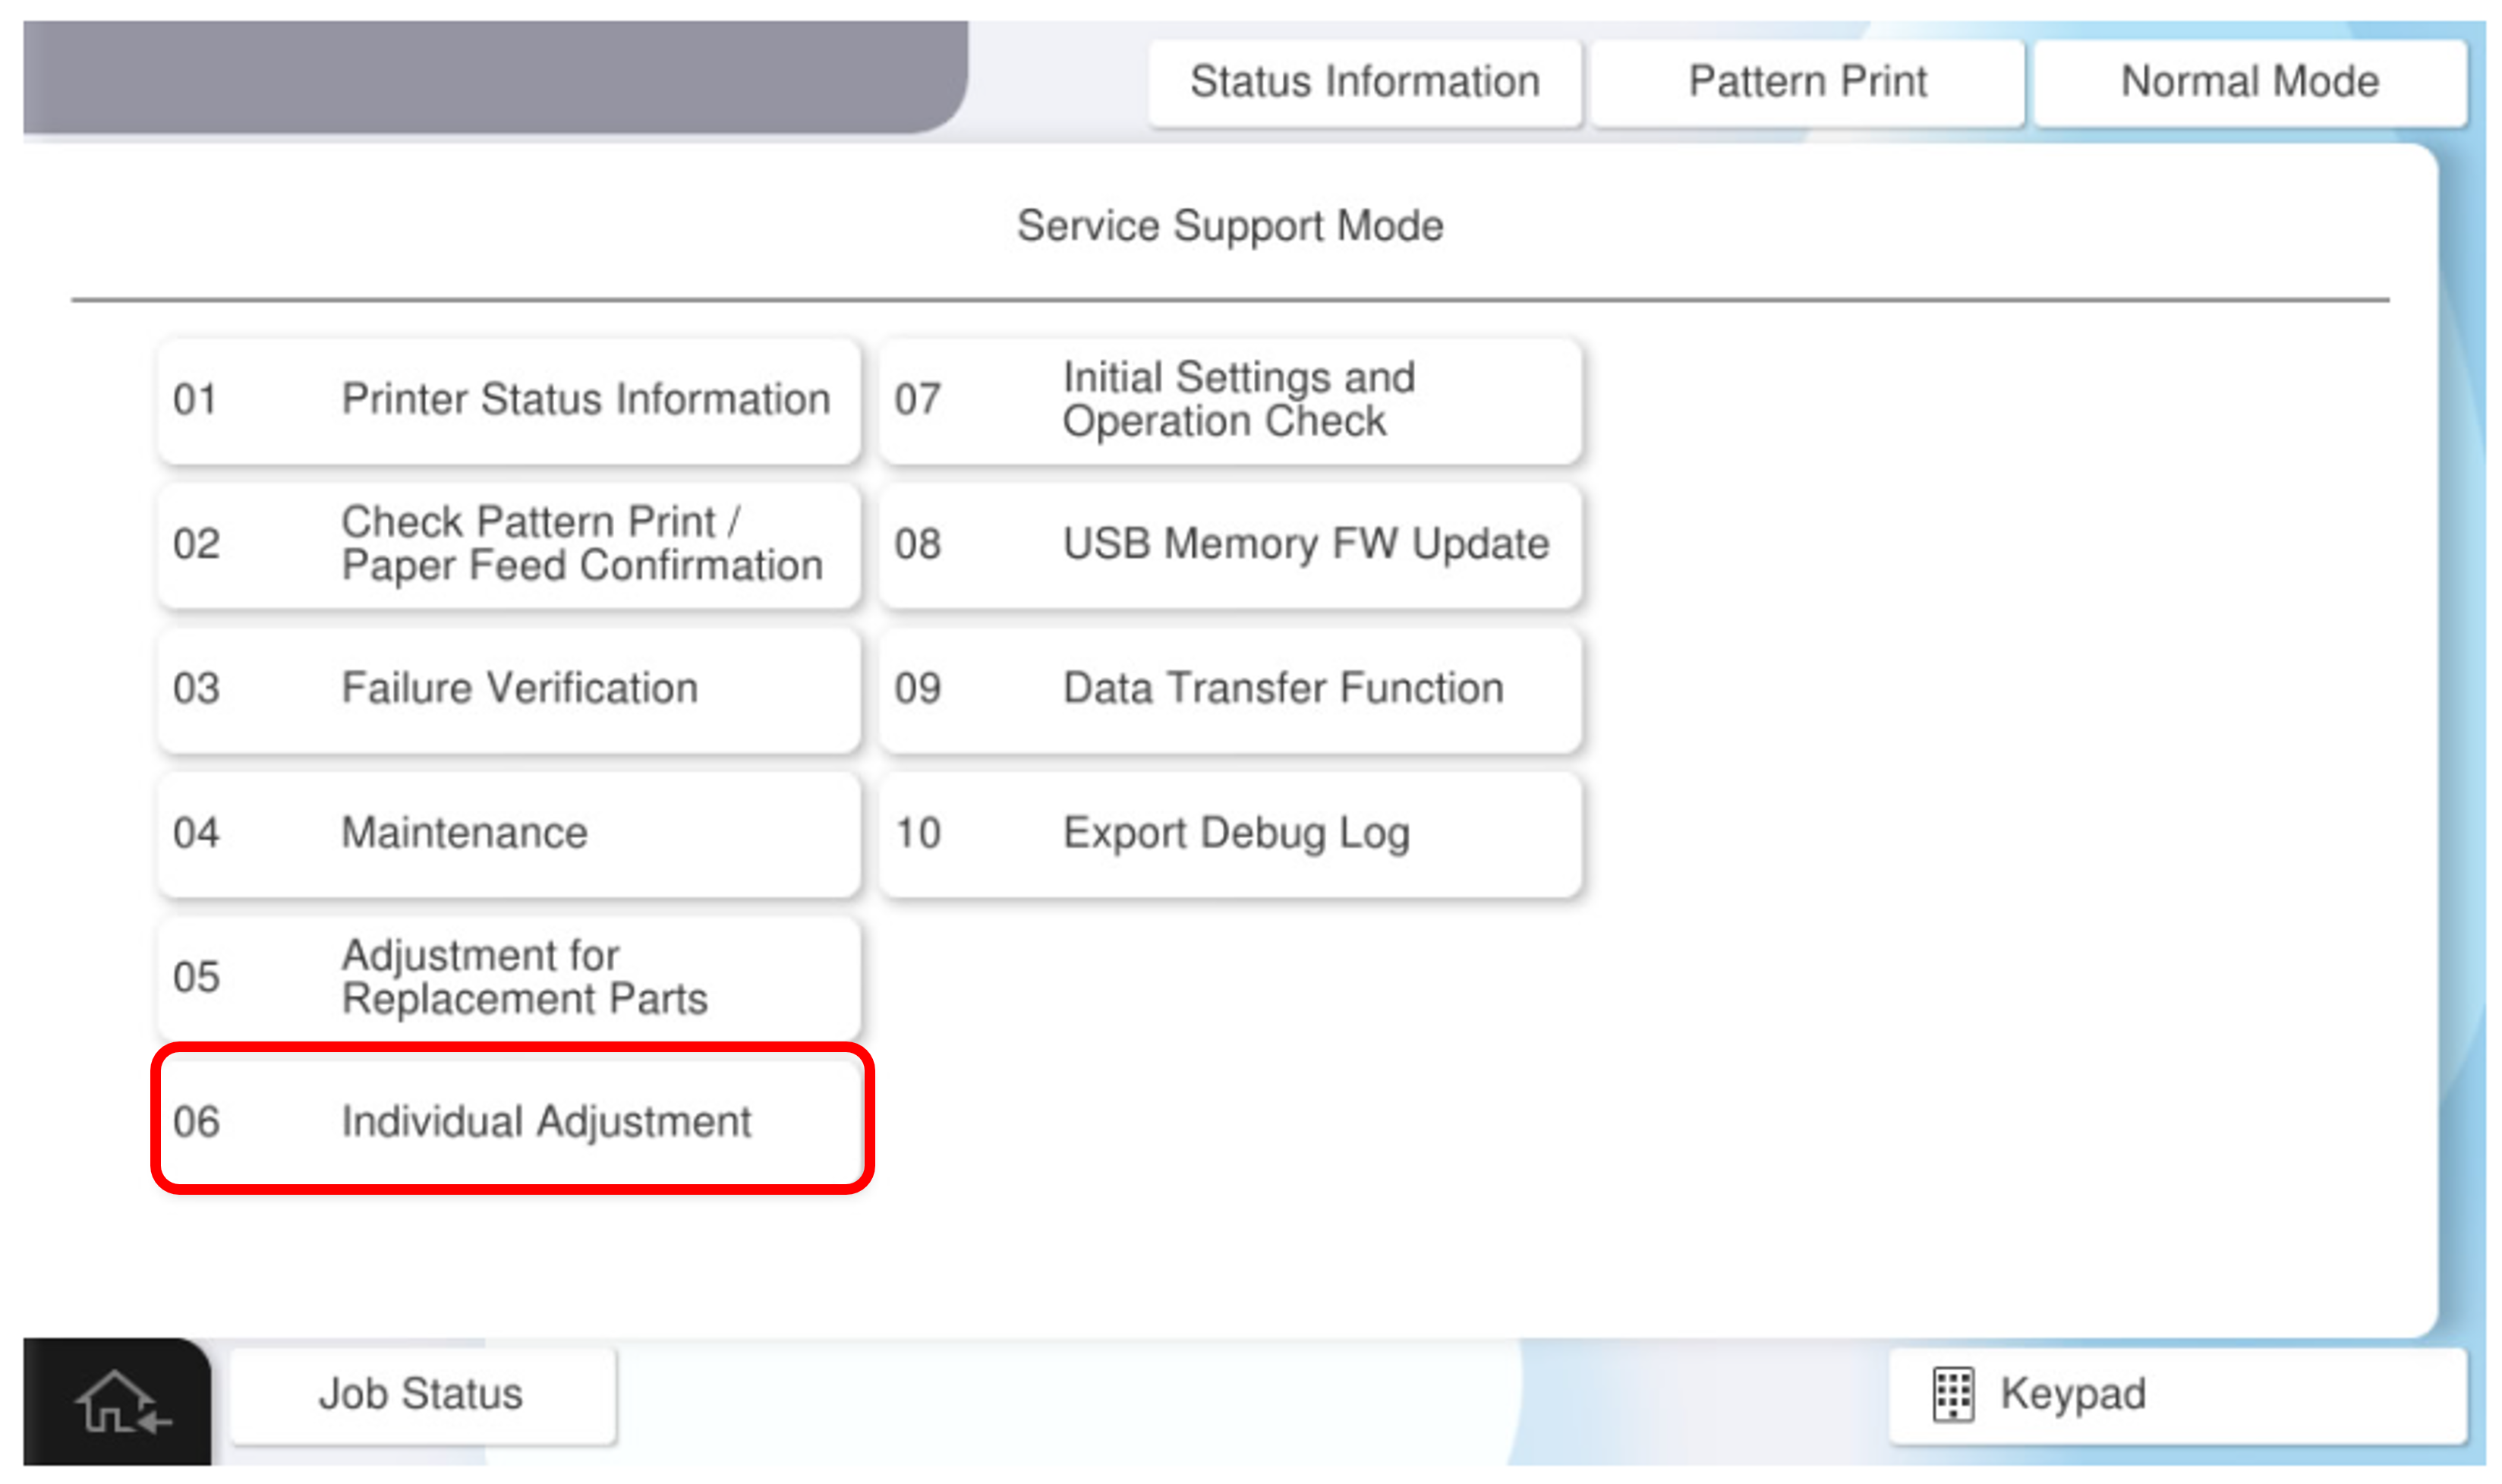
- Select [06 Individual Adjustment].
- Select the [Main Unit・Additional Cassette] tab.
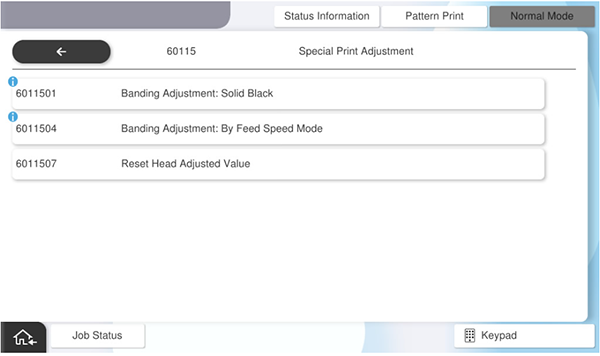
- Select the [60115 Special Print Adjustment] tab.
- Select [6011501 Banding Adjustment: Solid Black].
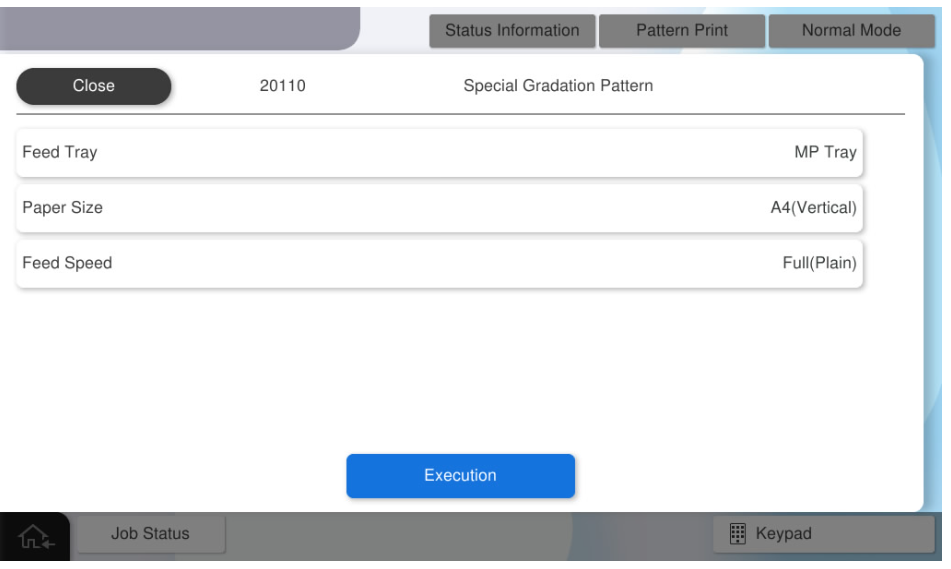
- Press [Pattern Print].
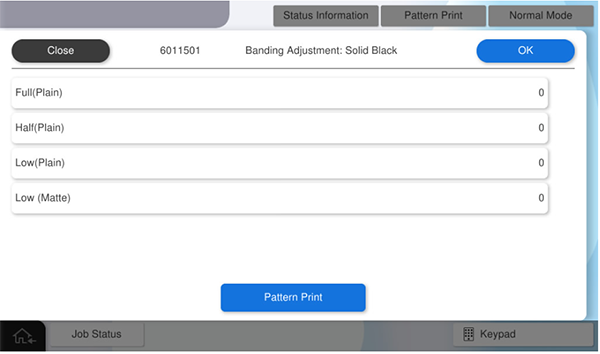
press each setting item button to make the print settings. the parameters that can be set are as follows.
 Note / 補足
- the print speed setting should be set to the specified print mode.
- set the paper of the paper type to be adjusted in the cassette and print.
setting items choice feed tray Paper Tray available paper sizes a4, letter printing speed full(plain), half(plain), low(plain), low (matte) - Press [Execution] to print the pattern.
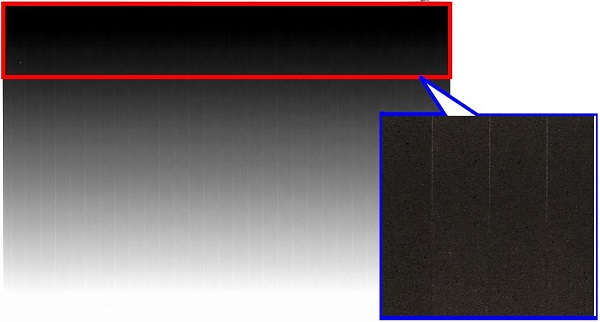
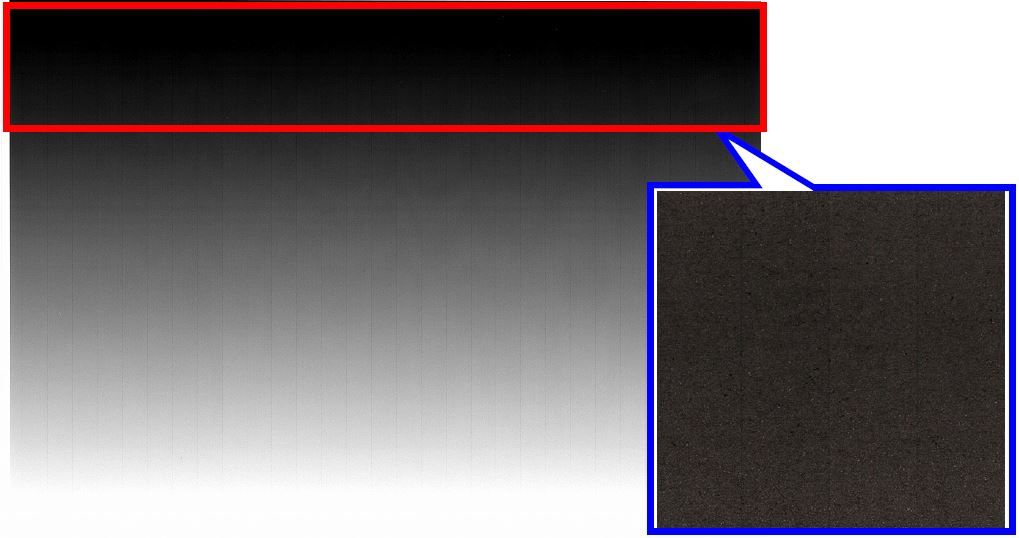
- The 1/4 area (high duty area) of the output pattern is checked to determine whether "white banding" or "black banding" occurs.
- When white banding occurs (Judge by the red frame area)
- When black banding occurs (Judge by the red frame area)
- If banding has not occurred, following adjustment is unnecessary.
- When white banding occurs (Judge by the red frame area)
- Input a adjustment value.
- When black banding has occurred: Enter a value smaller than the current adjustment value.
- When white banding has occurred: Input a value larger than the current adjustment value.
- Press [OK] to reflect setting value.Note / 補足
If you press [Pattern Print] with all values entered, the adjustment values will be reflected and the adjustment pattern can be printed.
After the adjustment, print the special gradation pattern again by adjusted print mode. Compare the pattern of pre-adjustment with the adjustment result to determine whether or not readjustment is necessary.
Improved before adjustment: adjustment completed
- Improved before adjustment, but streaking remains: Perform adjustment again
 Check Point / チェックポイント
If there is no change in the adjustment result even after the adjustment is repeated, the adjustment value is reset because an abnormal value may be written in the adjustment value. (6011507 Reset Head Adjusted Value)
After resetting the adjustment values, perform 60110 Head Tilt Adjustment then perform this adjustment. (60111 Head Angular Adjustment)