
Head Unit - After replacement
 Caution / 注意 Caution / 注意 |
|
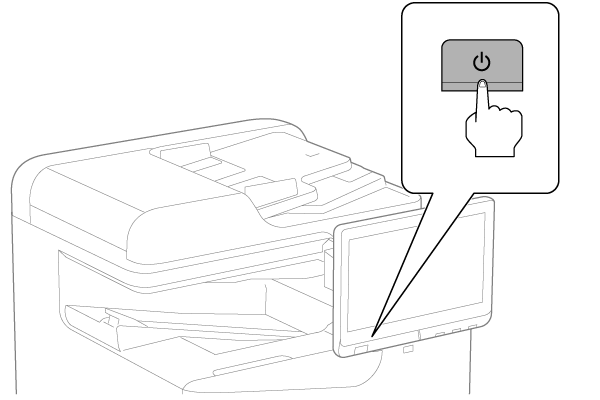
- Turn the power ON.
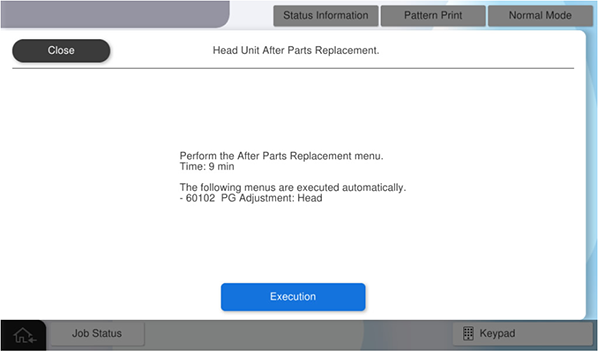
- Press [Execution].
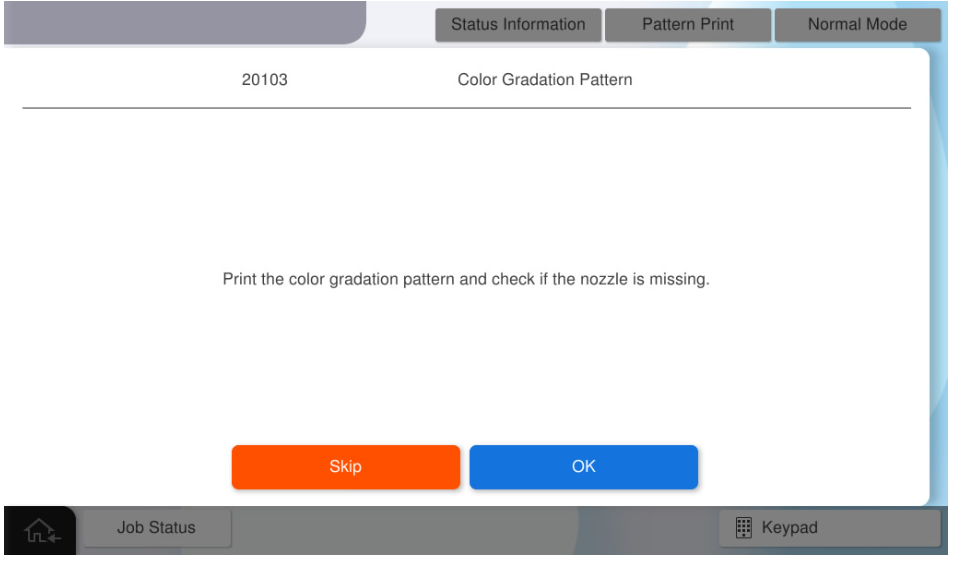
- Press [OK].
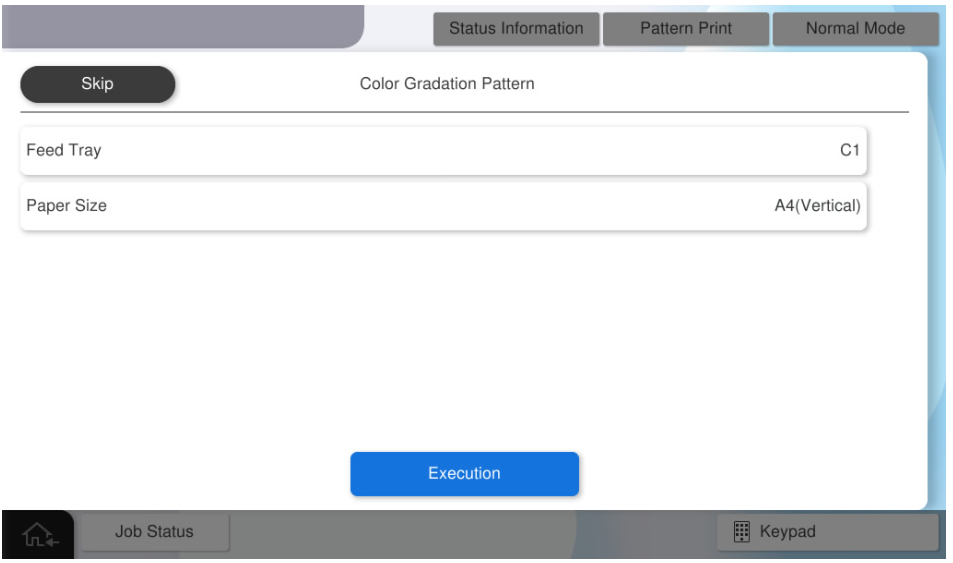
- Select the desired paper tray and paper size, and press [Execute] to print the color gradation pattern.
- Check the print quality after ink charge by the printed gradation pattern.
Press [OK].
- Press [Pattern Print].
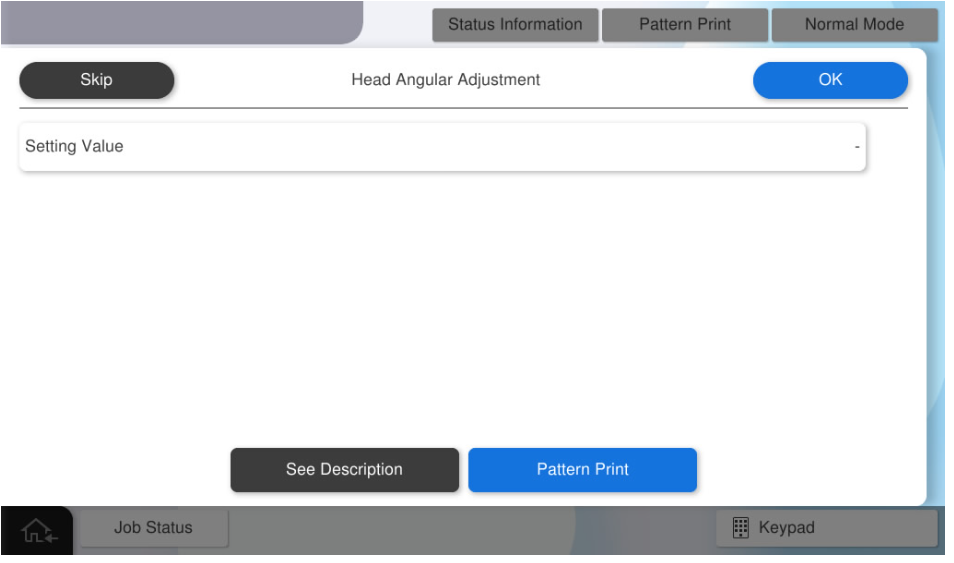
Load the “Photo Quality Ink Jet paper” into the paper feeding tray where pattern printing is performed.
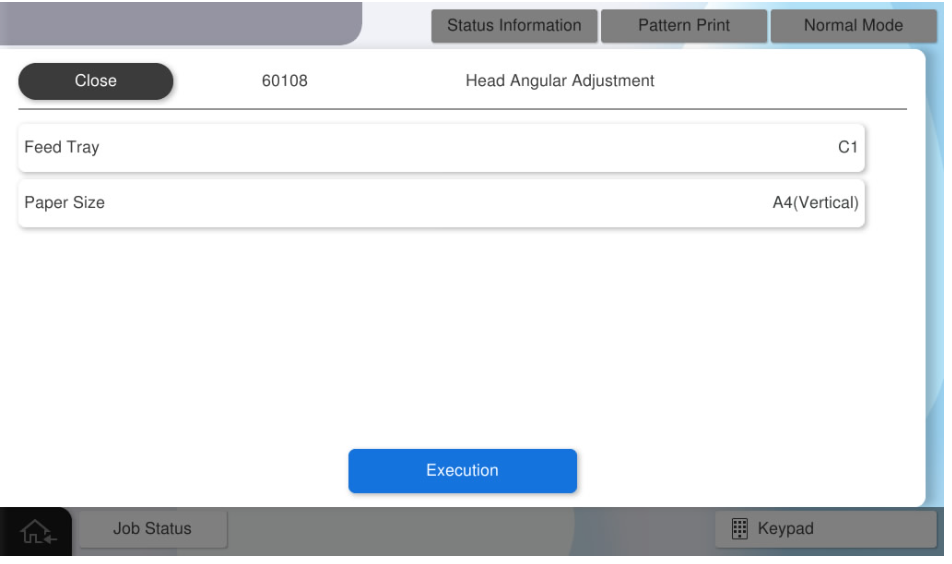
- press each setting item button to make print settings.
the parameters that can be set are as follows.setting items choice feed tray c1, c2, c3, c4, Paper Tray available paper sizes a4, letter  Check Point / チェックポイント
select the paper tray where epson photo quality ink jet paper is set.
- Press [Execution] to print the adjustment pattern.
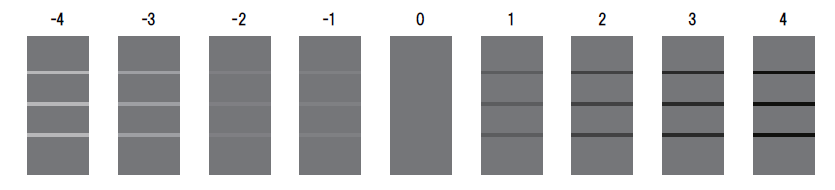
Check the output adjustment pattern and determine the setting value.
Check Point / チェックポイントAdjustment value judgment method
From the printed pattern, the one with the closest gradation difference between the four blocks and the three horizontal lines is selected, and the numbers in the figure are set as the setting value.
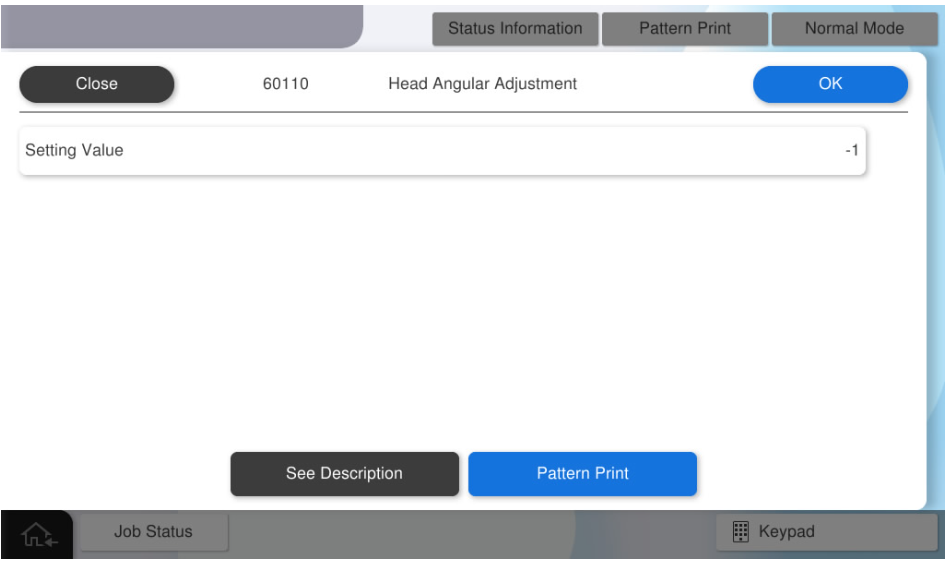
Press [Value] and enter the setting value.
Press [OK] to reflect setting value.
 Check Point / チェックポイント
If you press [Pattern Print] with all values entered, the adjustment values will be reflected.
By executing printing as it is, output the adjustment pattern after reflecting the adjustment values.
After the adjustment value is reflected, all the adjustment values input to the panel are cleared. Press [Close] to end the adjustment.
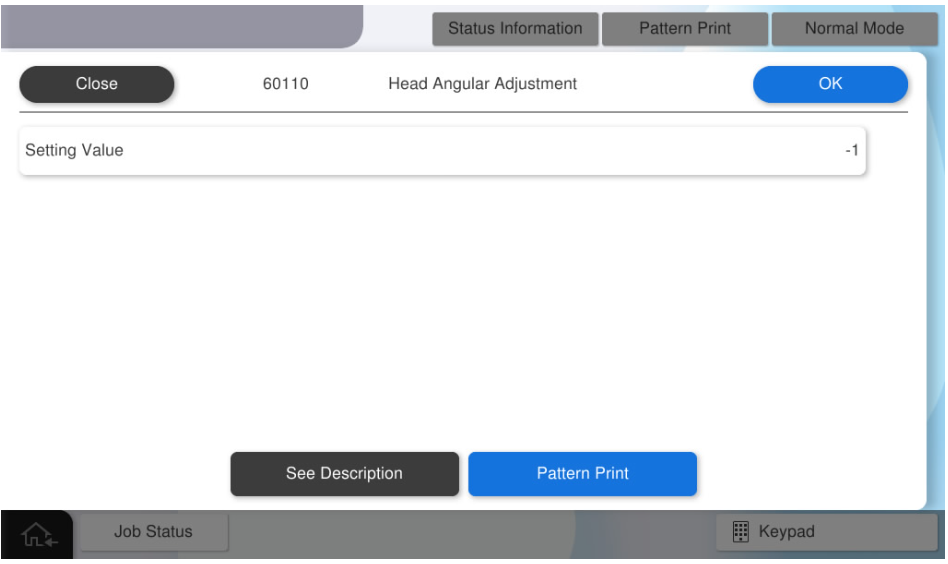
- Press [OK] to print the check pattern.
- Press [OK] to complete the menu.