Ink Information Display Setting
Depending on the contract, ink information of this printer (Incrow display settings) can be shown/hidden as necessary. In this setting, you can hide the Near Ink Cartridge Replacement message displayed on the operation screen when the remaining ink is running out.
 Check Point / チェックポイント Check Point / チェックポイント |
Factory default setting is as follows.
|
How to hide Ink Low message
- Make sure the printer is turned off.
- Press and hold [Power] while pressing [#].
- Confirm the mode ID input screen is displayed.
 Check Point / チェックポイント
Inquire of the Epson Service Department about the ID to enter the ink information switching mode.
- Input the corresponding number in the Mode ID input screen. Use the [2][8] button for inputting. Pressing [6] moves the selection to the next digit. Press [#] when the entry is complete.
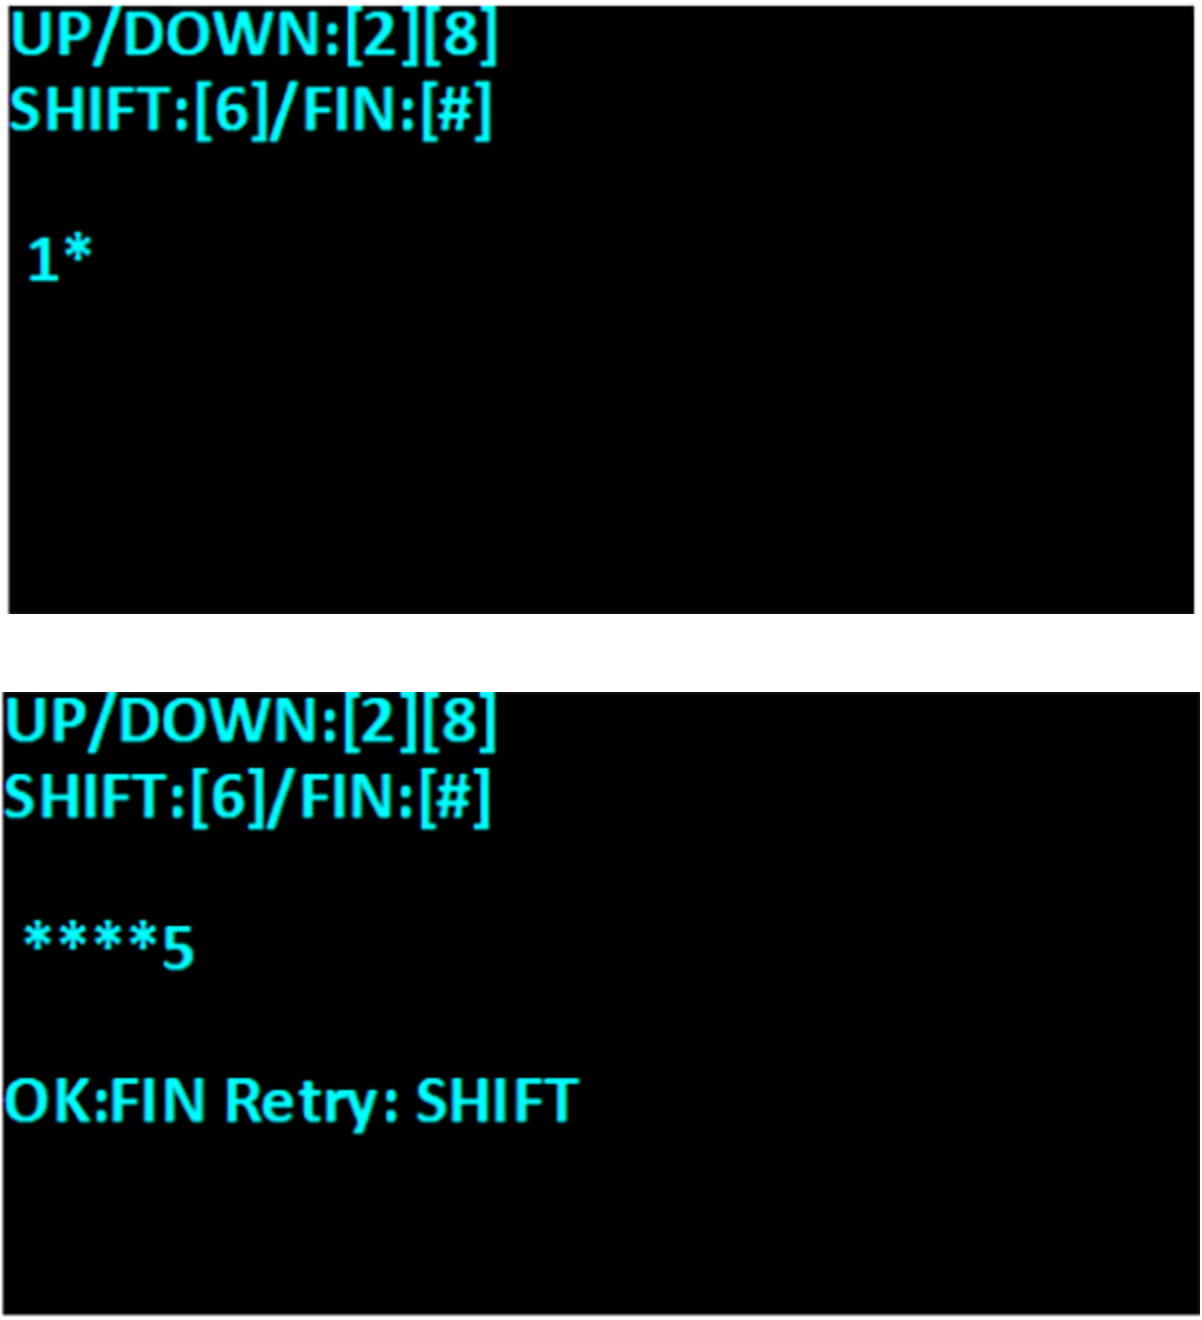
- When the confirmation message is displayed, press the button below according to the content you want to operate.
When entering the ink information switching mode
Press the execution button.
When inputting the mode ID again
Press the input digit shift button.
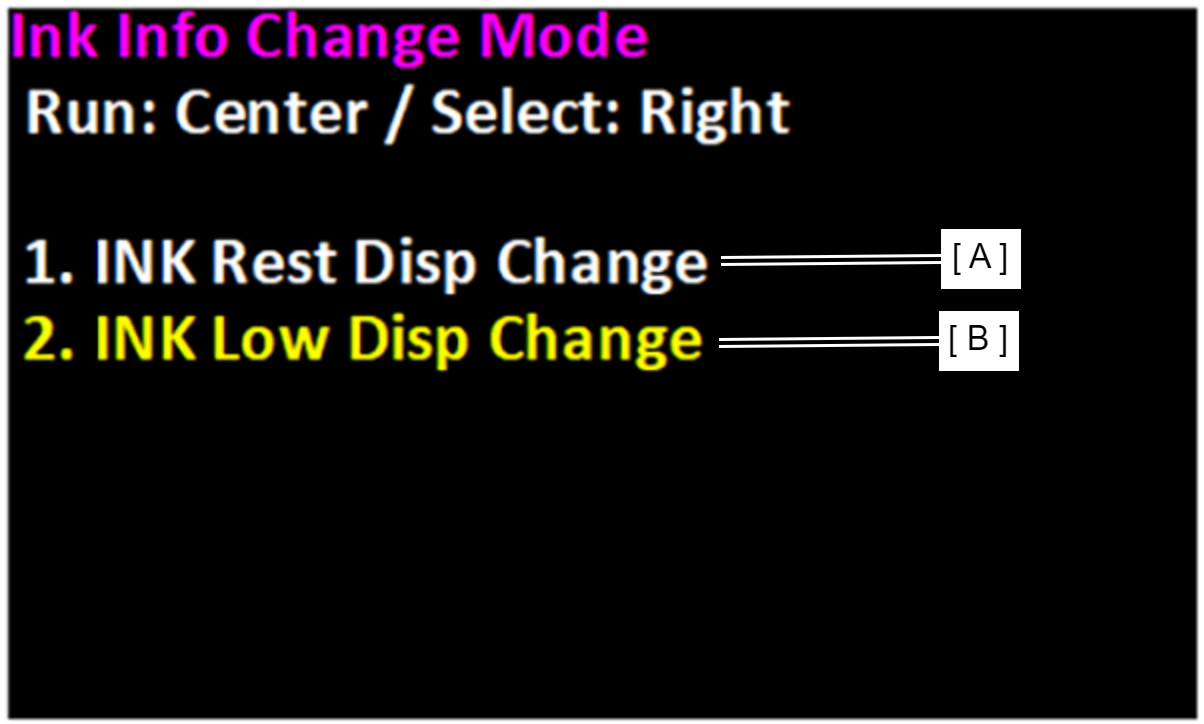
Check Point / チェックポイントIn the ink information switching mode, operate with the buttons below.
- Center (screen center): operate
- Right (right area): move the selection (downward)
- Select “2.INK Low Disp Change” from the menu of the ink information switching mode.
- A:Remaining ink amount show/hide (does not indicate remaining ink)Normally not used. Used only on a special contract.
- B:Ink Low show/hide(Does not show the Ink remaining warning)
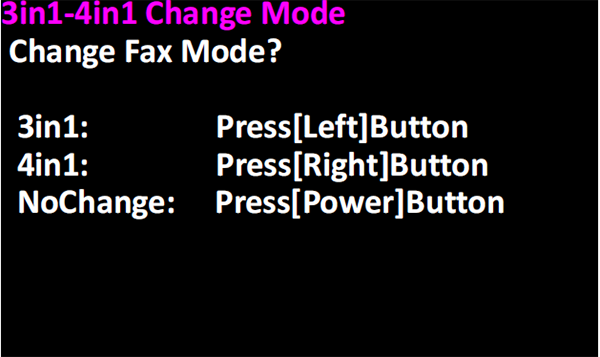
- On the menu below, select the setting according to the contract.
DISP; indicates Ink Low: Press Left (left area).
NON DISP; does not indicate Ink Low: Press Right (right area).
NoChange; exits without changing setting: Press Power (Power button).
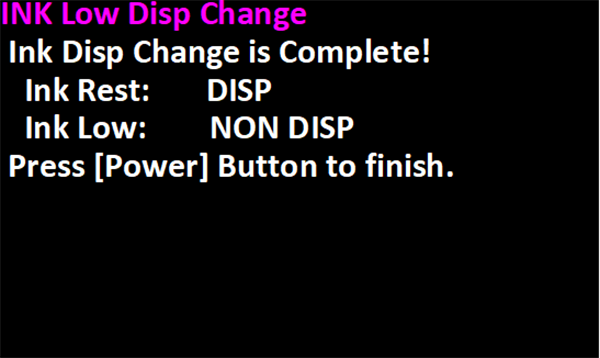
- After changing the setting, the complete screen below is indicated.
Confirm the setting is set to “Ink Low: NON DISP”, and finish by pressing the [#] button.