
Ink Bleed
Symptom
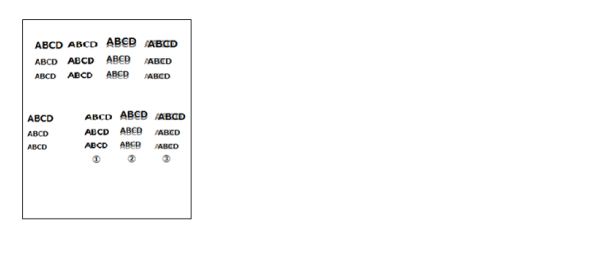
- Characters and images are distorted or blurred.
Cause
- ADF/SCN Unit failure
- Paper
- Ink
- Miss-match the Printer setting and print paper
- PG adjustment value deviation
- Temperature and humidity sensors failure
- Printhead failure
Troubleshooting
| Step | Check and measure | Yes | No |
|---|---|---|---|
| 1 | Check whether printing or copying Check whether the symptom occurs with printing or with copying. |
|
Occurs with copying only Refer to "ADF/Scanner trouble" |
| 2 | Check the settings Check that the print settings and paper type setting is correct. |
Go to step 3 |
If the symptom continues to occur after performing the above, go to step 3. |
| 3 | Check the paper Print with standard paper (genuine paper) and check that there is no character distortion or blurring. Is the result OK? |
Go to step 4 | Recommend using the standard paper (genuine paper). |
| 4 | Check the ink packs Check the ink packs attached to the printer. Are genuine ink packs attached? |
Go to step 5 | Recommend using genuine ink packs. Check whether or not the corresponding error occurs by using genuine packs. * To replace ink inside the ink path, ink filling is necessary. If the symptom continues to occur after changing to the genuine ink packs, go to step 6. |
| 5 | Check the nozzle check pattern Print nozzle check patterns and check whether there are nozzles missing or deflection. Nozzle condition is OK?
|
Go to step 6 | Obtain the information as follows from the service status sheet and execute head cleaning according to the nozzle missing state check matrix table.
*If nozzle missing is not improved, refer to Nozzles Missing. If the symptom is not improved after performing the above, go to step 7. |
| 6 | Check the PG Is the PG within the specified value range (1.60 ±0.05 mm)? Is the PG within the standard value? |
Go to step 7 | Perform " the PG Check". If the symptom continues to occur after performing the PG adjustment, go to step 8. |
| 7 | Check the temperature Check that the head thermistor and temperature and humidity sensor temperatures are appropriate. Execute the following items from the Service Support mode then. * The head temperature becomes very hot after continuous printing so wait about 1 hour after printing before performing the check. |
Contact the Epson Service Support department. |
|