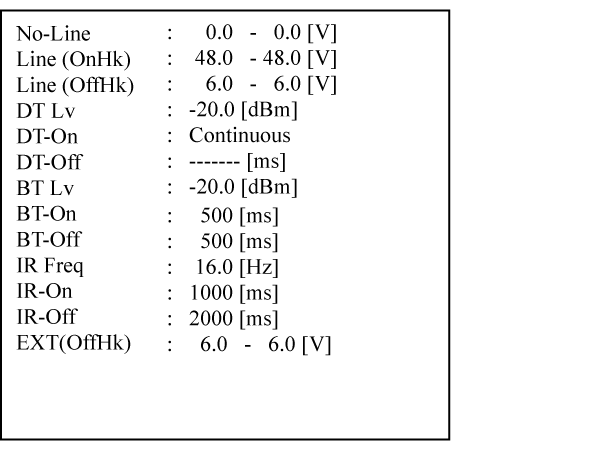
Confirmation method for each step of Line Measurement Mode
 Check Point / チェックポイント Check Point / チェックポイント |
|
- No-line Voltage Check (Line Voltage Check when the Line is Not Connected)
The following screen appears after the “Line Measurement Mode” is started.
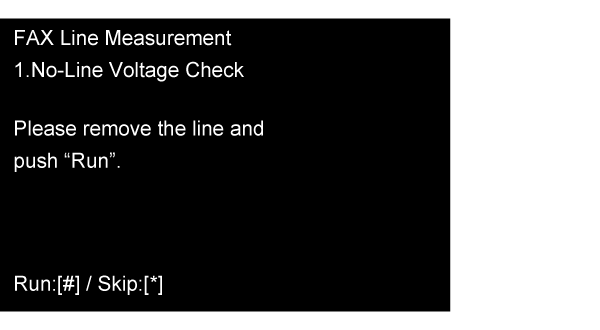
Remove the telephone line from the Line port, and then press the [#] button.
The line voltage confirmation results are displayed as shown below. (The values shown on the screen are for reference.)
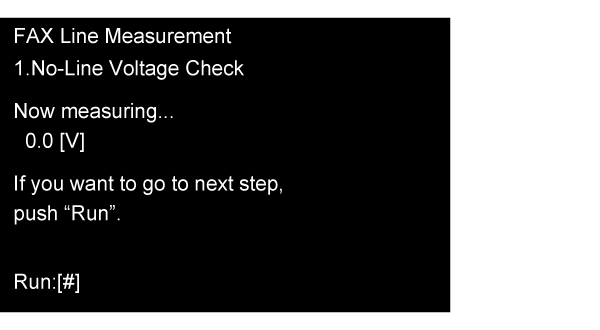
Press the # button and proceed to the check in the next step.
- Line Voltage (Onhook)
(Line voltage check during on-hook when the line is connected)
The “Line Voltage (Onhook)” screen shown below appears.
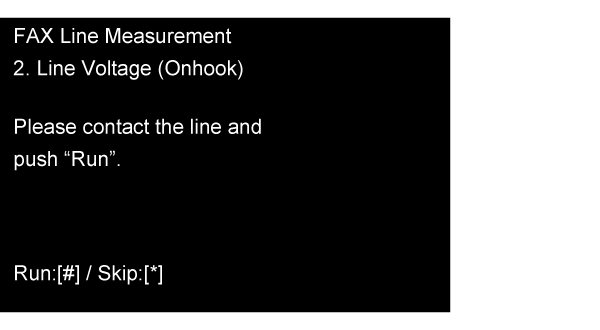
Connect the telephone line to the Line port, and then press the [#] button.
The line voltage confirmation results are displayed as shown below. (The values shown on the screen are for reference.)
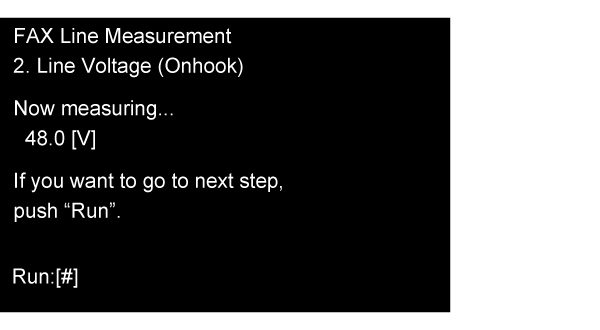
Press the # button and proceed to the check in the next step.
Check Point / チェックポイントThe [#] button must be pressed after two to three seconds since the line voltage fluctuation has stabilized, or when the fluctuation is more or less understood if it continues.
- Line Voltage (Offhook)
(Line voltage check during off-hook when the line is connected)
The “Line Voltage (Onhook)” screen shown below appears.
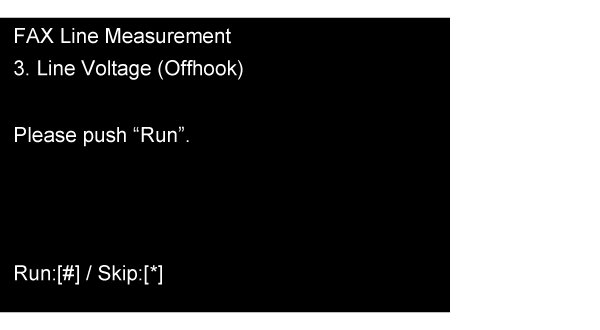
Make sure the telephone line is connected, and then press the [#] button.
The line voltage confirmation results are displayed as shown below. (The values shown on the screen are for reference.)
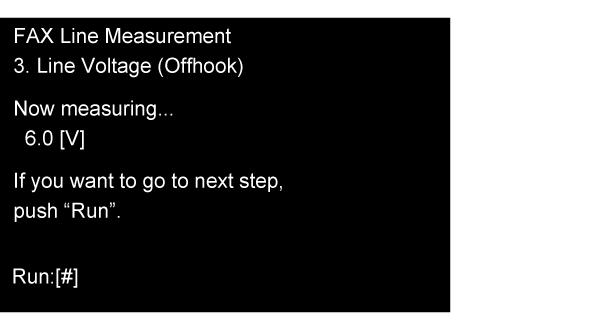
Press the # button and proceed to the check in the next step.
Check Point / チェックポイントThe [#] button must be pressed after two to three seconds since the line voltage fluctuation has stabilized, or when the fluctuation is more or less understood if it continues.
Line Status (DT/BT) (Dial tone/busy tone status check)
Check Point / チェックポイントIn this step, the dial tone status and busy tone status are checked and recorded.
The recording of the status check results is performed when the # button is pressed in the respective status.
Since the dial tone shifts to busy tone after a fixed time has elapsed, note that if recording is not performed during the dial tone, the check results cannot be correctly recorded.
Next, the “Line Status (DT/BT)” screen shown below appears.
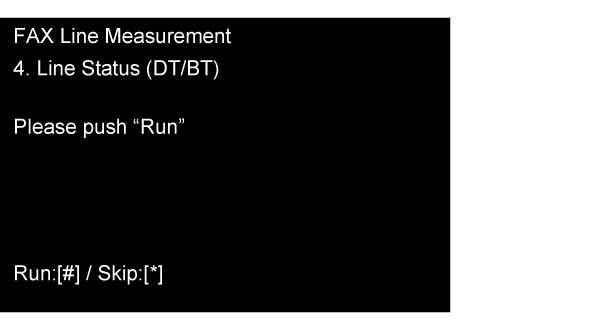
Press the [#] button, and then perform the DT (dial tone) status check.
When the dial tone status confirmation result is displayed as shown in the screen below, press the [# button]. (The values shown on the screen are for reference.)
Check Point / チェックポイント- The [#] button must be pressed when the fluctuation of the numeric value stabilizes and before the shift to the busy tone. (While the shift from the dial tone to the busy tone depends on the telephone switchboard, it normally switches in around 20 to 30 seconds.)
- When the dial tone is continuous, "On: Continuous" is displayed.
- The dial tone will display "Lv: Too high" if the signal level is too high.
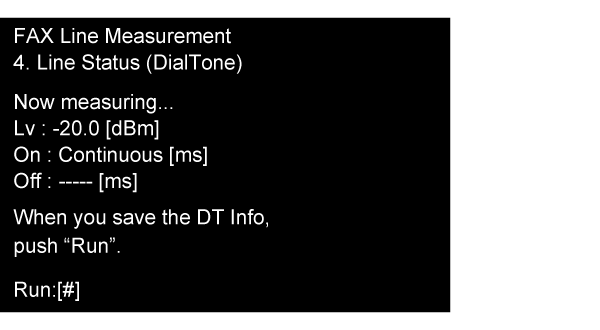
In the case of an intermittent dial tone of PBX, the display is as shown below.
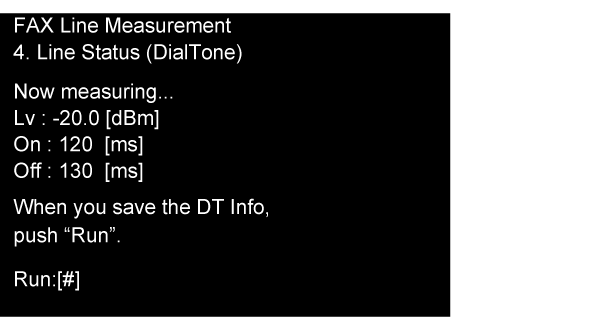
Next, the following screen will be displayed.
Switch to busy tone and confirm that the numbers on the screen have changed. (The values shown on the screen are for reference.)Check Point / チェックポイントIf the signal level is too high in the busy tone, "Lv: Too high" will be displayed.
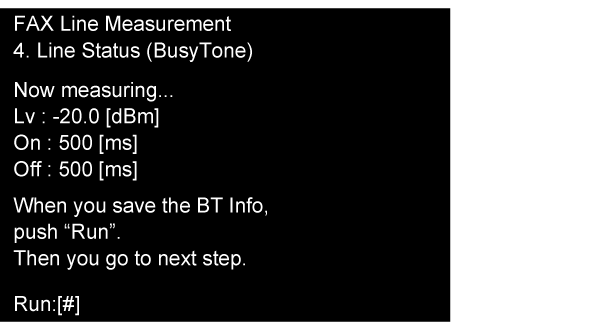
Press the # button and proceed to the check in the next step.
Line Status (IR) (Call signal status check)
Next, the “Line Status (IR)” screen shown below appears.
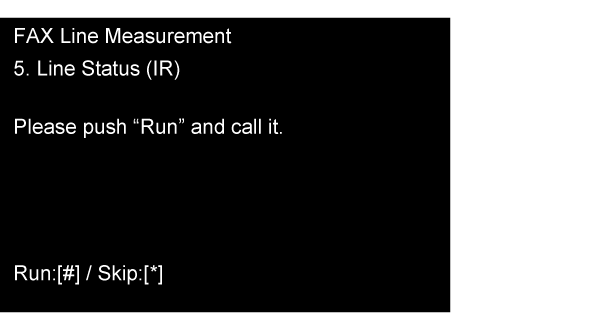
Press the [#] button and make a call to the telephone number of the Printer FAX.
Check the confirmation result is displayed as shown on the screen below. (The values shown on the screen are for reference.)
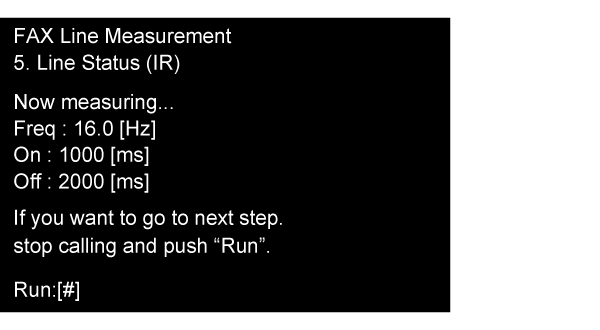
Press the [#] button to end the call, and then proceed to the check in the next step.
- EXT Voltage (Offhook)
(Voltage check during off-hook when an external telephone is connected)
Next, the “EXT Voltage (Offhook)” screen shown below appears.
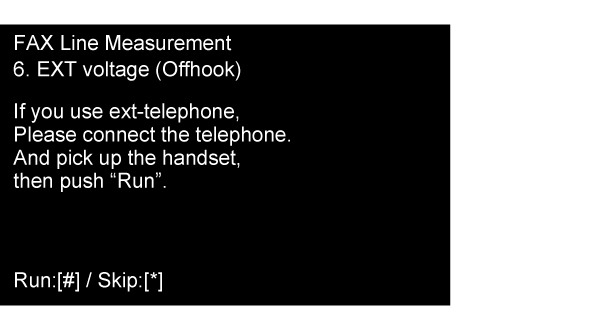
Connect the telephone to the EXT port of the product, and press the [#] button when the receiver has been lifted.
Next, the check results are displayed as shown below. (The values shown on the screen are for reference.)
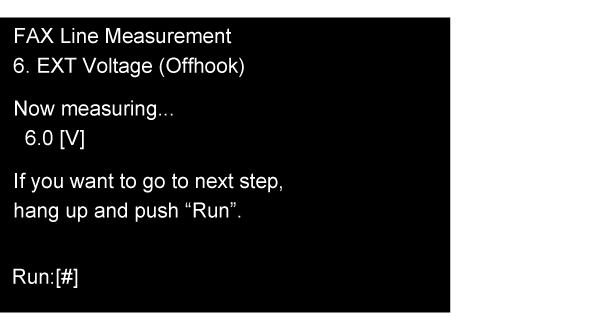
Press the [#] button and place the receiver.
Check Point / チェックポイントThe [#] button must be pressed after two to three seconds since the line voltage fluctuation has stabilized, or when the fluctuation is more or less understood if it continues.
- List of check results
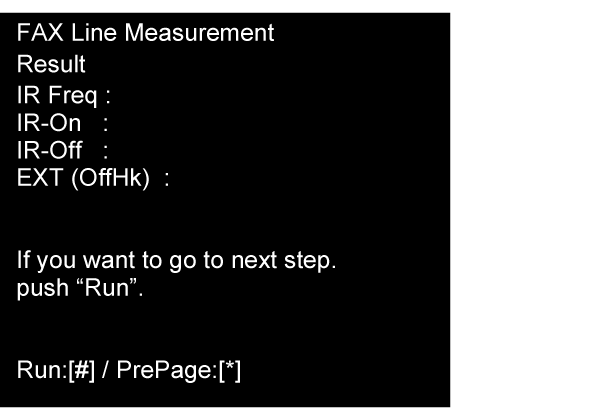
After the check is complete in all steps, the list table of check results shown below appears.Check Point / チェックポイント“Skipped” is displayed for items that were skipped.
The check results screen (first screen) is displayed.
Press the [*] button and proceed to the next screen.The check results screen (second screen) is displayed.
To proceed to the next step, press the [#] button, and to return to the check results screen (first screen), press the [*] button.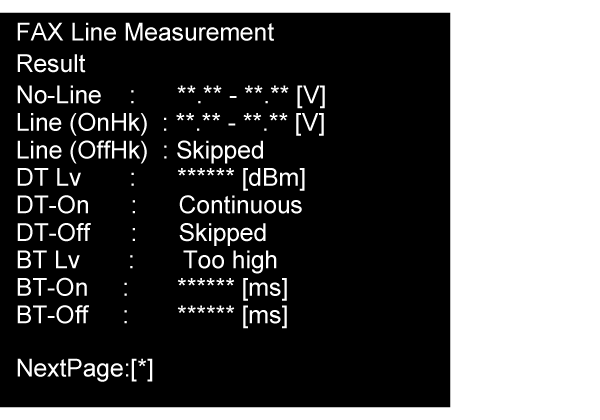
Saving the check results
Check Point / チェックポイント- Data is saved in the USB memory as shown below.
Data save format: Text format (.txt)
File name: LM_RESULT yyymmddhhmmss.TXT(The date and time of saving appears after LM_RESULT) - If do not have a USB memory, record the confirmation results by hand.
- If you press the # button without connecting a USB memory, “Fail” is displayed. (After “Fail” is displayed, you can connect a USB memory and retry.)
- Data is saved in the USB memory as shown below.
Connect the USB memory and press the [# button] on the screen below.
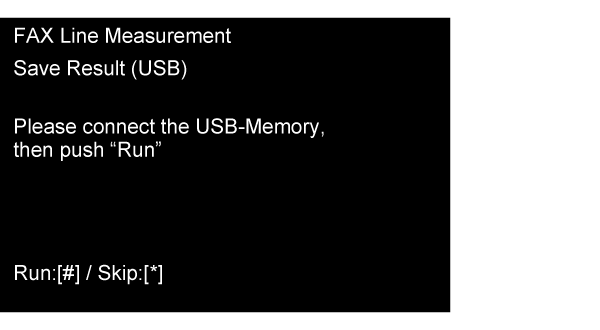
The following screen will be displayed and the saving of the confirmation results to the USB memory will be completed.
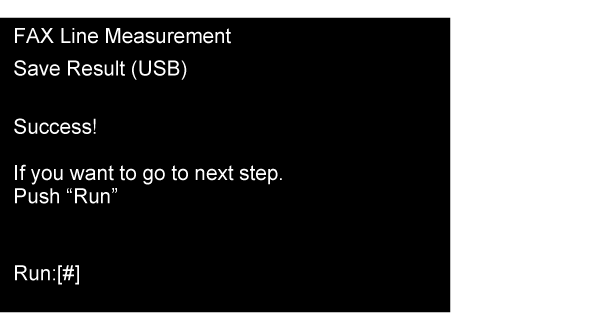
- Press the [# button] to proceed to the end screen.
- On the End screen, press the [Power] button to end “FAX Line Measurement”.
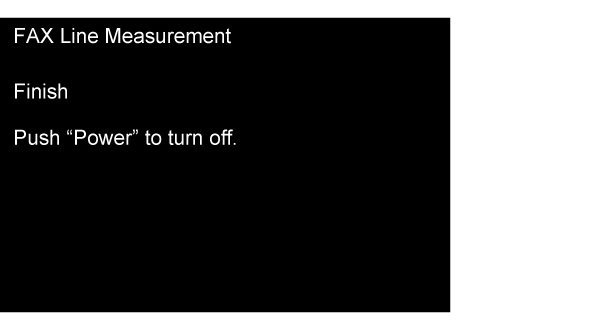
Sample stored check data