FAX Setting
 Check Point / チェックポイント Check Point / チェックポイント |
- If the user does not use the FAX function, this work is unnecessary.
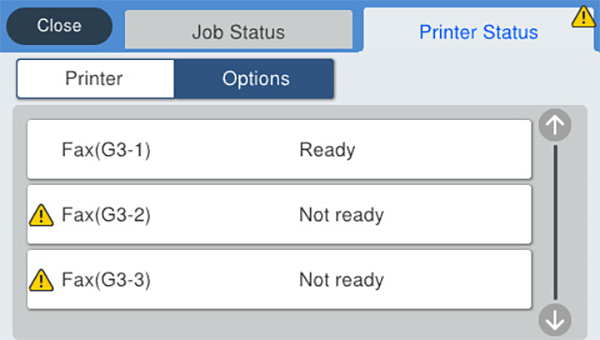
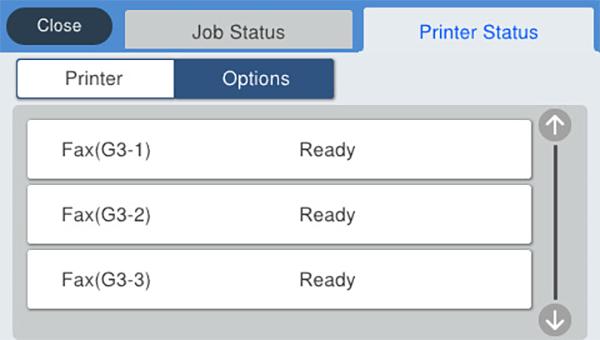
- The state of the additional G3 fax board is “unavailable” until the firmware is next updated. This state is enabled (standing by) by updating the firmware. (Check the state of the additional G3 fax board by [Job/Status] → [Printer Status].)
- Firmware not updated state
- Firmware updated state
|
- Connect the telephone line to the printer.
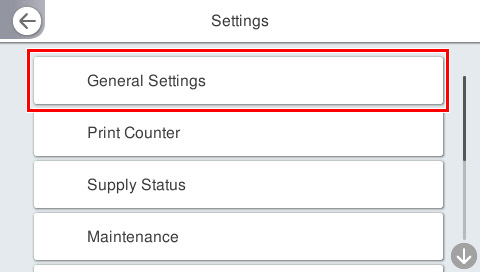
- Select “Settings” from Home menu.
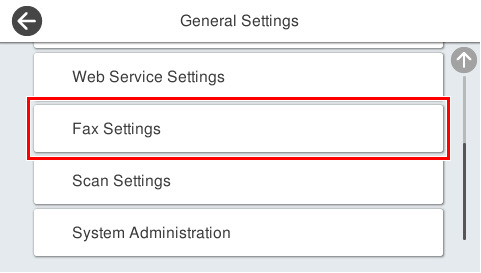
- Select [General Settings] > [Fax Settings] > [Fax Setting Wizard] in that order.
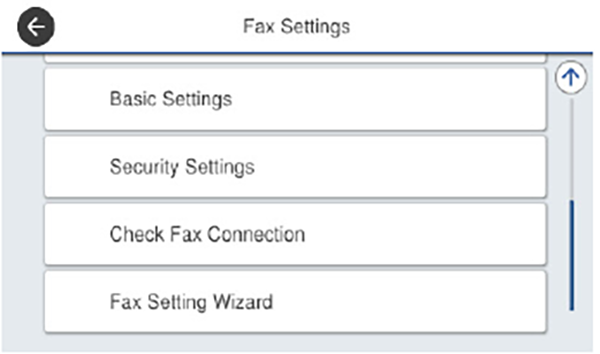
- Press [Proceed] to execute the fax setup wizard.
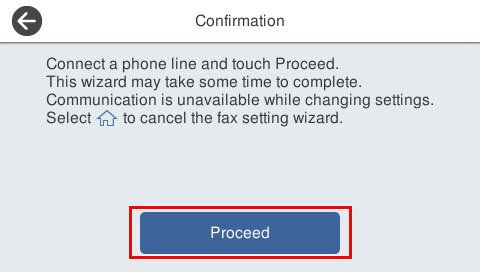
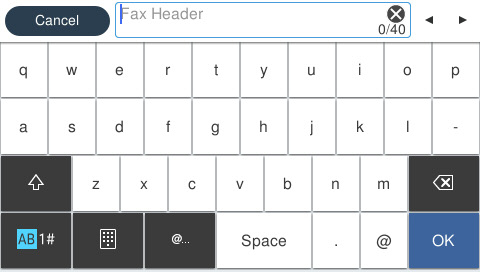
- Enter the name of the sender (e.g., company name) in the sender name input screen.
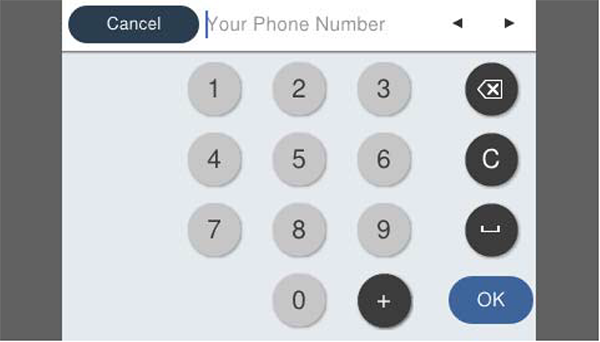
- Enter the fax number of the sender in the sender number input screen.
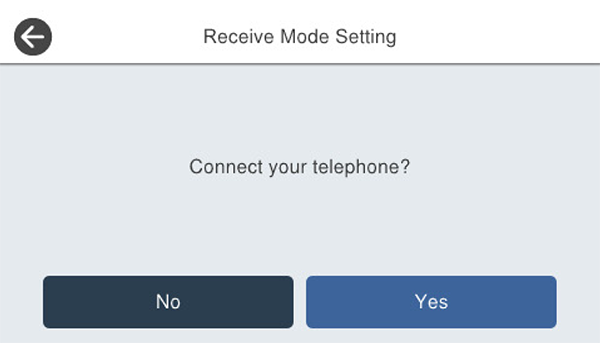
- Select whether or not to use a telephone connected to the printer in the Receive Mode Setting screen.
- Use: Press [Yes] to proceed to the next step.
- Not use: Press [No] and go to step 11. Receive mode is set to [Auto].
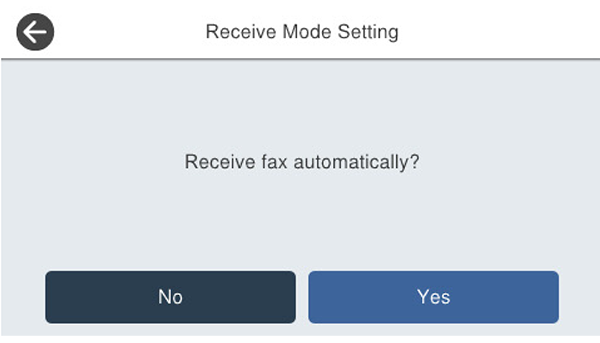
Select whether or not to receive faxes automatically in the Receive Mode Selection screen.
- Receive automatically: Press [Yes]. The Receive Mode is set to [Fax/Telephone Switching].
- Not receive automatically: Press [No]. The Receive Mode is set to [Manual].
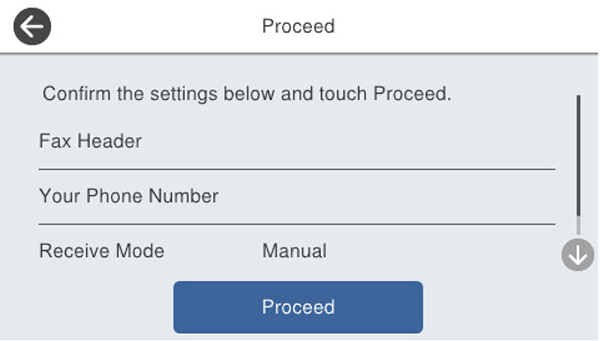
- In the Setting Confirmation screen, check the settings and press [Proceed].
To correct settings, press the [←] button and return to the previous screen.
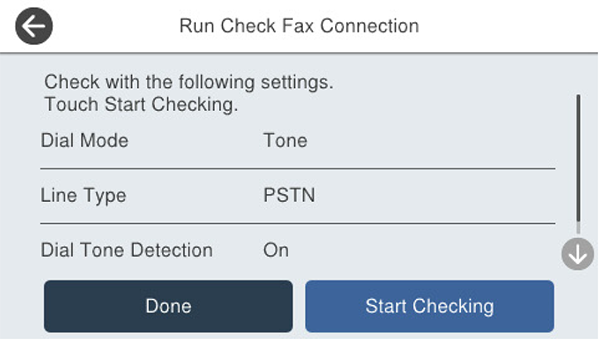
- Press [Start Checking] to perform diagnosis of the fax function.
When the print diagnosis result message is displayed, press the [Print] button to print the fax functions diagnosis report.
| Check Point / チェックポイント |
- If an error is displayed in the report, resolve the problem according to the instructions in the report.
- If the Select Connection Line screen appears, select the connection line. When connected to a private branch exchange (PBX) or terminal adapter, [Private Branch Exchange (PBX)] must be selected.
- If the Dial Tone Detection Selection screen appears, select [Do not detect]. However, when [Do not detect] is set, there is a risk of a wrong number being dialed due to the first digit of a fax number not being dialed.
- To make individual settings without using the fax setup wizard or to change items that have already been set in the fax setup wizard, select [General Settings] > [Fax Settings], and individually select and set the required items in the [Fax Settings] screen.
- In an environment in which an external dial number such as “0” or “9” is required such as an office that uses extension telephones, set the following settings.
- Select “Settings” from Home menu.
- Select [General Settings] > [Fax Settings] > [Basic Settings] > [Line Type] in this order.
- Select [PBX].
- Select [Use] in the Access code screen.
- Press [Access code], enter the external dial number that is used, and press [OK].
After setting these settings, enter "#" instead of the actual external dial number when sending a fax to an external number.
|
Additional FAX Settings
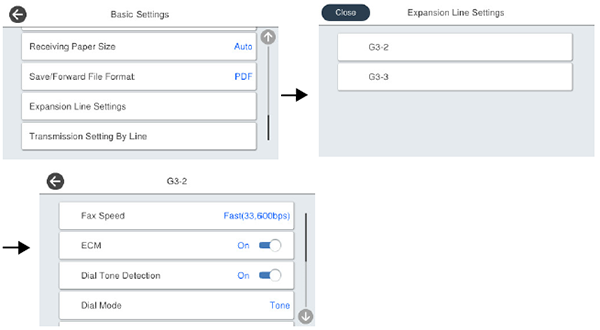
To set additional fax settings, select [Settings] → [General Settings] → [Fax Settings] → [Basic Settings] → [Expansion Line Settings].
| Check Point / チェックポイント |
- The following items can be set on channels Ch2 and Ch3:
- Communication mode
- Error correction (ECM)
- Dial tone detection
- Dial type
- Number display compatibility
- Connection line
- Originator setting
- Number of calls
- The fax setup wizard supports only channel Ch1.
- Fax function diagnostics support only channel Ch1.
|