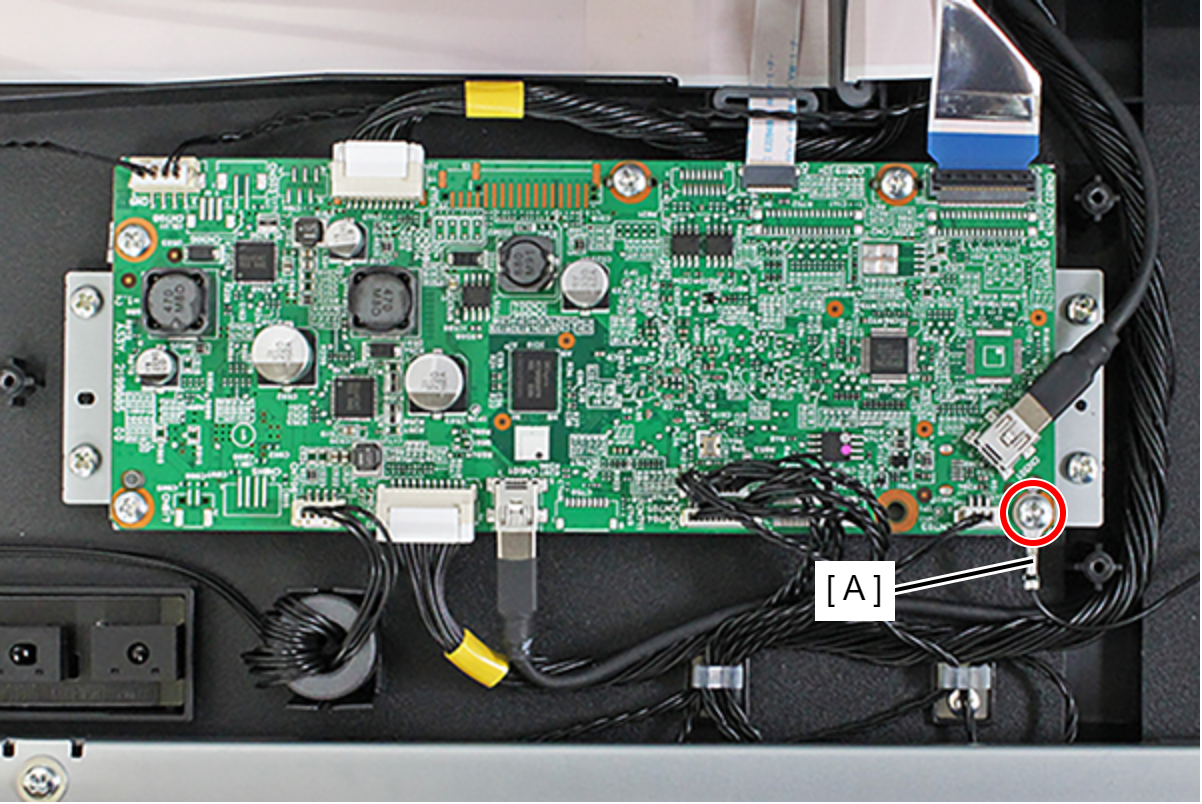
SCN Board
- Remove the 5 screws, then remove the Rear ADF Cover Assy (A).
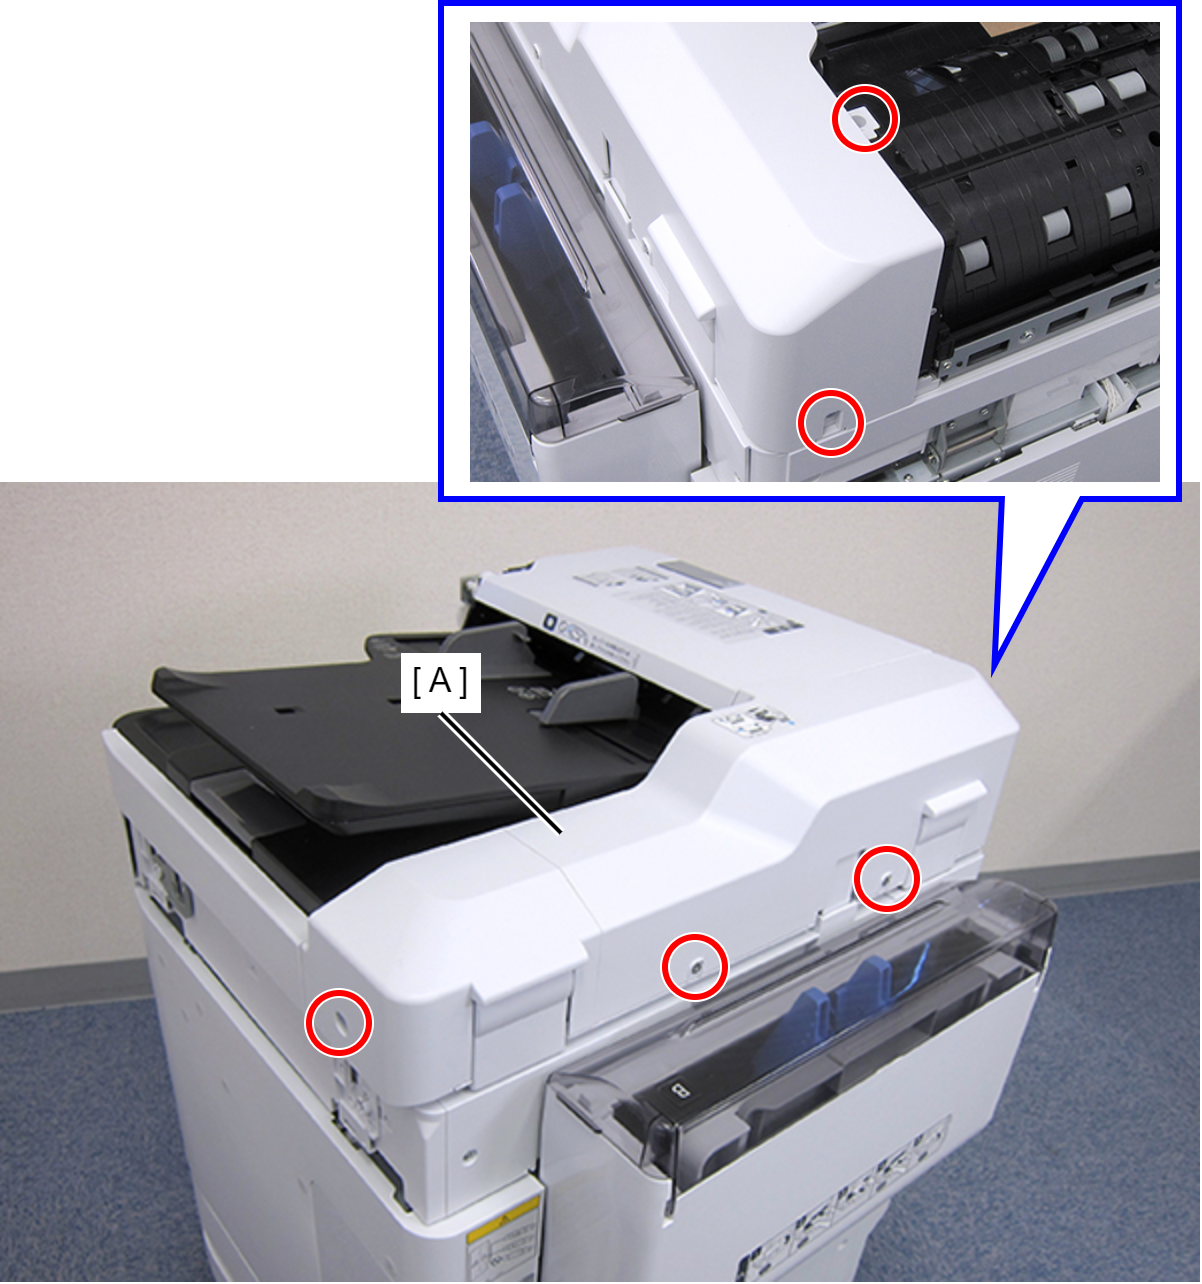
 : C.SHOULDER S-TITE,3X5
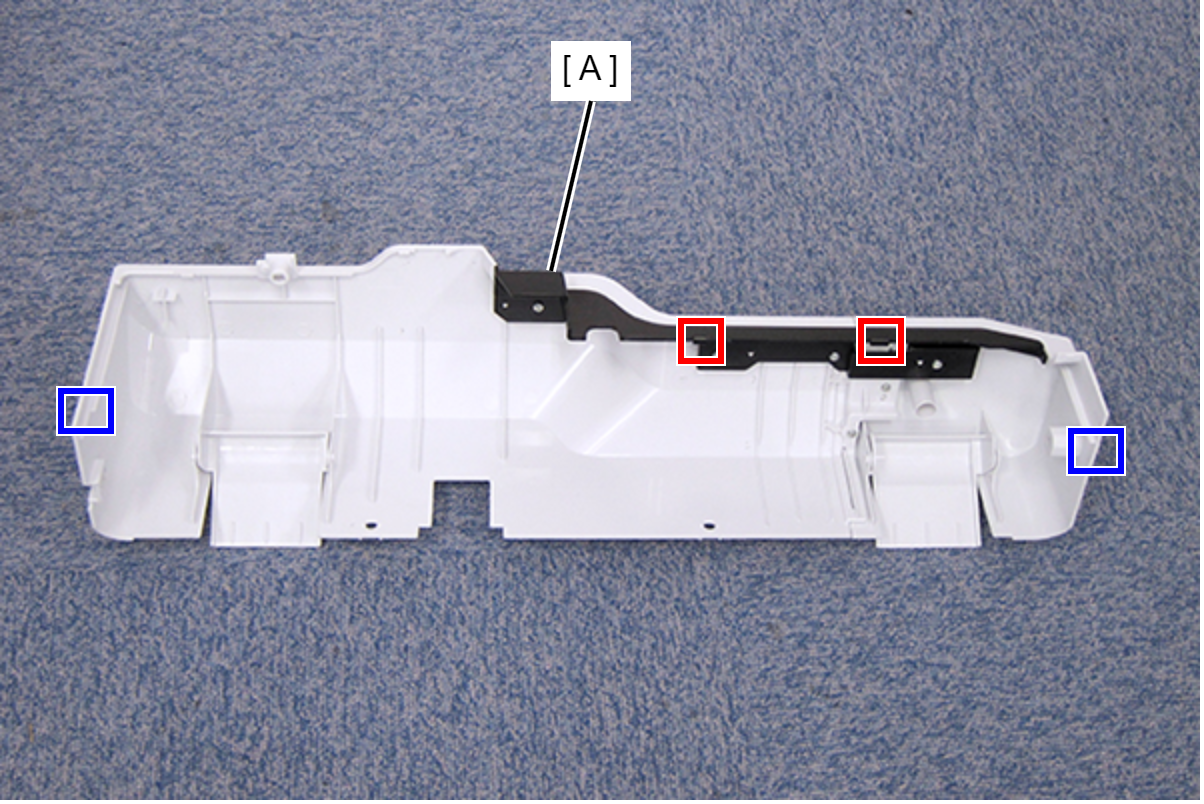
- Disengage the two hooks and the two tabs, then remove the Rear ADF Cover Assy (A).
- Remove the two C-ring (A), and pull out the two Stopper Shaft (B).
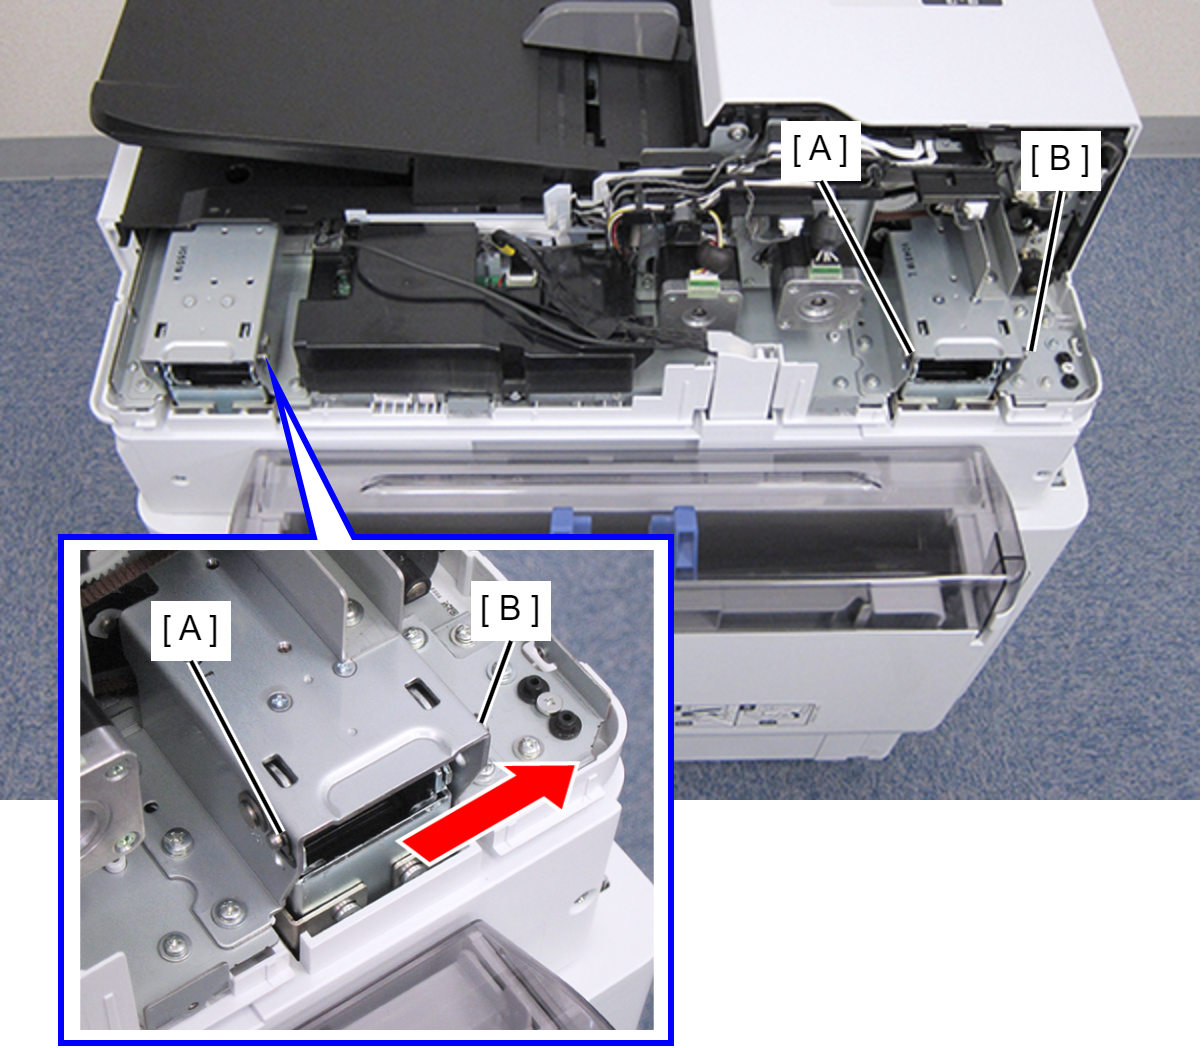
- Open the ADF Unit until it stands upright.
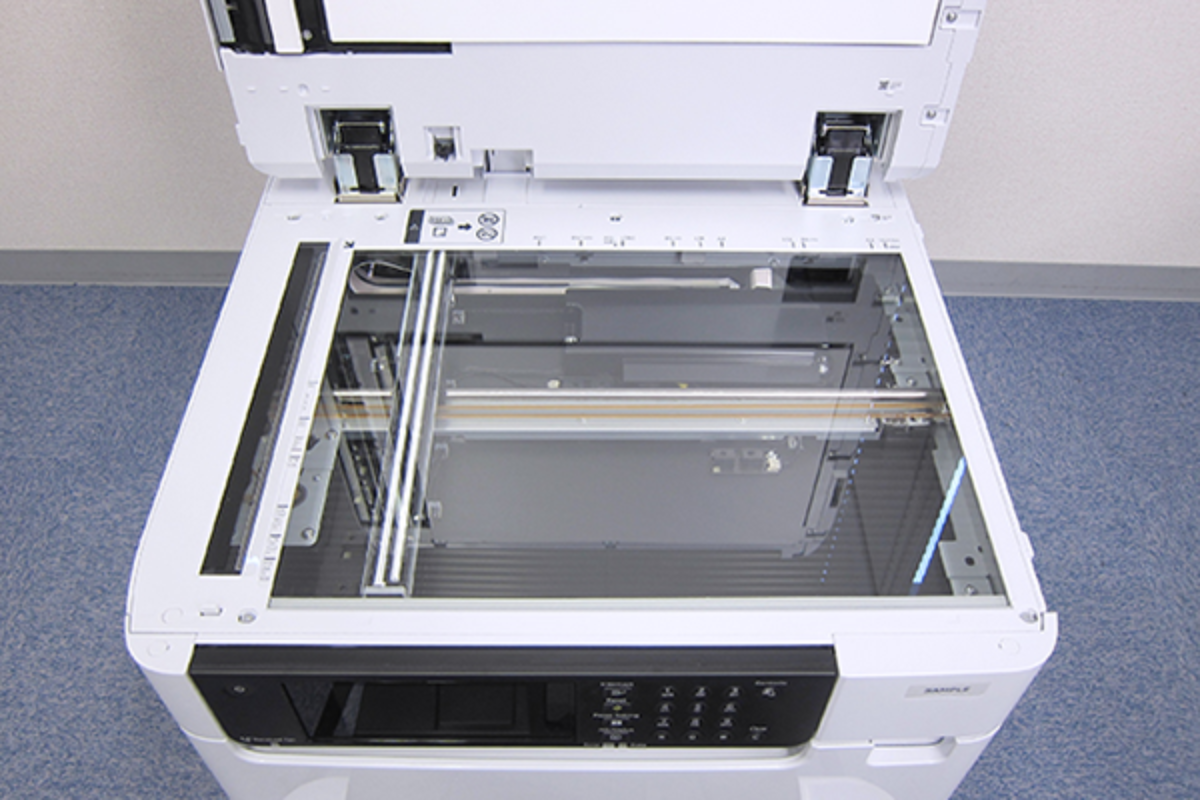
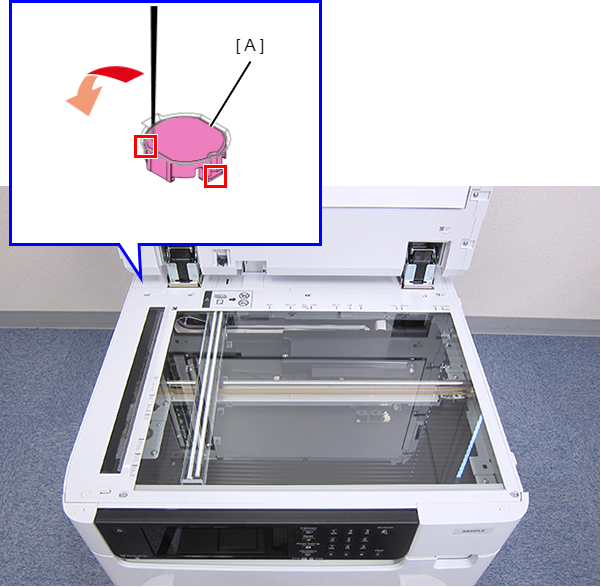
- Insert a fine-tipped tool such as tweezers to disengage the hook, then remove the six SCN Housing Caps (A).
- Remove the six screws, then remove the SCN Upper Case (A).
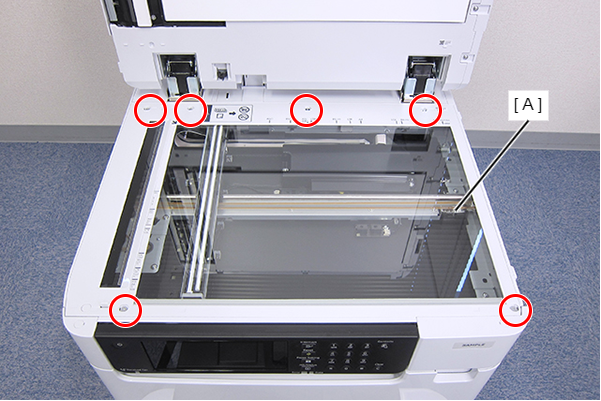
- : C.SHOULDER S-TITE,3X5
 Caution / 注意
After removing the SCN Upper Case, do not place it glass-inner-side down to prevent the inner side from being contaminated by dust or other foreign matters.
 Assembly / 組み立て
- After installing the SCN Upper Case, make sure to clean the glass with a clean cloth such as a dust-free cloth. (Refer to Cleaning)
In addition, make sure that the glass is clean without any dirt or foreign matters by visually checking it with lighting. - After reinstalling the SCN Upper Case, make some copies of any printed images or charts, and check that no banding or streaks are observed on the copies.
- Remove the three screws, and remove the SCN Board Cover (A).
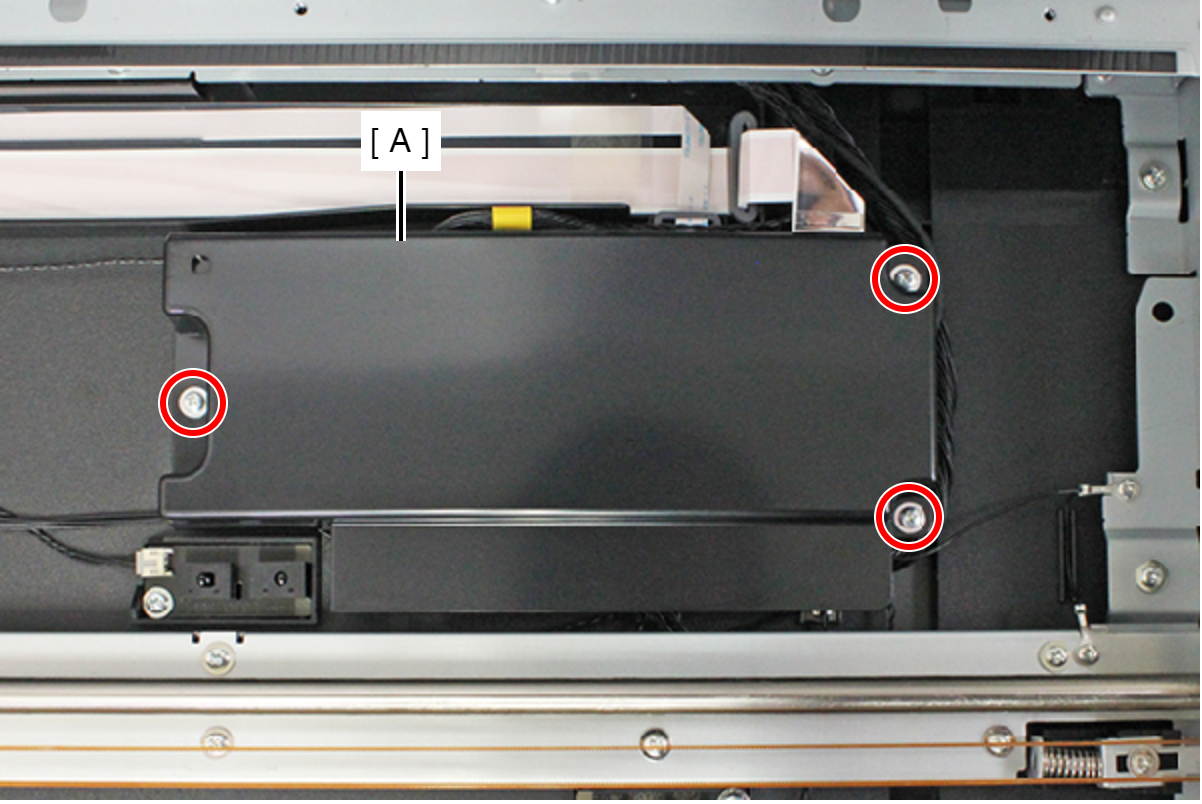
- : C.B.P-TITE-P4-SCREW-3x8-F.ZN-3C
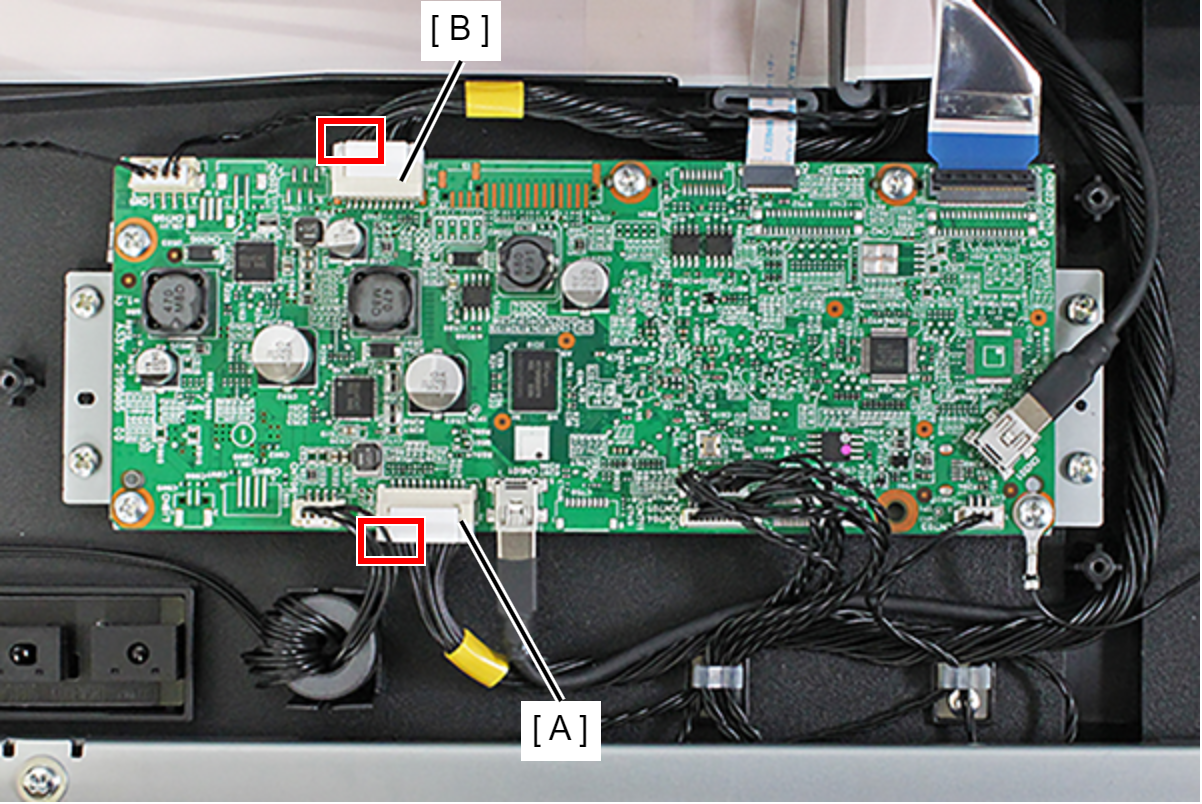
- Release the cable hook and remove the two cables (CN823/CN712 (A), CN308/CN714 (B)).
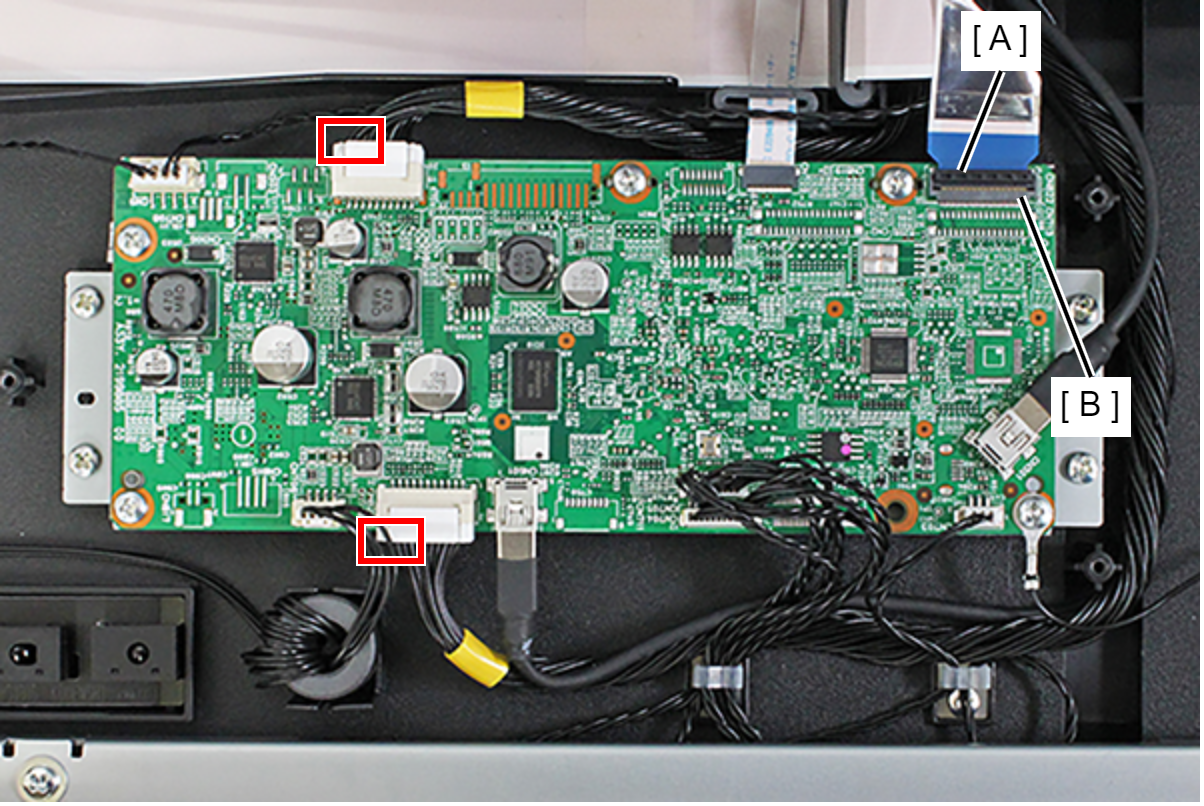
- Raise the Connector Lock (A), and remove the FFC (CN822/CN713 (B)).
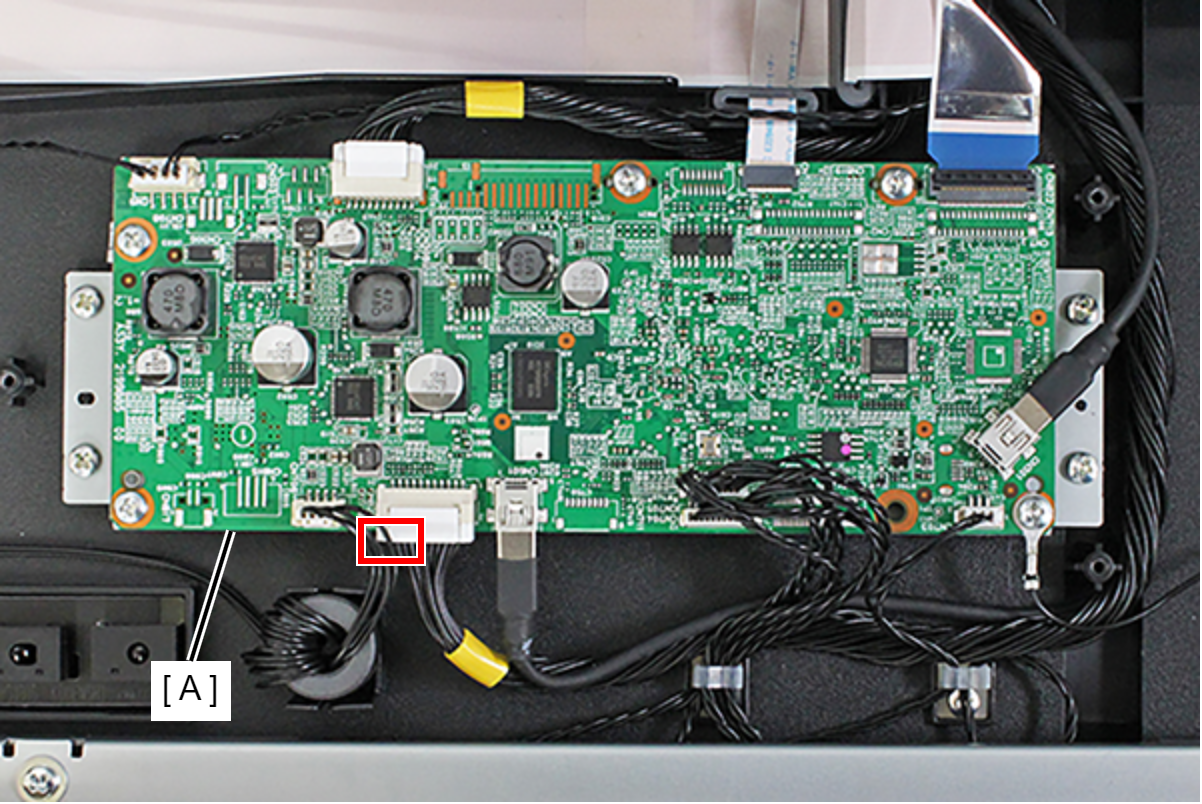
- Remove the cable and FFC from all connectors of the SCN Board (A).
- Remove the five screws, and remove the SCN Board (A).
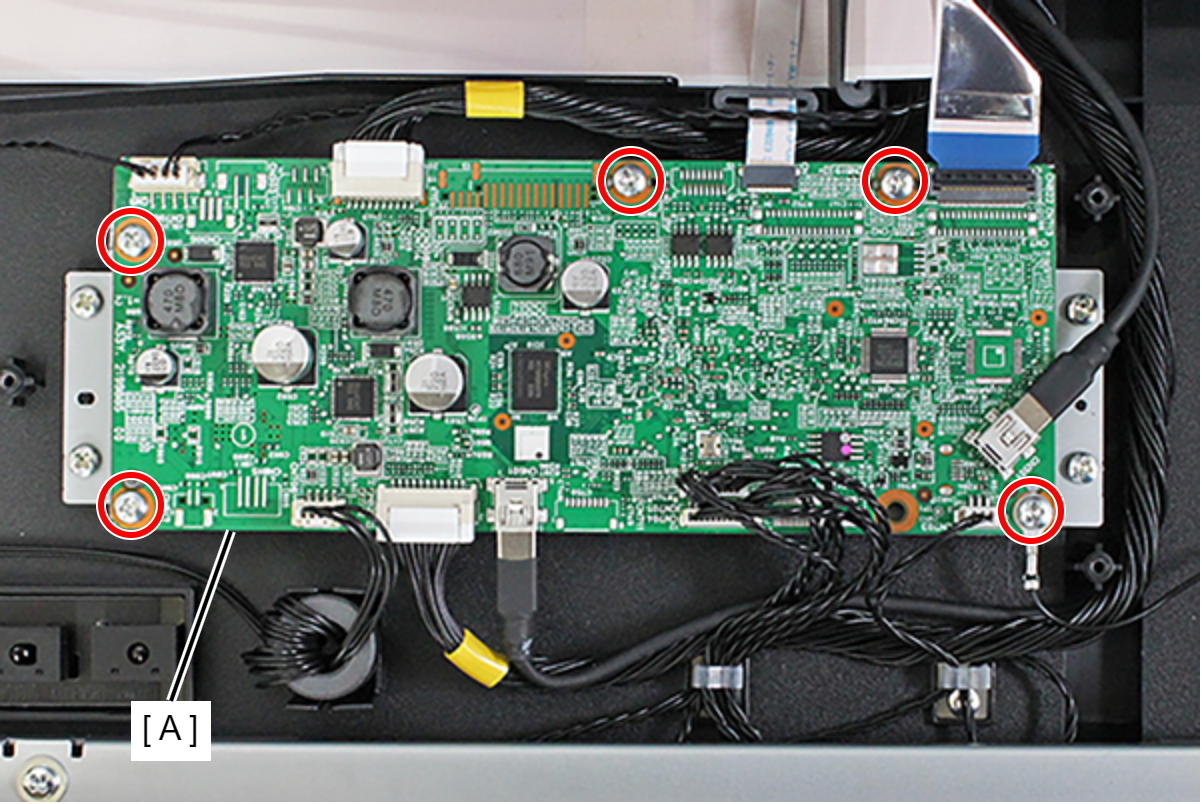
- : C.B.S-TITE-SCREW-3x6-F.ZN-3C
Assembly / 組み立てTighten screws in the photo above together with the grounding wire (A).