
Print smudges
Symptom
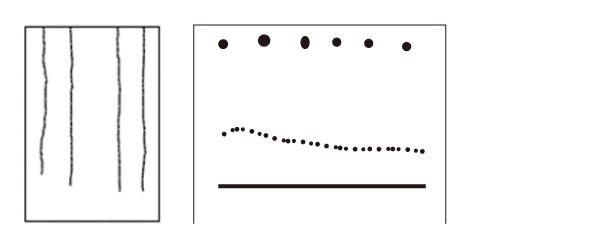
Unexpected smudges can be seen somewhere (including back side) on printouts.
Suspected cause
- Dirt on scanner glass is scanned (when copying)
- Dirt transferred from feed path
- Contact with nozzle surface
Troubleshooting
| Step | Confirmation and action | Yes | No |
||
|---|---|---|---|---|---|
| 1 | Check whether printing or copying Check whether the symptom occurs with printing or with copying. |
Occurs with printing and copying. Go to step 2 |
Occurs with copying only |
||
| 2 | Check conditions in which error occurred Check whether the error occurred only during 2-sided printing, or whether the error occurred during both 2-sided or one-sided printing. |
Occurs during both. |
Occurs only during 2-sided printing. |
||
| 3 |
Confirm the contamination adherence. Check whether the product is dirty or not.
Nozzle condition is excellent? |
Go to step 4 |
Clean the corresponding parts. * When cleaning the gaps in the SMAP driven roller, you can raise the driven roller a little to make cleaning easier by executing [Settings] > [Maintenance] > [Remove Scraps of Paper]. * If there are large ink deposits, check that there is no ink leaking. If there is noticeable dirt on the platen, operation without paper may have occurred so execute cleaning and check the following items as well.
|
||
| 4 |
Check the paper and settings
Were the paper condition and settings appropriate? |
Go to step 5 |
Change the paper or settings. Recommend to use the rubbing avoidance mode. If the symptom continues to occur after changing to the genuine ink packs, go to step 5. |
||
| 5 |
Check the Ink system Assy Check the following point about the Inksystem Assy.
Inksystem Assy is correct condition? [Confirmation details]
|
Go to step 6 |
If nozzle missing is not improved after performing the above, go to step 6. |
||
| 6 | Check around the CR Unit Remove the CR Unit and check that there is no dirt on the bottom surface. (Refer to CR Unit ) |
Go to step 7 | Clean the CR bottom surface. |
||
| 7 |
Check PW sensor
|
Go to step 8 | If trouble is occurred in “1”, replace the PW sensor |
||
| 8 | Check the PG Is the PG within the specified value range (1.35 ±0.05 mm)? |
Contact Epson local service representatives. |
Perform the "Check the PG ". |
