
Parameter changing procedure
- Start the “FAX Maintenance Mode”.
Press and hold down the power button while pressing the [#] button from the power-off state until a message appears on the panel LCD.

Input the ID Number.
Input the ID Number by the following operation method.
Operation methodNumber input (move in ascending order) : [2] button
Number input (move in descending order) : [8] button
• Input digit shift : [6] button
• Execute : [#] button Check Point / チェックポイント
Enter “91170” when starting the FAX Maintenance Mode.
After entering the ID number, press the [#] button, and make sure the following confirmation screen appears.
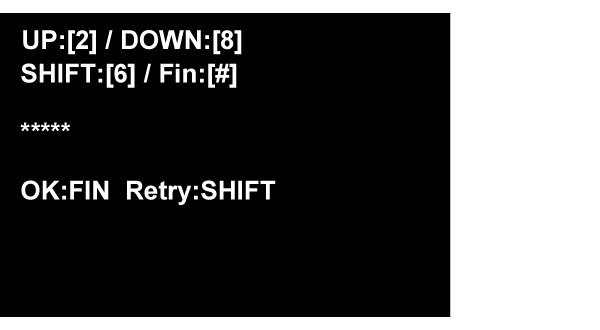
Push the [#]button on confirmation screen, and confirm that “Authentication Mode” is started.
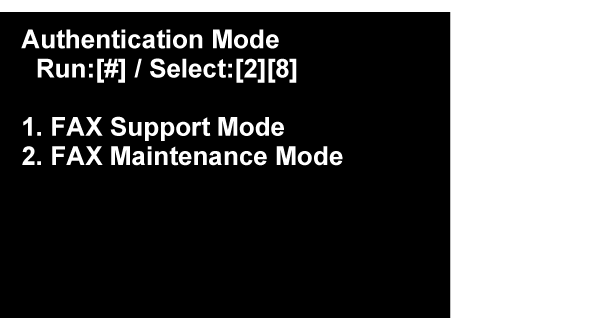
Select the “FAX Maintenance Mode”, and push the [#] button.
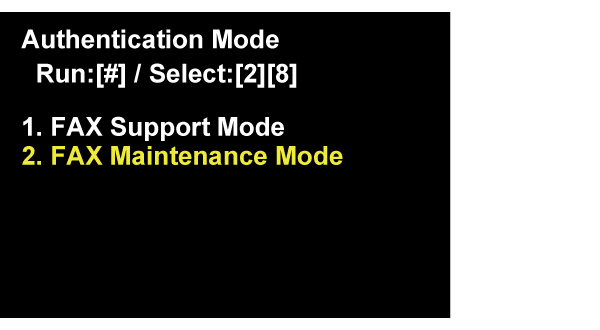
“Start FAX Parameter” Settings.
- Select the “FAX Parameter Setting”, and push the [#] button.
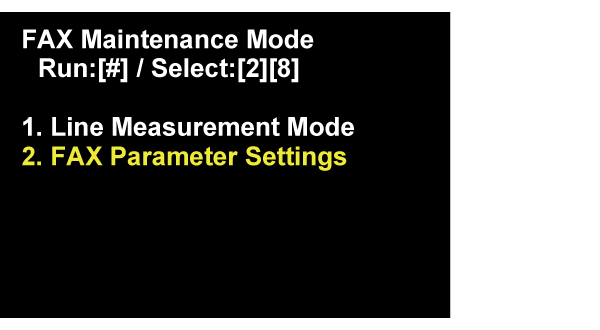
Following screen is displayed on Panel LCD.Waiting until the screen is changed. (About 1 minute)
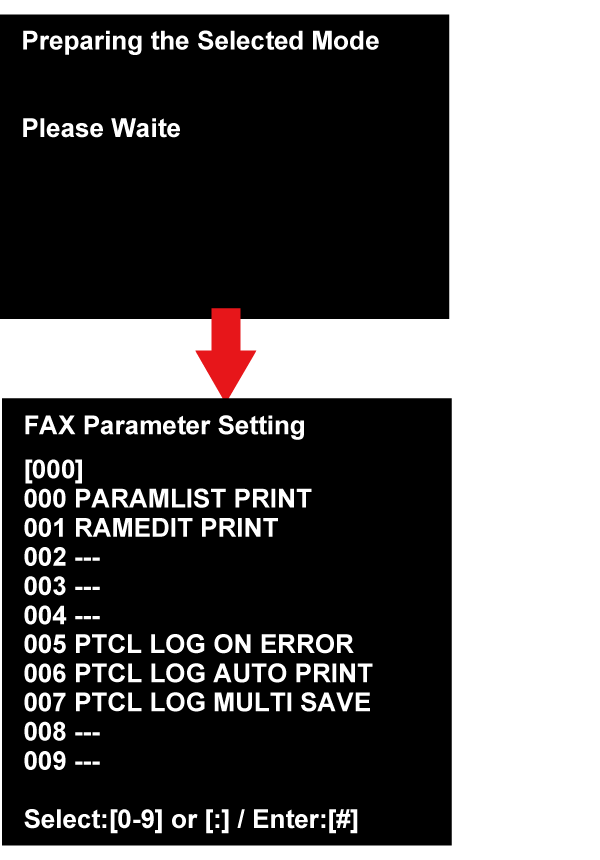
- Select the changing item, and enter the setting number.
Enter the number of changing item (3 digit), and push the [#] button.Check Point / チェックポイントWhere "-" is displayed to the right of the displayed 3 digit number, there is no parameter assignment.
- There are the following two types of setting change items, and the changing method is different.
•Parameter of selection type :Select Setting value
•Parameter of input type : Enter Setting value
Regarding detail of changing method, refer to the next pages. - FAX Parameter are divided for each option channel (CH1, CH2, CH3).
• CH1 = 000 ~ 139
• CH2 = 200 ~ 339
• CH3 = 400 ~ 539 - The selected channel is displayed at the upper right of the FAX Parameter Setting Mode screen.
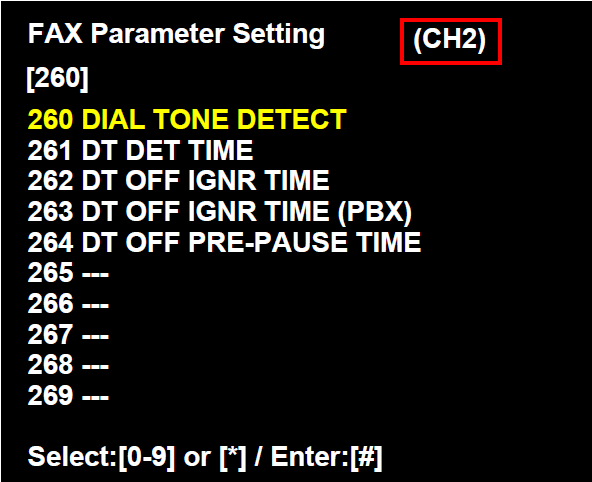
Example of setting change in selection type parameter
Example of setting change in input type parameter