
Humidity Sensor
 Adjustment / 調整 Adjustment / 調整 |
When replacing/removing this part, refer to the following pages and make sure to perform the specified operations including the required adjustments. |
- Remove the three screws, then remove the Left Housing Assy (A) toward the rear of the product.
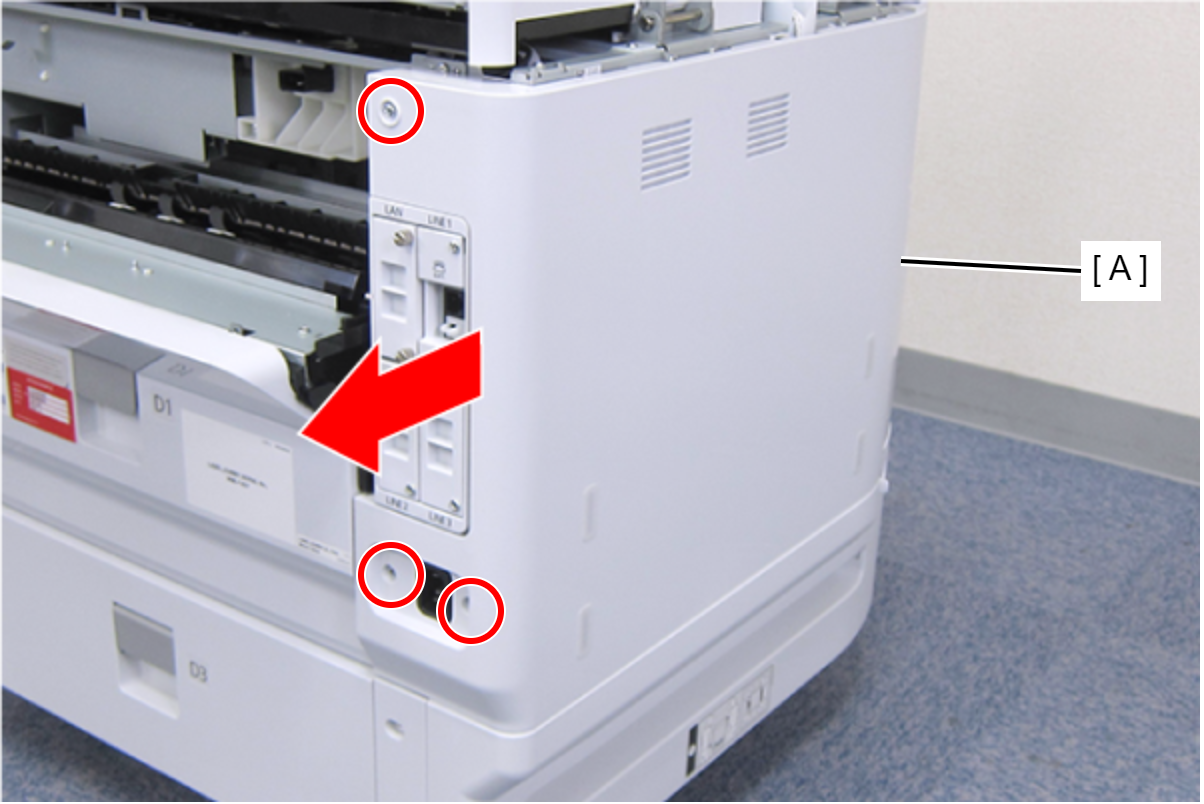
 : C.B.S-TITE-SCREW-3x8-F.ZN-3C
- Remove the Stacker Assy (A).
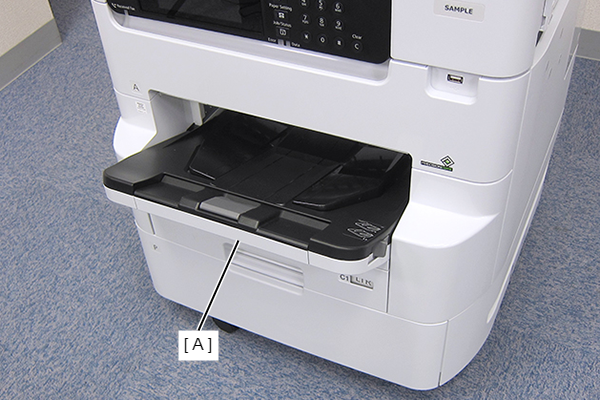
- Remove the Cassette Assy (A).
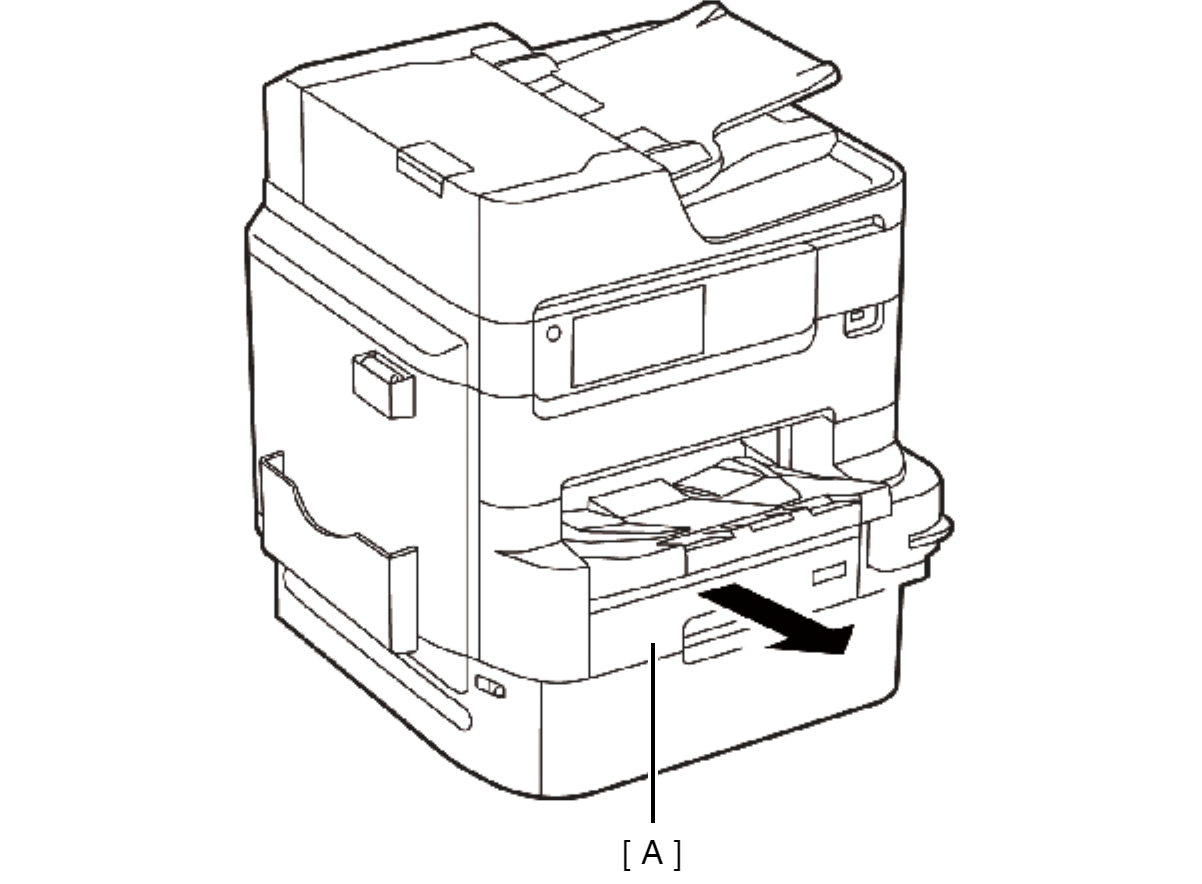
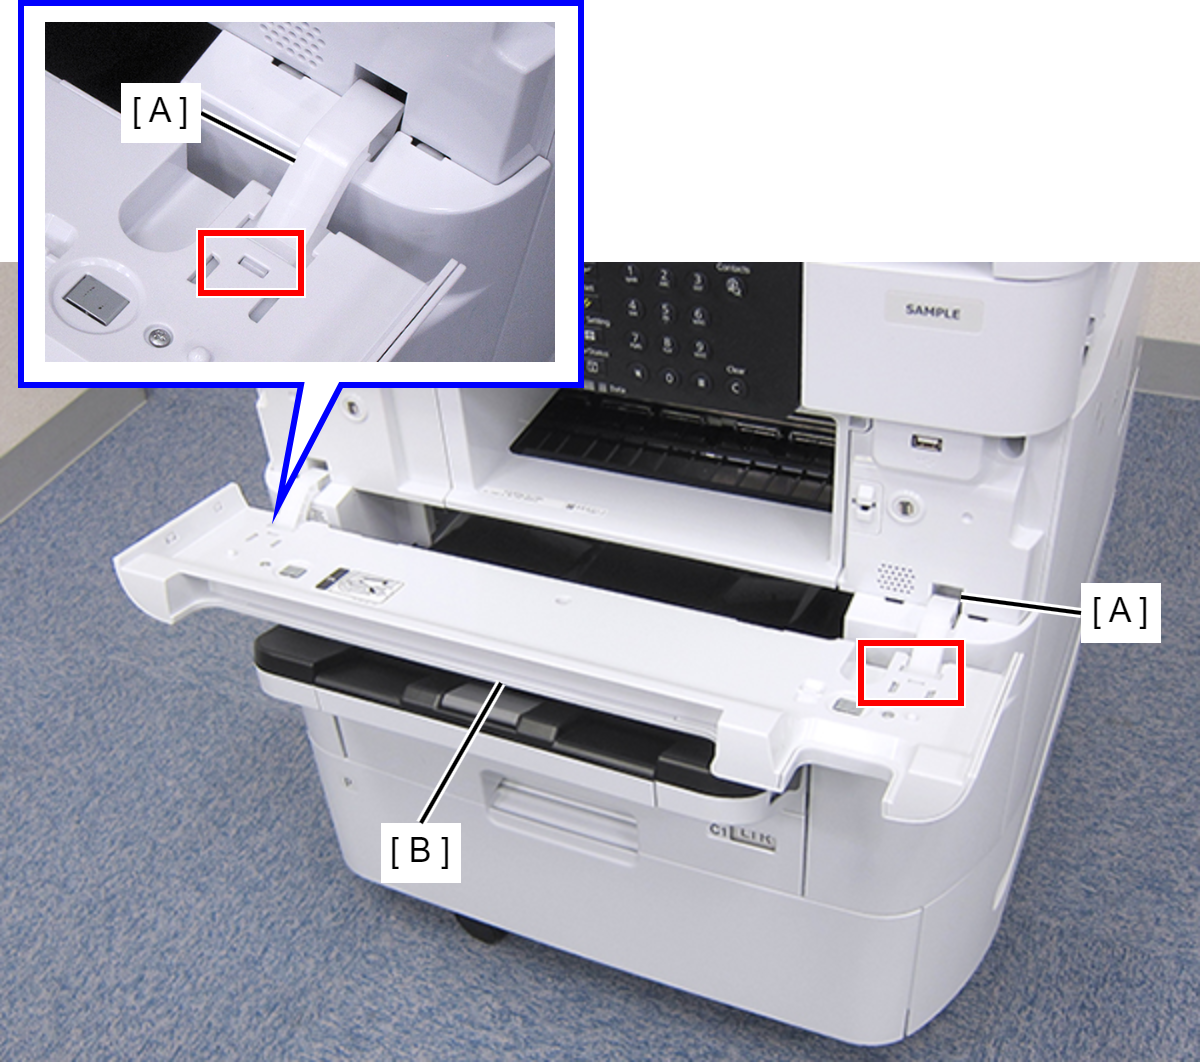
- Open the Front Cover Assy (A).
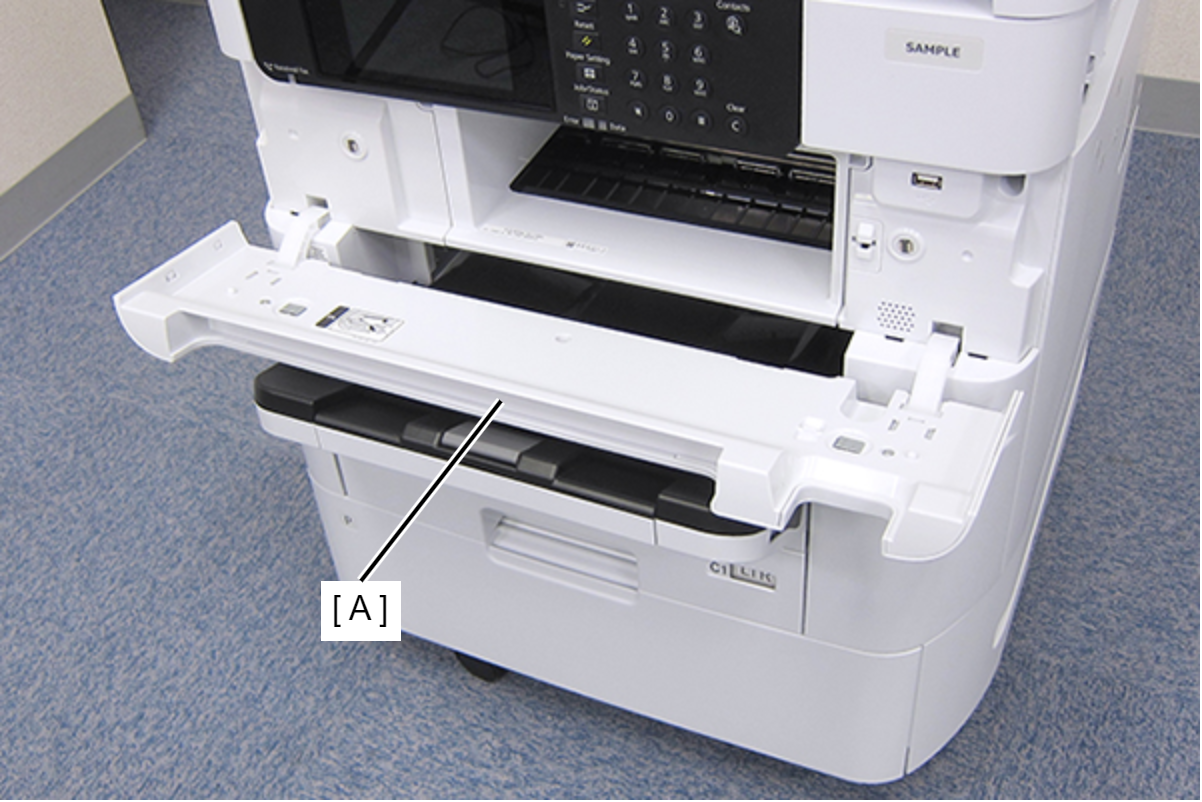
- While pressing the two hooks of the hinge (A), remove the Front Cover Assy (A) frontward.
- Remove the three screws fastening the Front Left Housing (A).
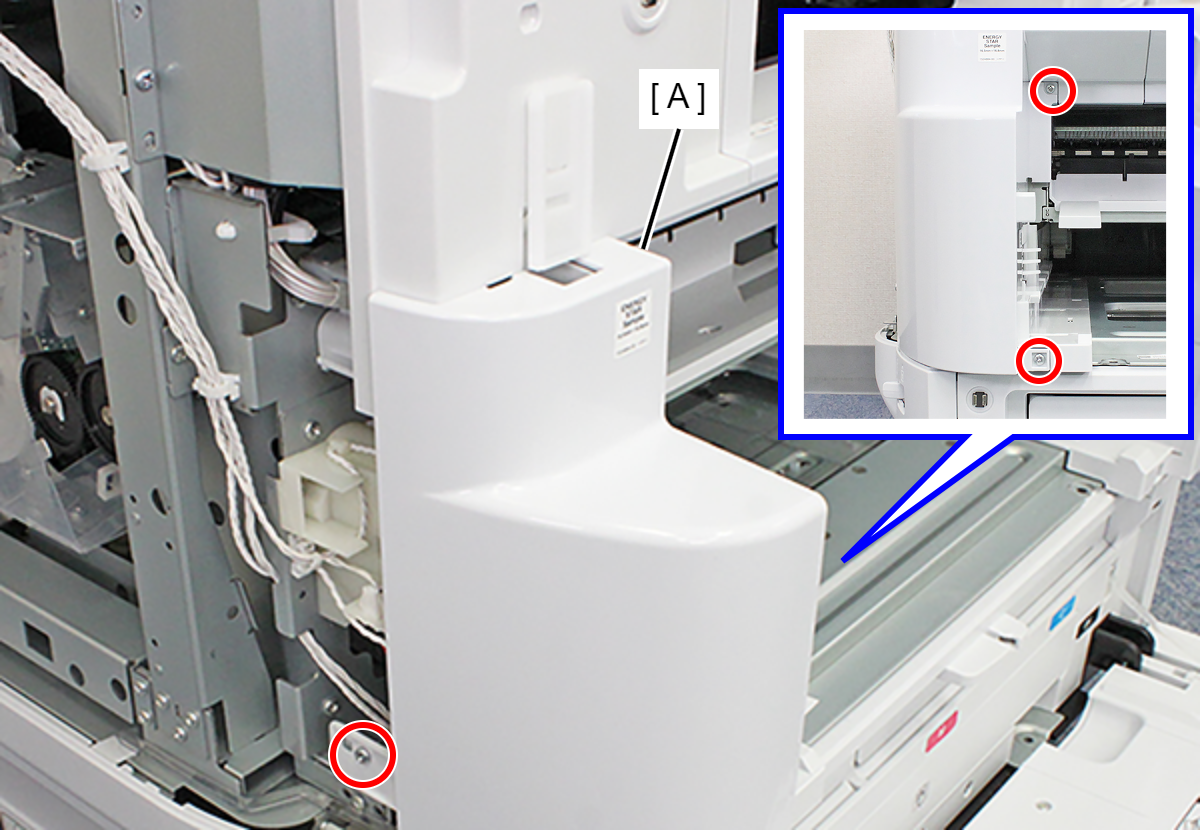
- : C.B.S-TITE-SCREW-3x8-F.ZN-3C
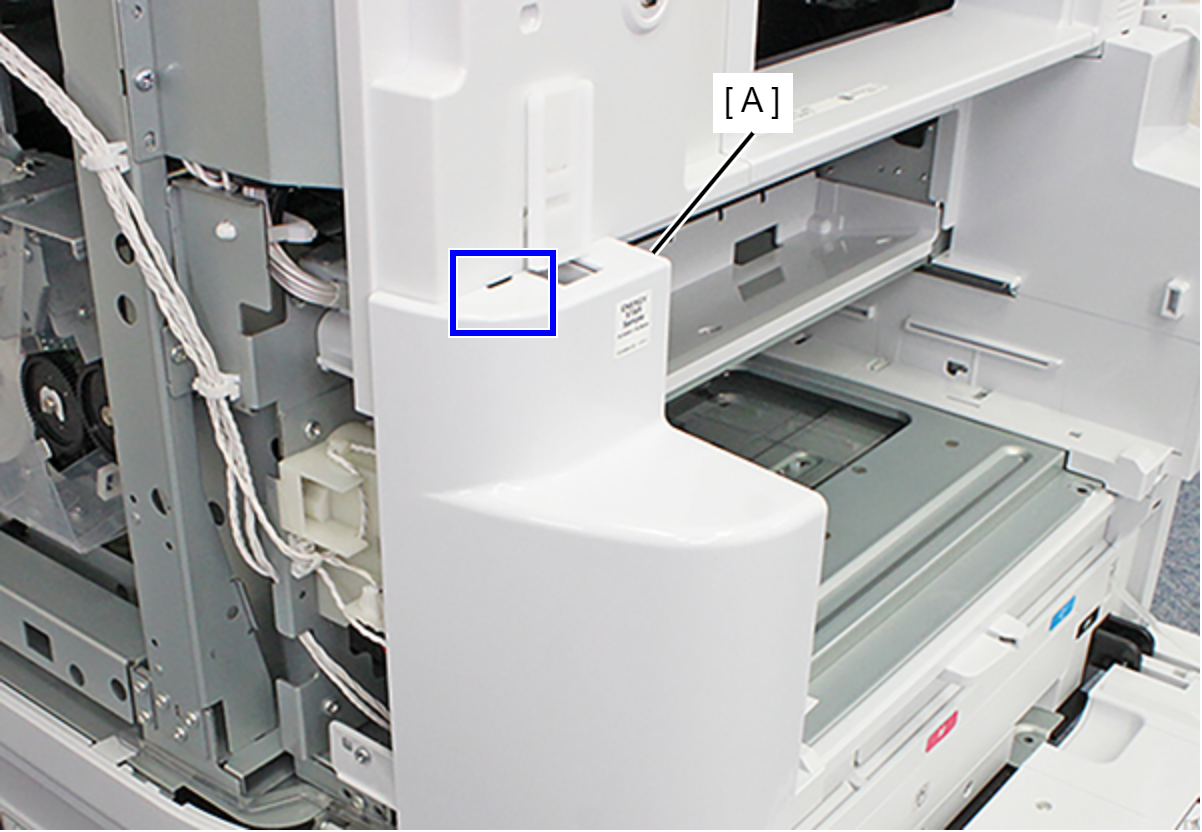
- Release the hook and remove the Front Left Housing (A).
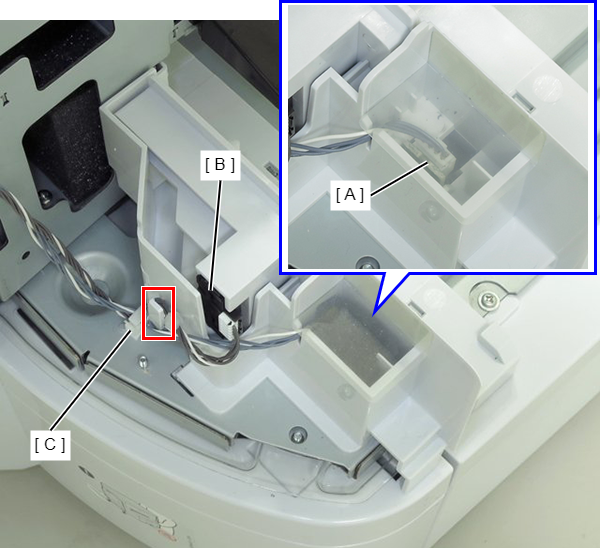
- Turn over the sheet (A), then remove the sponge (C) of the Humidity Sensor (B).
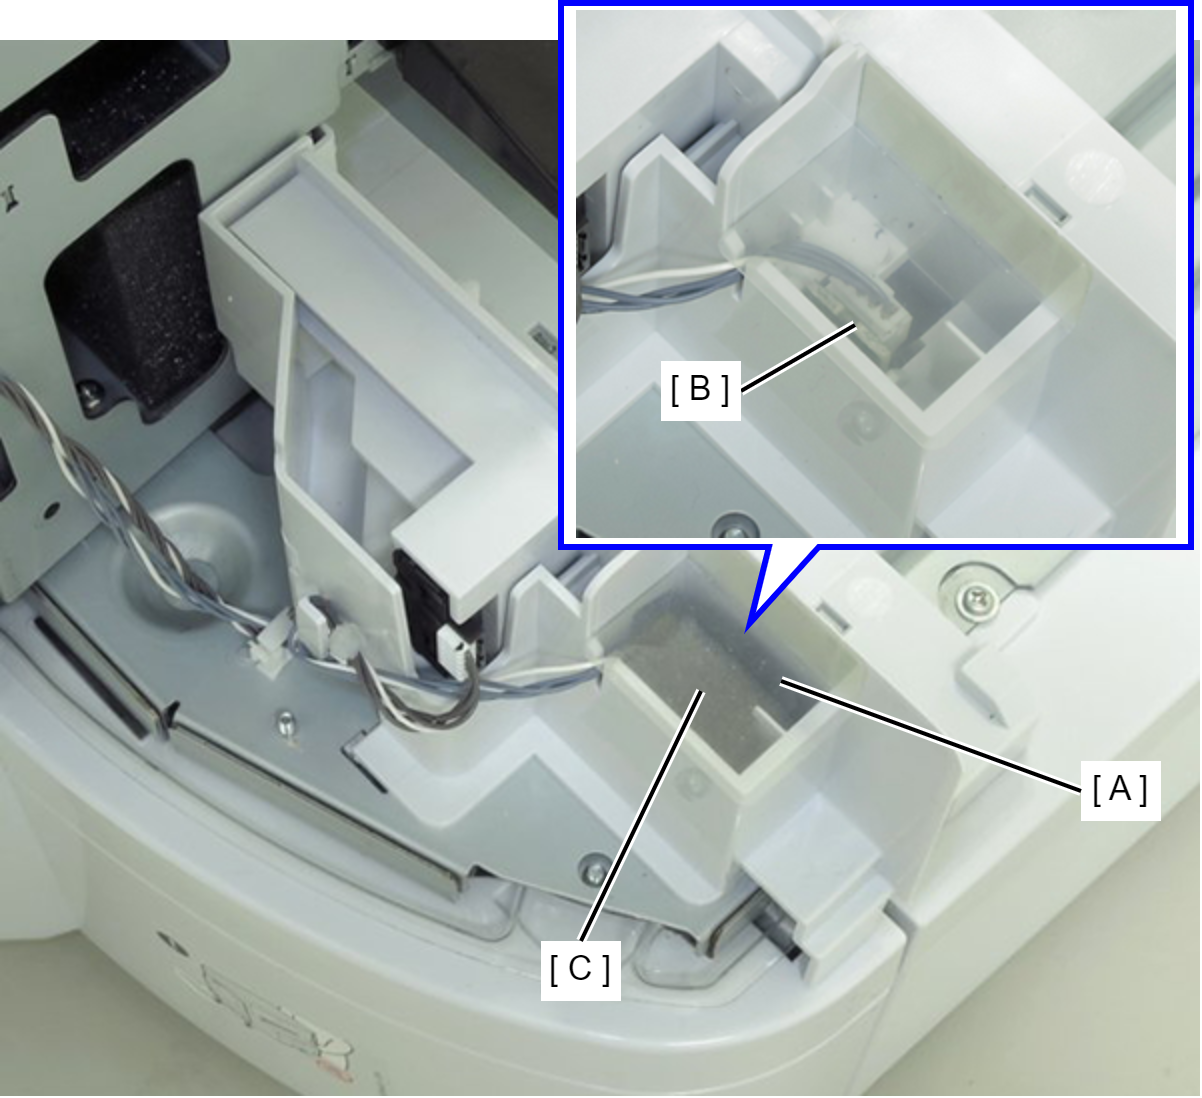
- Release the cable of the Humidity Sensor (A) and the 1st Paper Size Detector Assy (B) from the clamp (C) and the hook of the housing.
 Assembly / 組み立て
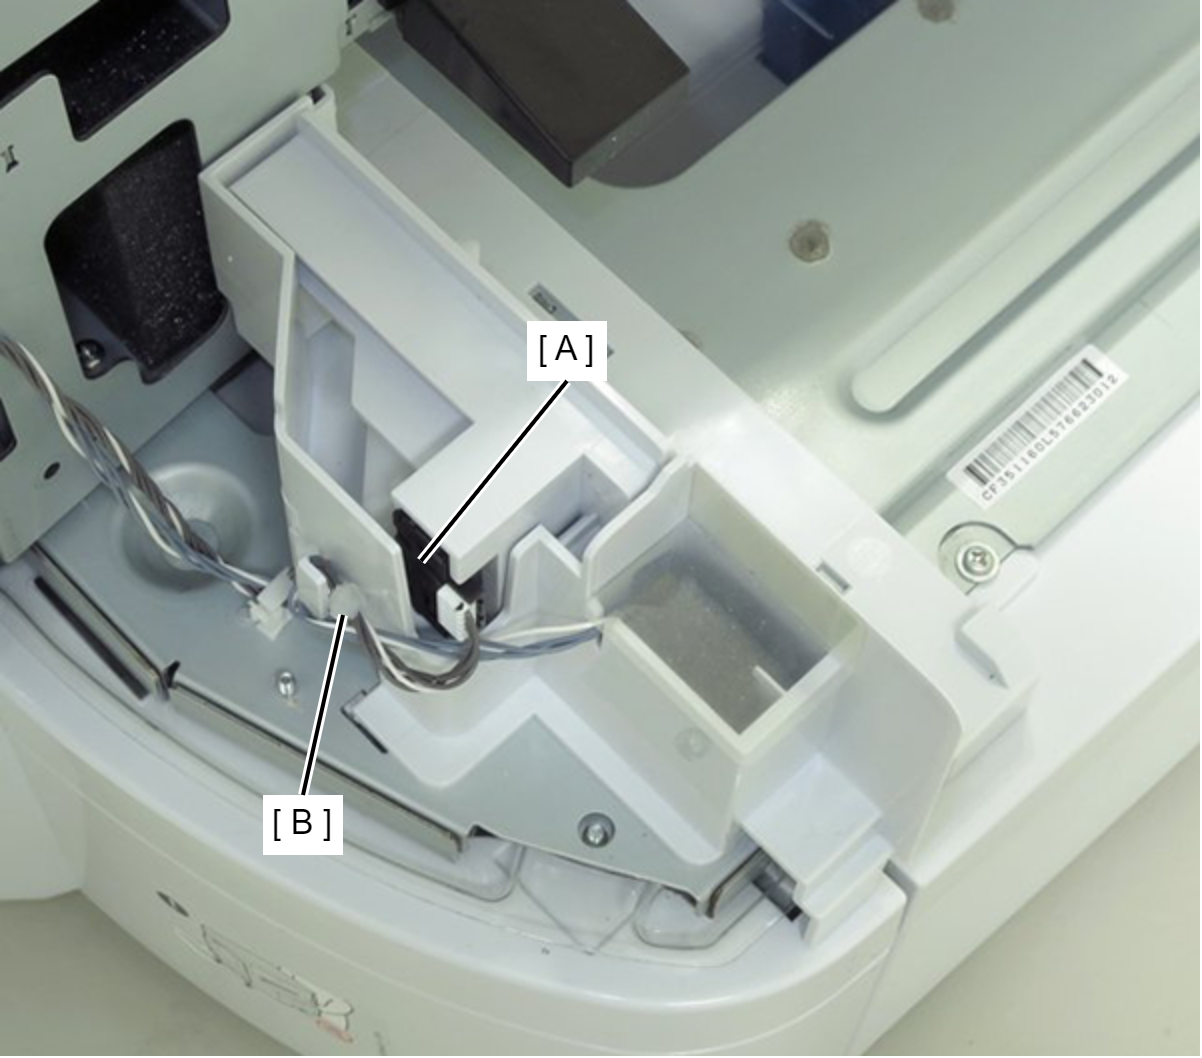
When routing the cable of the 1st paper size detection Assy (A), make sure that the positioning (B) of the cable is in front of the hook.
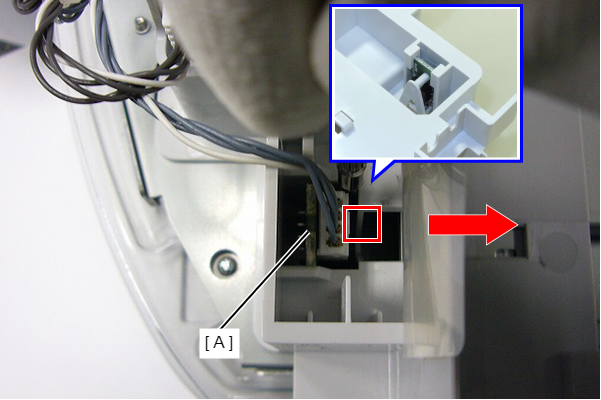
- Remove the Humidity Sensor (A) while pushing the fixing hook of Humidity Sensor by using the small flat-head driver.
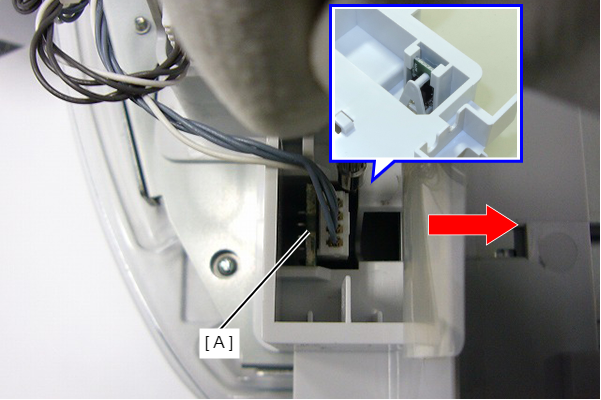
- Disconnect the cable from Humidity Sensor (A).
 Assembly / 組み立て
When installing the Temp./Humidity Sensor, push it in from above to engage the fixing hook.