
Lines not smooth and ruled-line deviation
Symptom
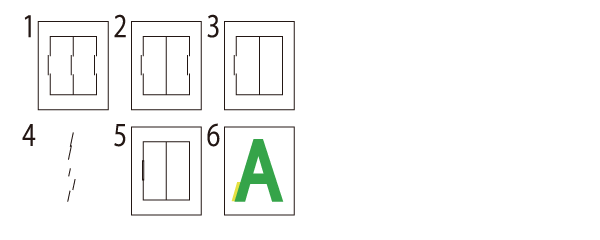
- Printed lines are not smooth.
- Lines printed in double in parts
- Color deviation of part of mixed colors
Suspected cause
- Paper matter
- Paper settings of main unit or printer driver settings are inappropriate.
- CR Scale reading failure
- Foreign matter on CR scanning lines
- Overload when CR operation
- Adjustment value abnormal
- PG right and left difference
Troubleshooting
| Step | Confirmation and action | Yes | No | ||
|---|---|---|---|---|---|
| Check 1 | Check the paper Check that the paper surface is flat. |
Go to check 2 | Change to standard paper or paper that is not folded or warped. |
||
| Check 2 | Check the settings Check the settings of the main unit/printer driver listed below.
Are the printer/driver settings appropriate? |
This is to be dealt with by a service engineer. Go to step 1 |
|
||
| 1 | Check the CR scale Visually check the CR scale to confirm that it is not dirty or damaged. Nozzle condition is excellent? |
Go to step 2 |
|
||
| 2 |
Check the CR Unit operation Check the following CR operation.
|
Go to step 3 |
Clean the CR guide frame and apply grease. (Refer to Lubrication 4 .) |
||
| 3 | Check the Bi-D Adjustment value Print adjustment patterns and check that the adjustment values are not deviated.
|
Go to step 4 |
Enter an appropriate value from the adjustment pattern. |
||
| 4 | Check the Head Angular Adjustment Mech value (Execute the following item from the service support mode.)
|
Go to step 5 |
|
||
| 5 | PG Adjustment Is the PG within the specified value range (1.35 ±0.05 mm)? |
Contact the Epson Service Support department. | Perform the "Check the PG ". |
