
Print Smudges
Symptom
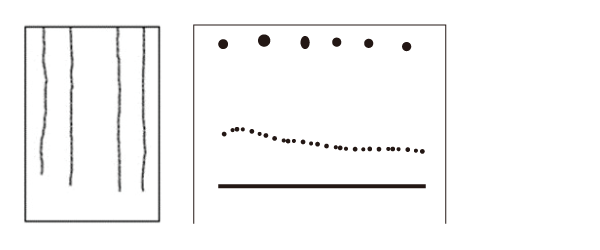
Unexpected smudges can be seen somewhere (including back side) on printouts.
Suspected cause
- Dirt on the reading face of the ADF/SCN Unit. (when copying)
- Dirt transferred from feed path
- Paper
- Contact with nozzle surface (PG adjustment value deviation)
- Dirt or damage of the Printhead nozzle surface
- Dirt on the bottom surface of the CR Unit
Troubleshooting
| Step | Check and measure | Yes | No |
||
|---|---|---|---|---|---|
| 1 | Check whether printing or copying Check whether the symptom occurs with printing or with copying. |
Occurs with printing and copying Go to step 2 |
Occurs with copying only Refer to ADF / Scanner Trouble |
||
| 2 |
Confirm the contamination adherence Confirm the contamination adherence.
Nozzle condition is excellent? |
Go to step 3 |
Clean the corresponding parts.
|
||
| 3 |
Check the paper and settings
Are the paper state and paper settings appropriate? |
Go to step 4 |
|
||
| 4 |
Check the Inksystem Assy Check the following point about the Inksystem Assy.
[Confirmation details]
|
Go to step 5 |
If nozzle missing is not improved after performing the above, go to step 5. |
||
| 5 | Check the PG Check that the PG is within the specified value range (1.60 ±0.05 mm). Is the PG within the standard value? |
Go to step 6 |
Perform " the Check the PG". If the symptom continues to occur after performing the above, go to step 6. |
||
| 6 |
Check the CR Unit and the nozzle surface of the Printhead
Is the result OK? (Does the symptom continue to occur?) |
Contact the Epson Service Support department. |
If the symptom is continued after performing the above, contact the Epson Service Support department. |

