PE Lever Assy After Parts Replacement
Procedure
- Turn the power ON.
- Press [Start].
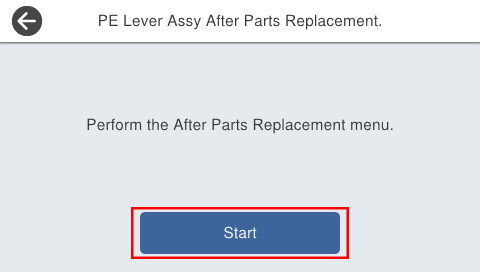
- Press [Start].
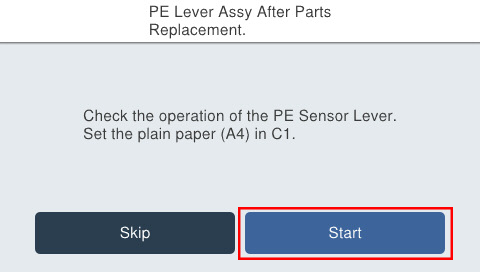
- Press [Start].
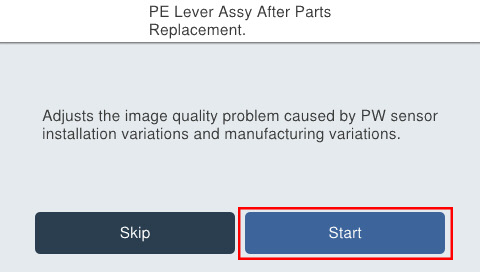
- If the following screen is displayed, press [Pattern print].
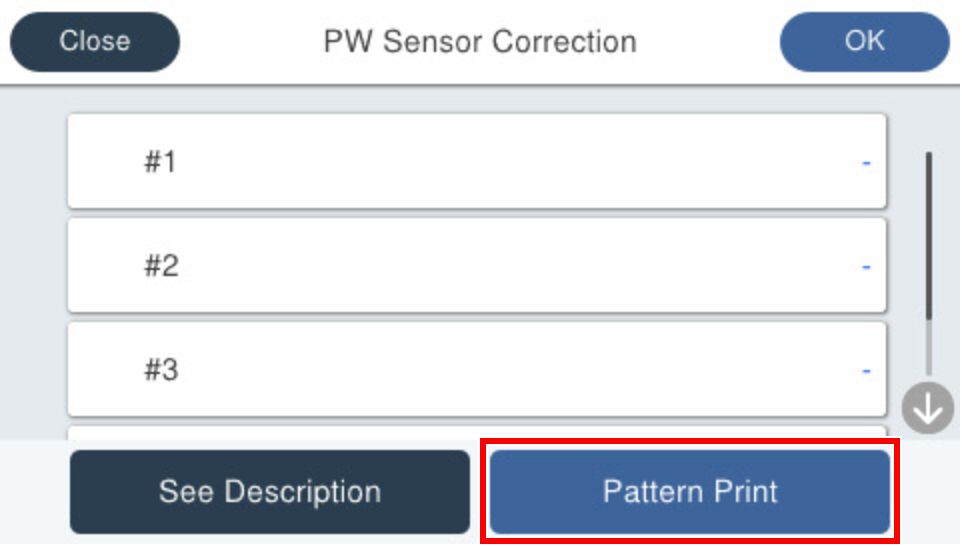
- Press each setting item button to confirm print settings.
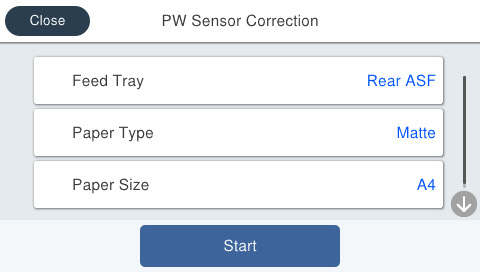
Setting Items Choice Remarks Feed Tray Rear ASF Setting change not possible Paper Type Matte Paper-Heavy weight/Premium Presentation Paper Matte Setting change not possible Paper Size A4 Setting change not possible - Load paper in the selected feed tray and press [Start]. Adjustment patterns are printed on 1 sheet.
- Adjustment pattern
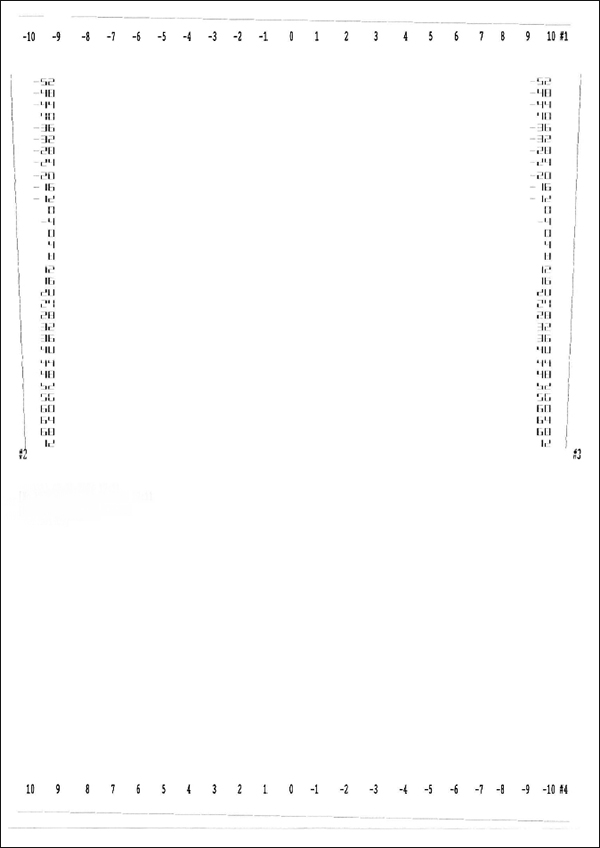
- Adjustment pattern
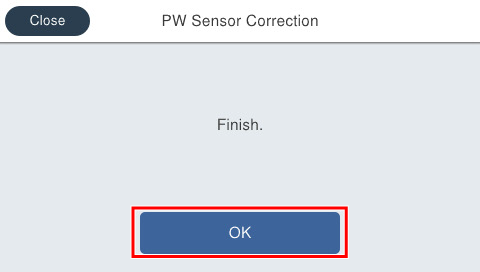
- Press [OK] on the following screen.
Check the adjustment pattern and determine the adjustment values for each of #1 through #4 based on the judgment method.
 Check Point / チェックポイント
- Adjustment value judgment method
From the stepped patterns printed on the bottom, top, left, and right edges of the paper, select the numerical value that is 5 mm from the edge of the paper for each of them.
- Adjustment value judgment method
- Press on [#1] through [#4] and enter the adjustment value.
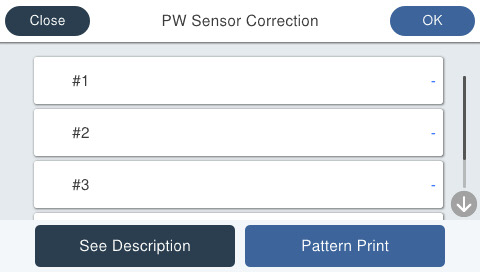
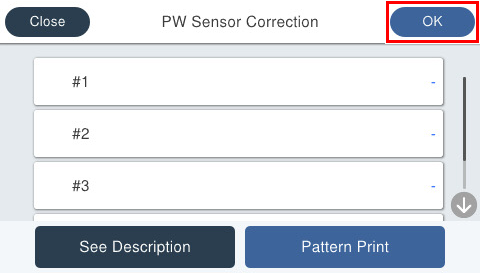
- Press [OK] on the upper right to complete the adjustment. The adjusted values are saved in the printer.
 Note / 補足
If there is no pattern satisfying the judgment method among the adjustment patterns, there is a pattern satisfying the judgment method outside the scope of pattern printing. Therefore, select the best pattern and enter the adjustment value. Following this, again print the adjustment pattern and determine the adjustment value.
- Press [Start].
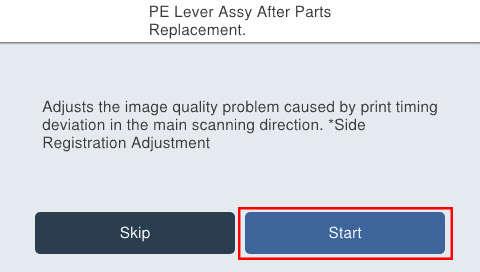
- Press each setting item button to confirm print settings.
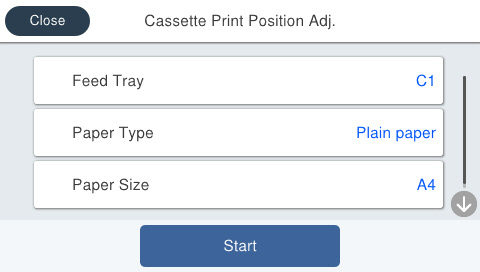
Setting Items Choice Remarks Feed Tray C1 Setting change not possible Paper Type Plain Paper Setting change not possible Paper Size A4 Setting change not possible - Load paper in the selected feed tray and press [Start]. Adjustment patterns are printed on 1 sheet.
- Adjustment pattern
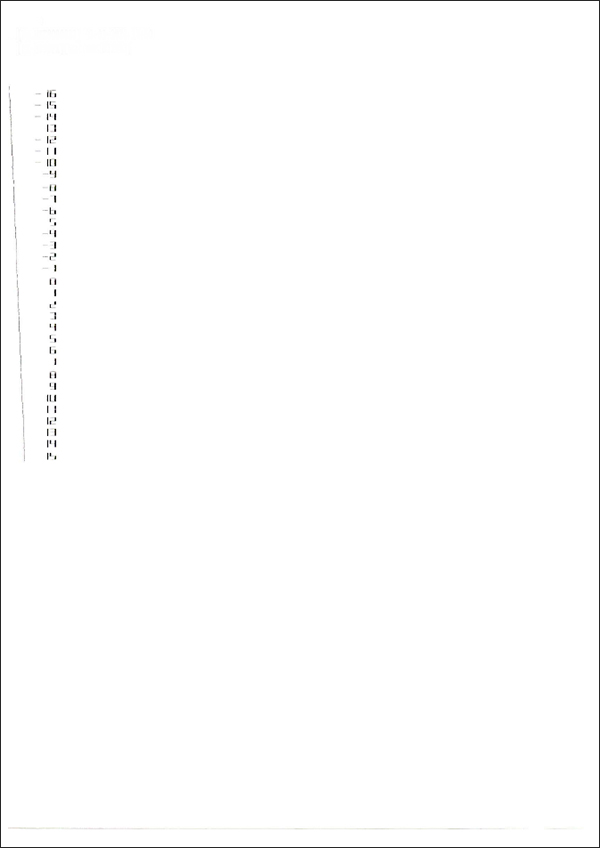
- Adjustment pattern
- Press [OK] on the following screen.
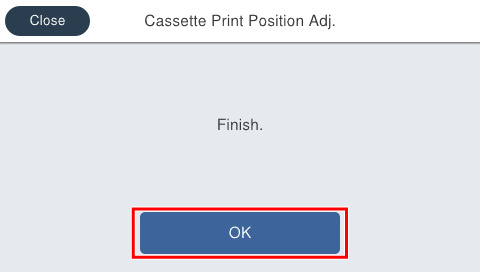
Check the adjustment pattern, and based on the judgment method, determine the adjustment value for the left end.
Check Point / チェックポイント- Adjustment value judgment method
- From the stepped patterns printed on the left end of the paper, select the numerical value that is 5 mm from the edge of the paper.
- Adjustment value judgment method
- Press [Left] and enter the adjustment value.
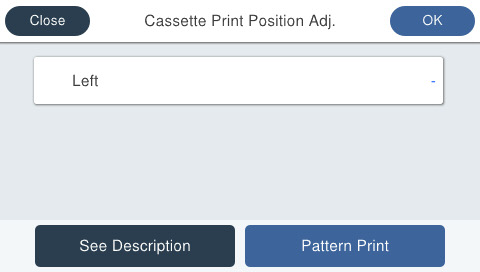
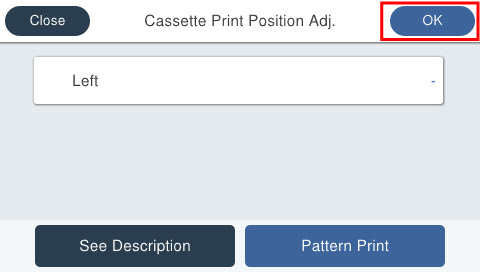
- Press [OK] on the upper right to complete the adjustment. The adjusted values are saved in the printer.
 Note / 補足
If there is no pattern satisfying the judgment method among the adjustment patterns, there is a pattern satisfying the judgment method outside the scope of pattern printing. Therefore, select the best pattern and enter the adjustment value. Following this, again print the adjustment pattern and determine the adjustment value.
- Press [Start].
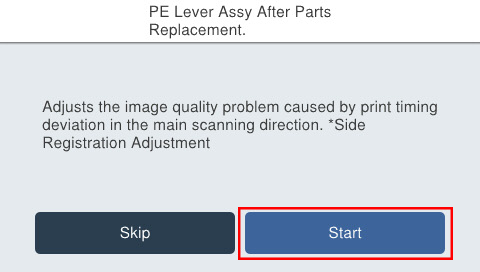
- If the following screen is displayed, press [Pattern print].
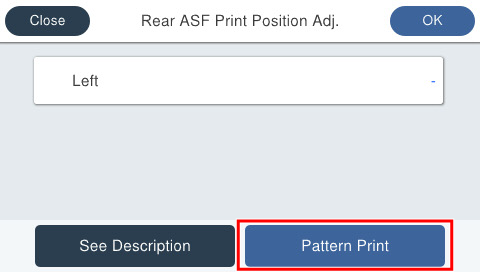
- Press each setting item button to confirm print settings.
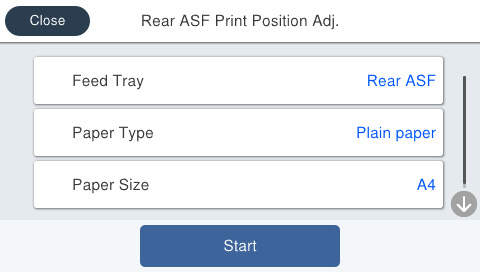
Setting Items Choice Remarks Feed Tray Rear ASF Setting change not possible Paper Type Plain Paper Setting change not possible Paper Size A4 Setting change not possible - Load paper in the selected feed tray and press [Start]. Adjustment patterns are printed on 1 sheet.
- Adjustment pattern
- Adjustment pattern
- Press [OK] on the following screen.
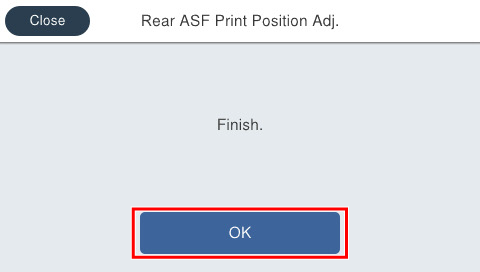
Check the adjustment pattern, and based on the judgment method, determine the adjustment value for the left end.
Check Point / チェックポイント- Adjustment value judgment method
From the stepped patterns printed on the left end of the paper, select the numerical value that is 5 mm from the edge of the paper.
- Adjustment value judgment method
- Press [Left] and enter the adjustment value.
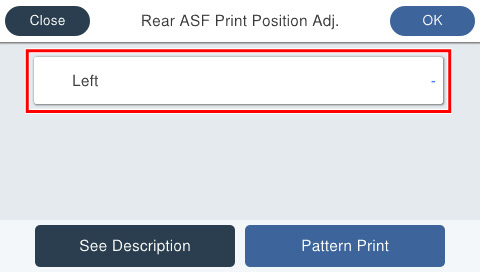
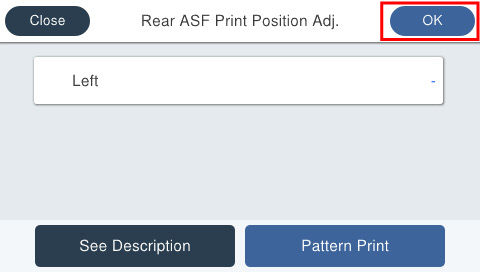
- Press [OK] on the upper right to complete the adjustment. The adjusted values are saved in the printer.
 Note / 補足
If there is no pattern satisfying the judgment method among the adjustment patterns, there is a pattern satisfying the judgment method outside the scope of pattern printing. Therefore, select the best pattern and enter the adjustment value. Following this, again print the adjustment pattern and determine the adjustment value.
- Press [Start].
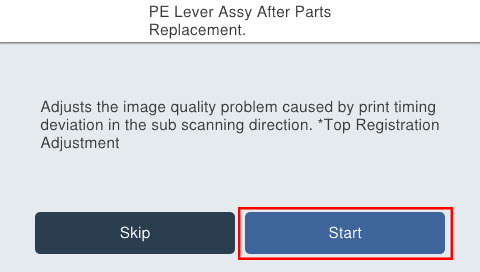
- Press each setting item button to confirm print settings.
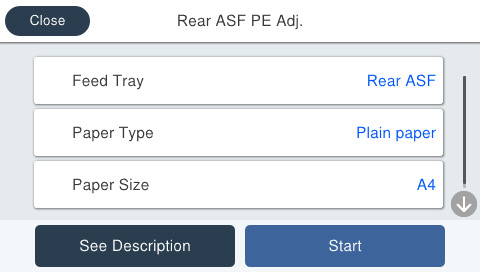
Setting Items Choice Remarks Feed Tray Rear ASF Setting change not possible Paper Type Plain Paper Setting change not possible Paper Size A4 / Letter --- - Load paper in the selected feed tray and press [Execute]. Paper is discharged as blank.
- Press [OK] to complete the adjustment. The adjusted values are saved in the printer.
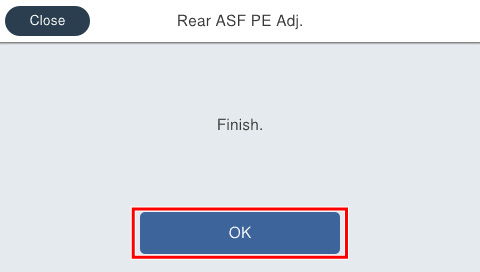
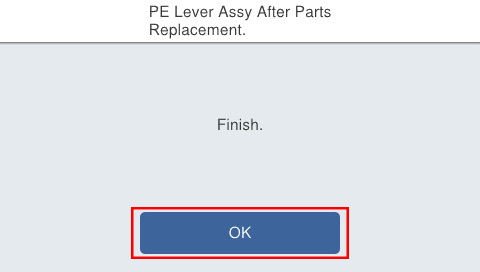
- Press [OK].