Print Head After Parts Replacement
Procedure
- Turn the power ON.
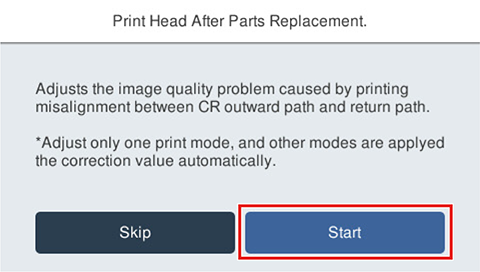
- Press [Start].
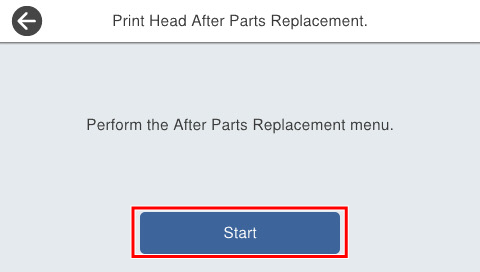
- Press [Start].
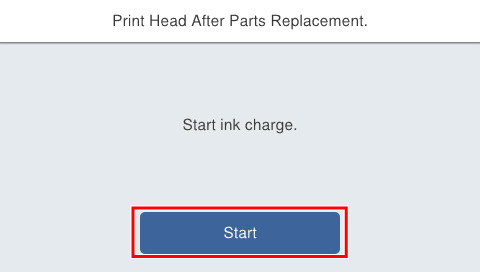
- Press [OK].
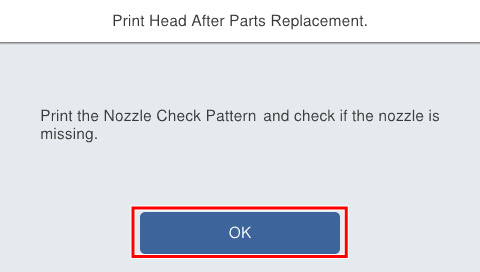
- Press each setting item button to make print settings.
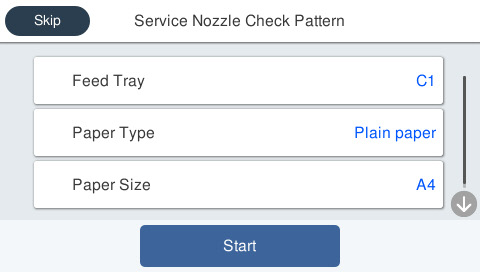
Setting Items Choice Remarks Feed Tray C1, C2, C3, C4, Rear ASF --- Paper Type Plain Paper Setting change not possible Paper Size A4 / Letter --- - Load paper in the selected feed tray and press [Start].
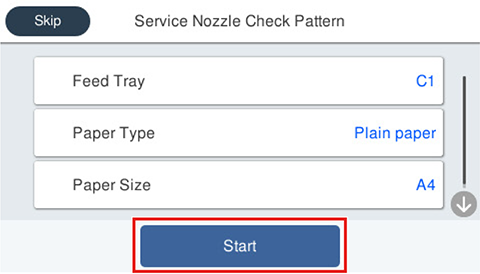
- Confirm the check pattern, and confirm that all nozzles with no nozzles missing are correctly ejecting.
When all nozzles are correctly ejecting, press [OK] to complete the nozzle check. If a nozzle is missing, press [Cleaning] to execute head cleaning.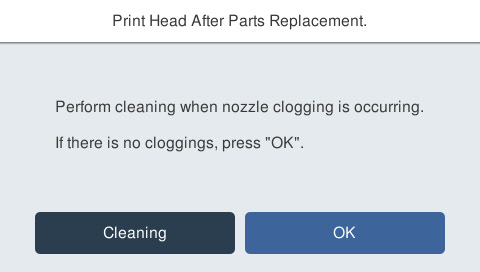
- Select [Start].
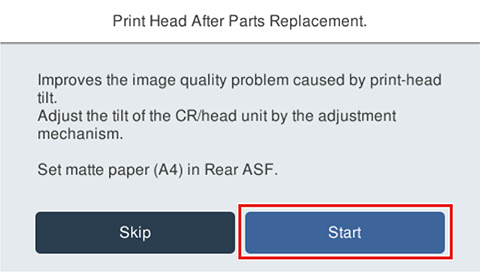
- If the following screen is displayed, press [Execute].
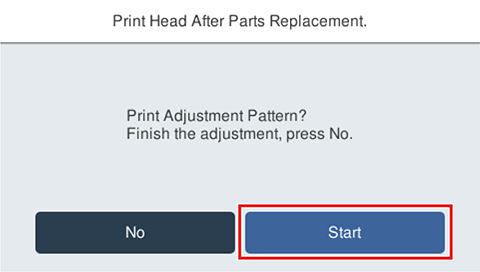
- Press each setting item button to confirm print settings.
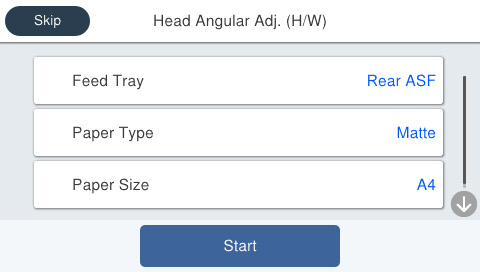
Setting Items Choice Remarks Feed Tray Rear ASF Setting change not possible Paper Type Matte Paper-Heavy weight/Premium Presentation Paper Matte Setting change not possible Paper Size A4 Setting change not possible - Set matte paper (A4) to the rear ASF and press [Start]. Adjustment patterns are printed on 1 sheet.
- Adjustment pattern
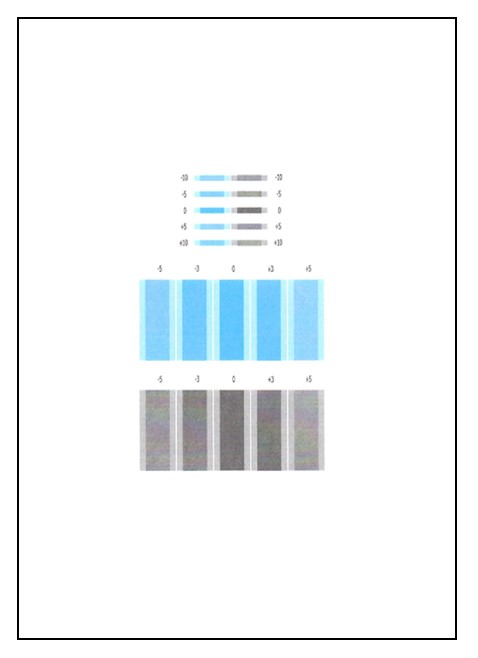
- Adjustment pattern
Check the adjustment pattern and determine the adjustment value based on the judgment procedure.
 Check Point / チェックポイント
- Adjustment pattern
- Printed with a rough adjustment pattern: adjustment interval values of five staggered intervals (-10, -5, 0, +5, +10).
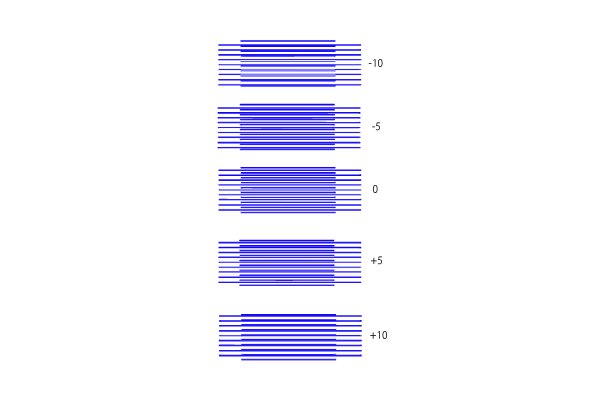
- Printed with a detailed adjustment pattern: adjustment interval values of three staggered intervals (-5, -3, 0, +3, +5).
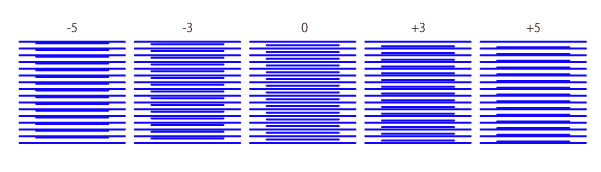
- Printed with a rough adjustment pattern: adjustment interval values of five staggered intervals (-10, -5, 0, +5, +10).
- Adjustment value judgment method
- The interval of the pattern lines will be adjusted so that it is most equal when the adjustment value is “0.”
- Adjustment pattern
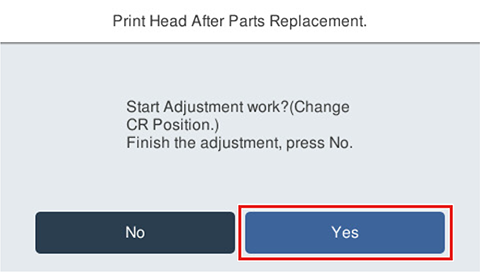
- After the adjustment pattern is printed, the following confirmation screen will be displayed. When adjustment is necessary, press [Yes]. After operation, the CR unit moves to the center part of the printer.
 Caution / 注意
Since there is a risk of the CR Unit moving to the home position if the tape of the Front Cover Open Sensor comes off during adjustment, make sure the tape is securely fixed.
Print Head Fixing Screw (x4)
 90 degrees counterclockwise to loosen them.
- Based on the adjustment value confirmed in step 12, turn the adjustment dial (B).
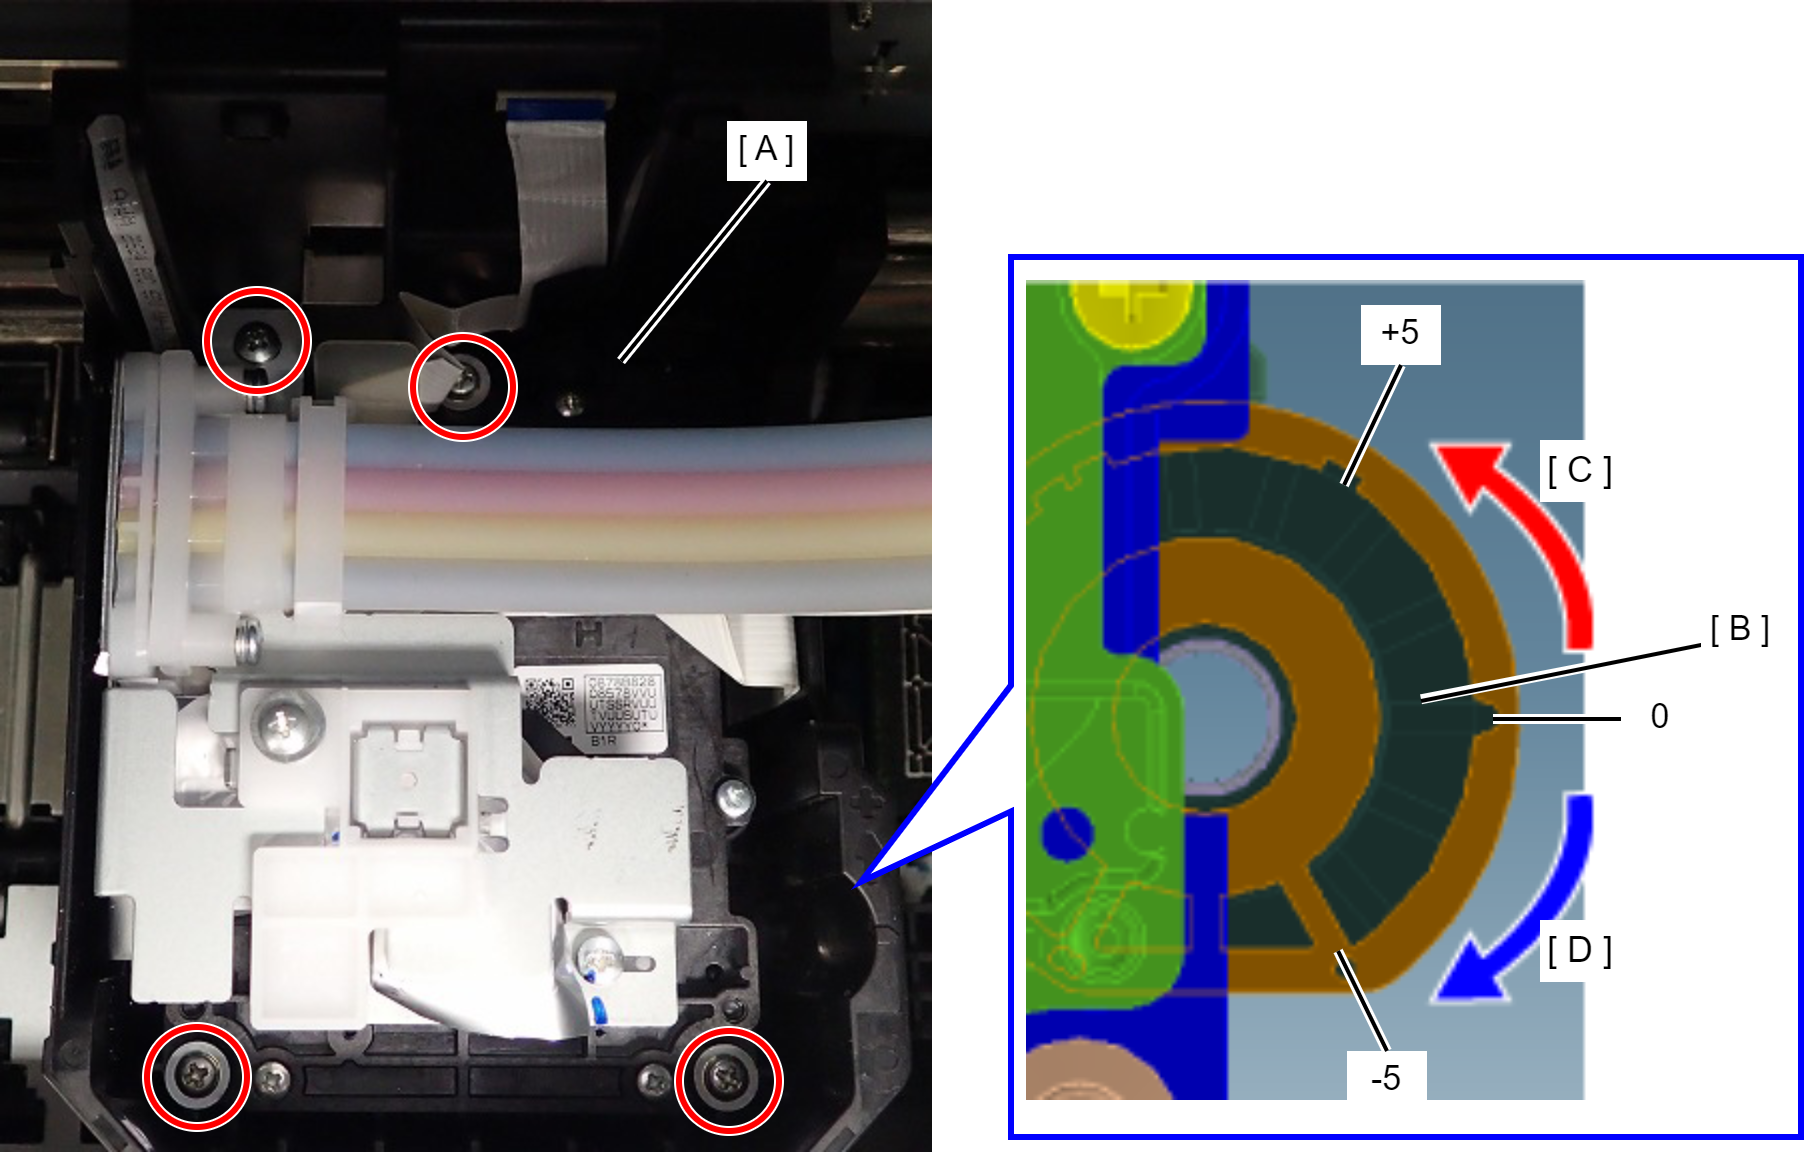
- A: Print Head
- B: Head Angular Adj. Dial
- C: Counterclockwise (CCW): + direction
- D: Clockwise (CW): - direction
Fixing screw (x4)

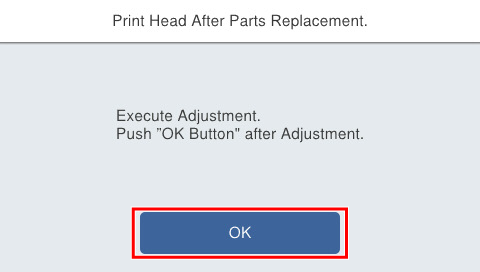
- Press [OK] on the following screen.
- Press [Start].
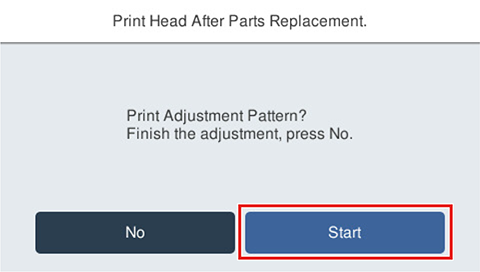
- Press each setting item button to confirm print settings.
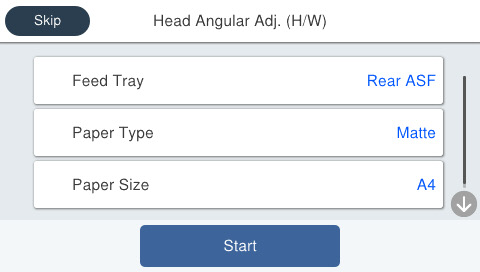
Setting Items Choice Remarks Feed Tray Rear ASF Setting change not possible Paper Type Matte Paper-Heavy weight/Premium Presentation Paper Matte Setting change not possible Paper Size A4 Setting change not possible - Set matte paper (A4) to the rear ASF and press [Start]. Adjustment patterns are printed on 1 sheet.
Repeat Step 12 through Step 20 until the lines of adjustment pattern “0” are most equal.
- Select [Start].
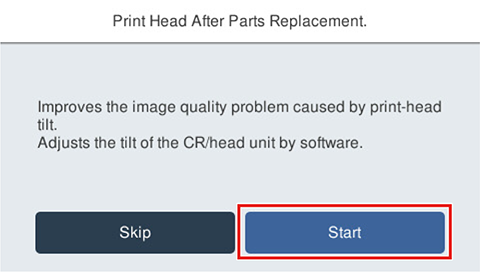
- If the following screen is displayed, press [Pattern print].
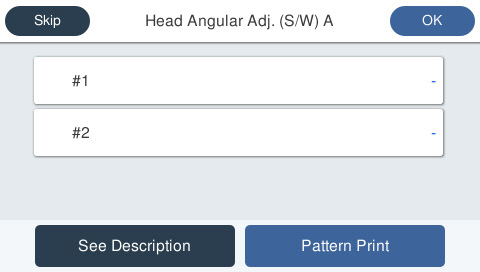
- Press each setting item button to make print settings.
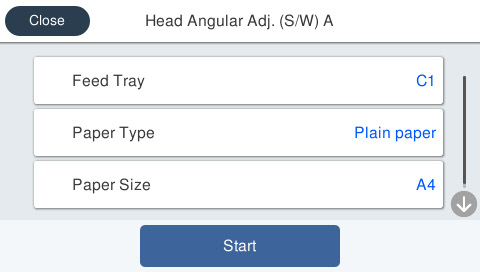
Setting Items Choice Remarks Feed Tray C1, Rear ASF --- Paper Type Plain Paper Setting change not possible Paper Size A4 / Letter --- - Load paper in the selected feed tray and press [Start]. Adjustment patterns are printed on 1 sheet.
- Adjustment pattern
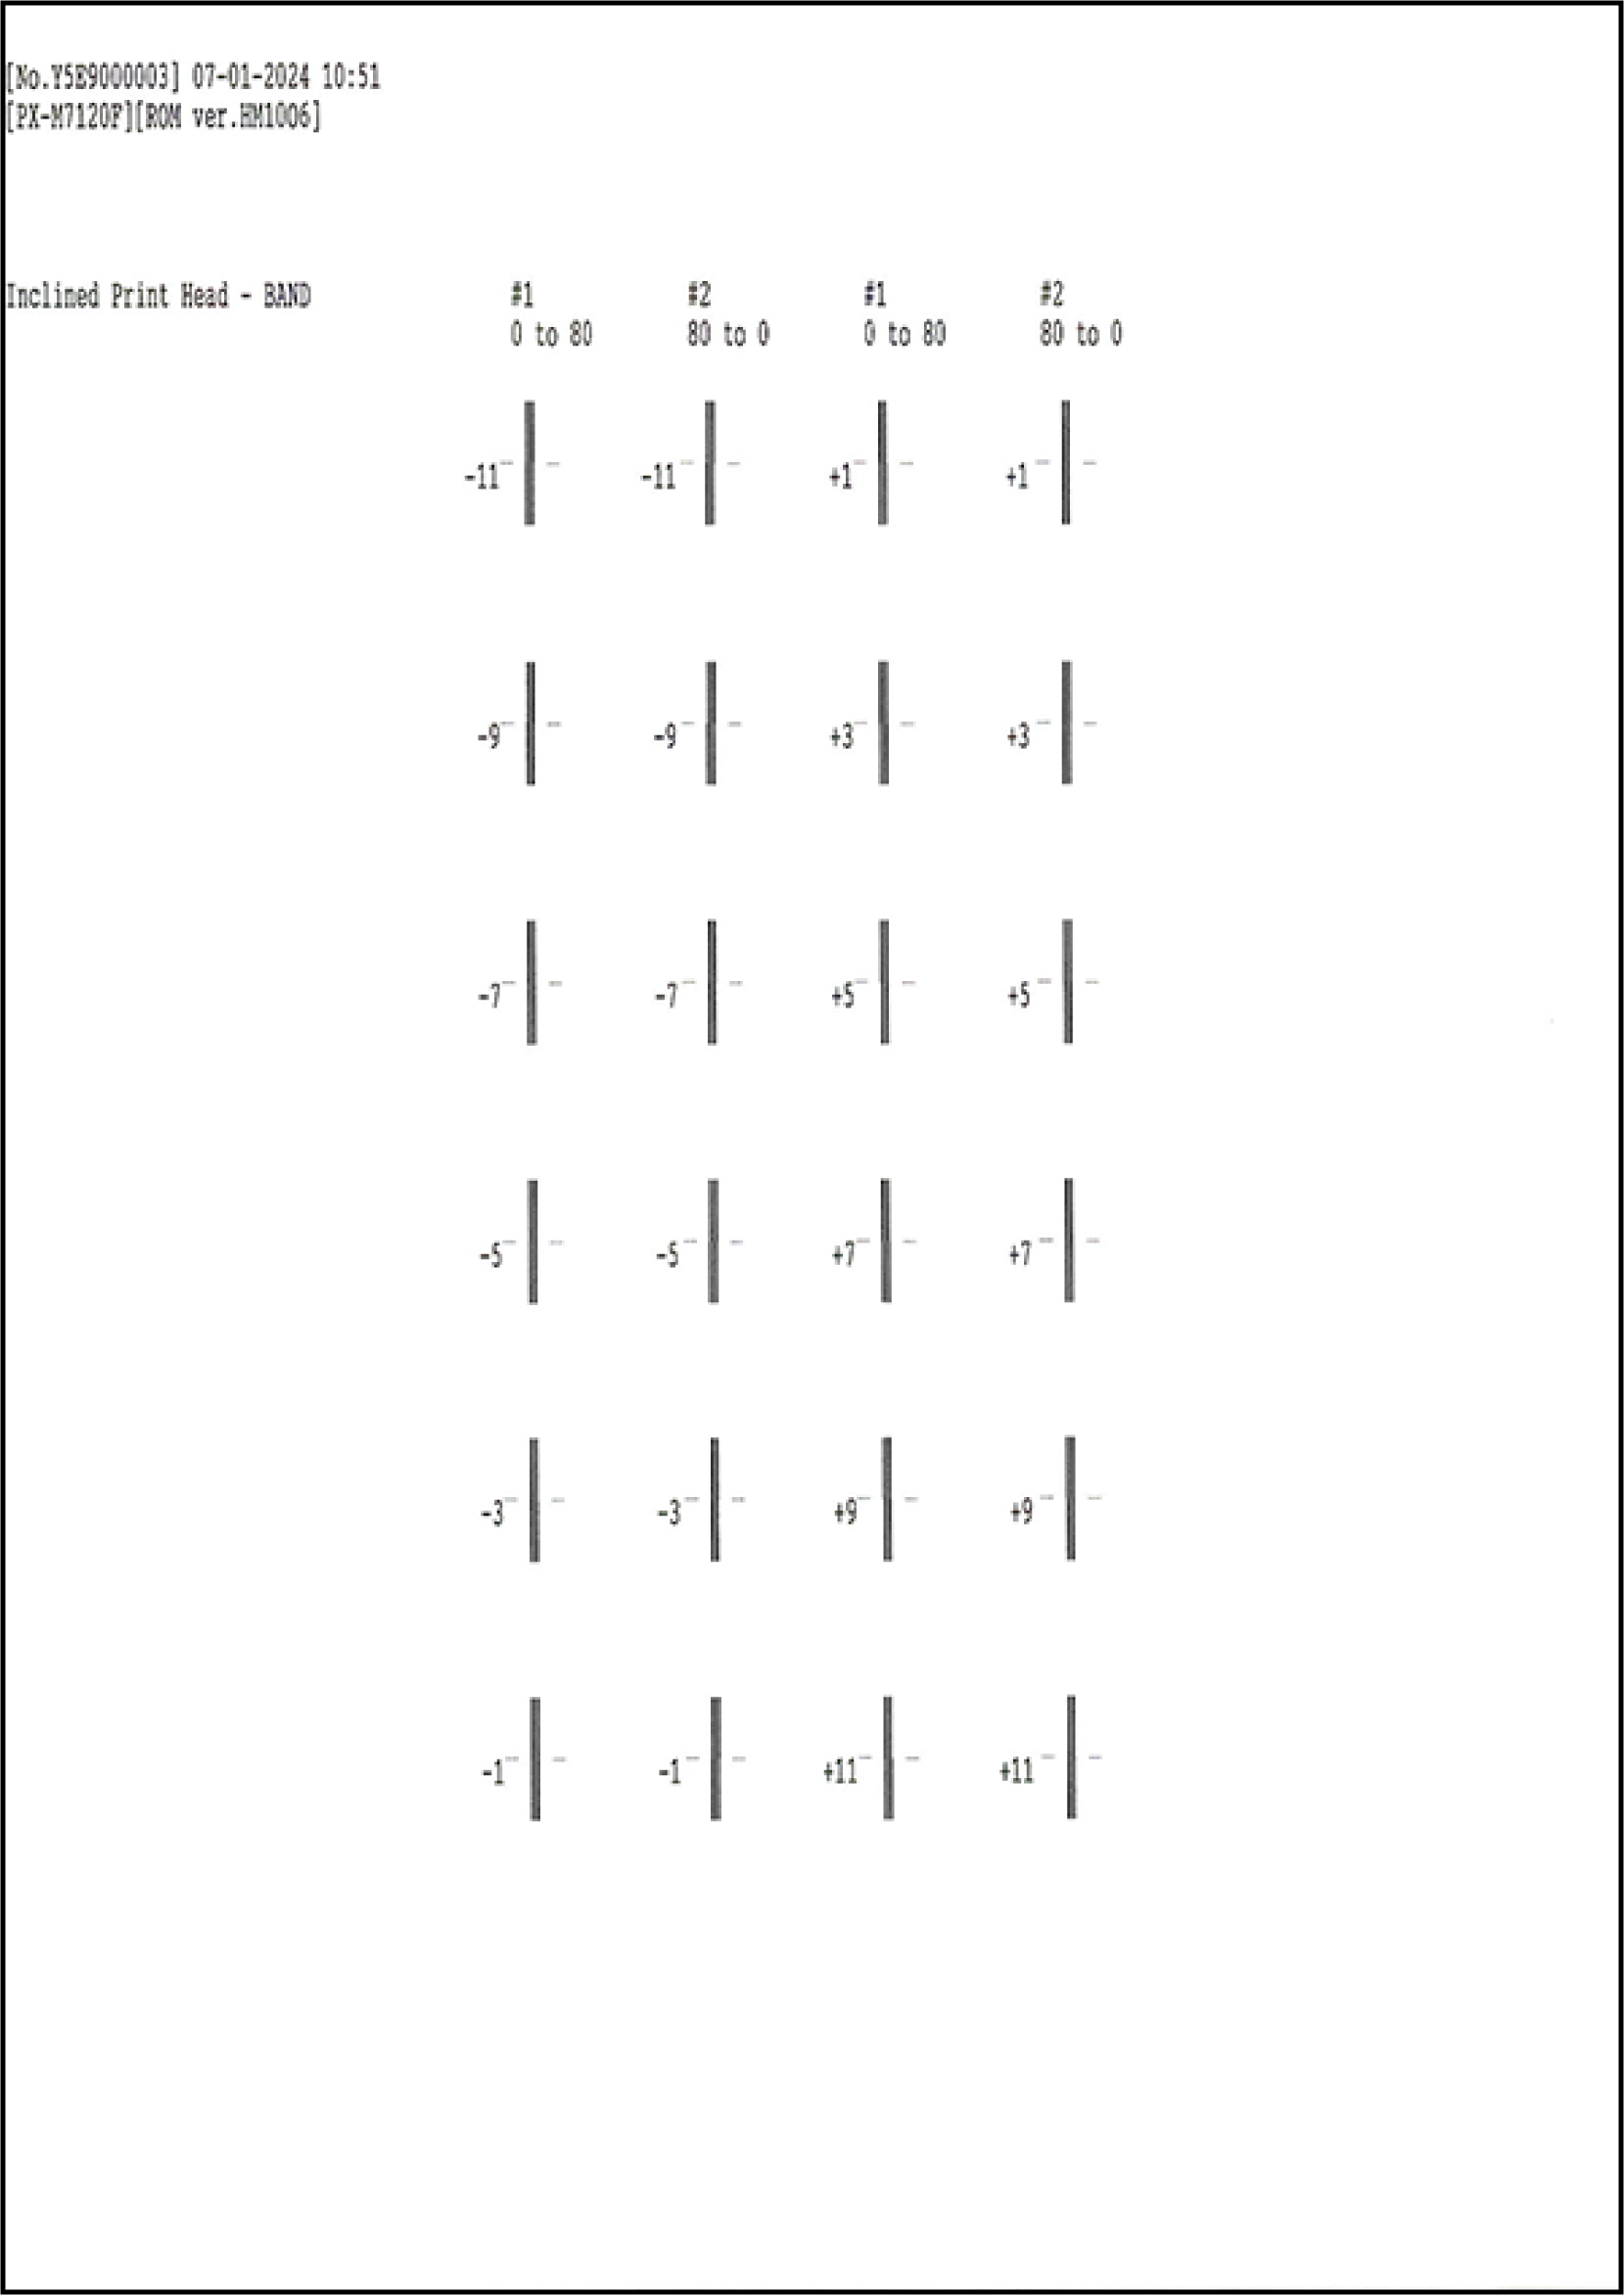
- Adjustment pattern
- Press [OK] on the following screen.
Check the adjustment pattern and determine the adjustment values for each of #1 and #2 based on the judgment method.
Check Point / チェックポイント- Adjustment value judgment method
- From among the printed patterns, select the pattern where the above and below lines are the straightest.
- Adjustment value judgment method
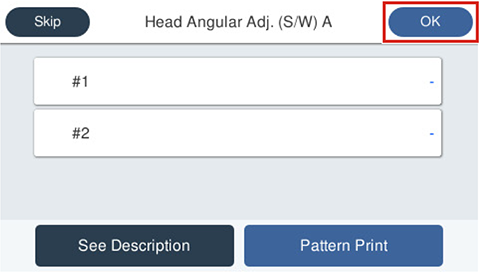
- Press on [#1] and [#2] and enter the adjustment value.
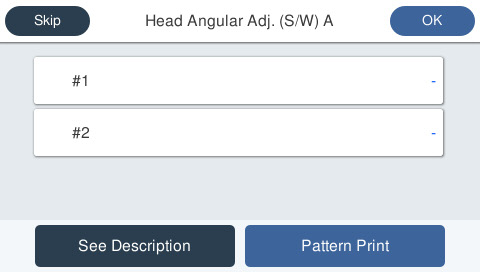
- Press [OK] on the upper right to complete the adjustment. The adjusted values are saved in the printer.
 Note / 補足
If there is no pattern satisfying the judgment method among the adjustment patterns, there is a pattern satisfying the judgment method outside the scope of pattern printing. Therefore, select the best pattern and enter the adjustment value. Following this, again print the adjustment pattern and determine the adjustment value.
- Select [Start].
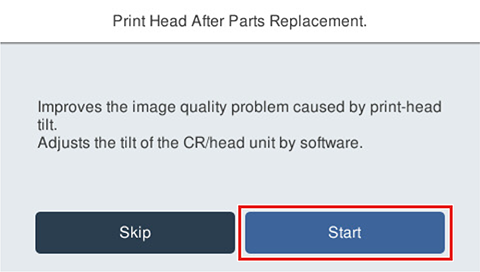
- If the following screen is displayed, press [Pattern print].
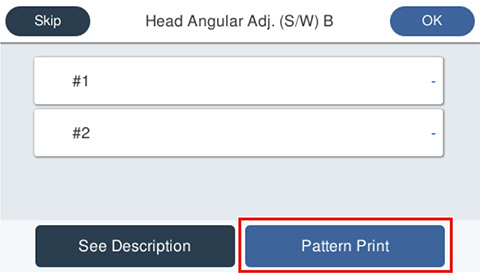
- Press each setting item button to make print settings.
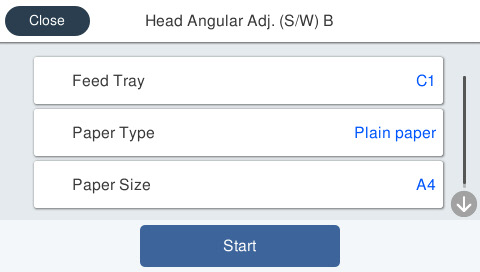
Setting Items Choice Remarks Feed Tray C1, C2, C3, C4 --- Paper Type Plain Paper Setting change not possible Paper Size A4 / Letter --- - Load paper in the selected feed tray and press [Start]. Adjustment patterns are printed on 1 sheet.
- Adjustment pattern
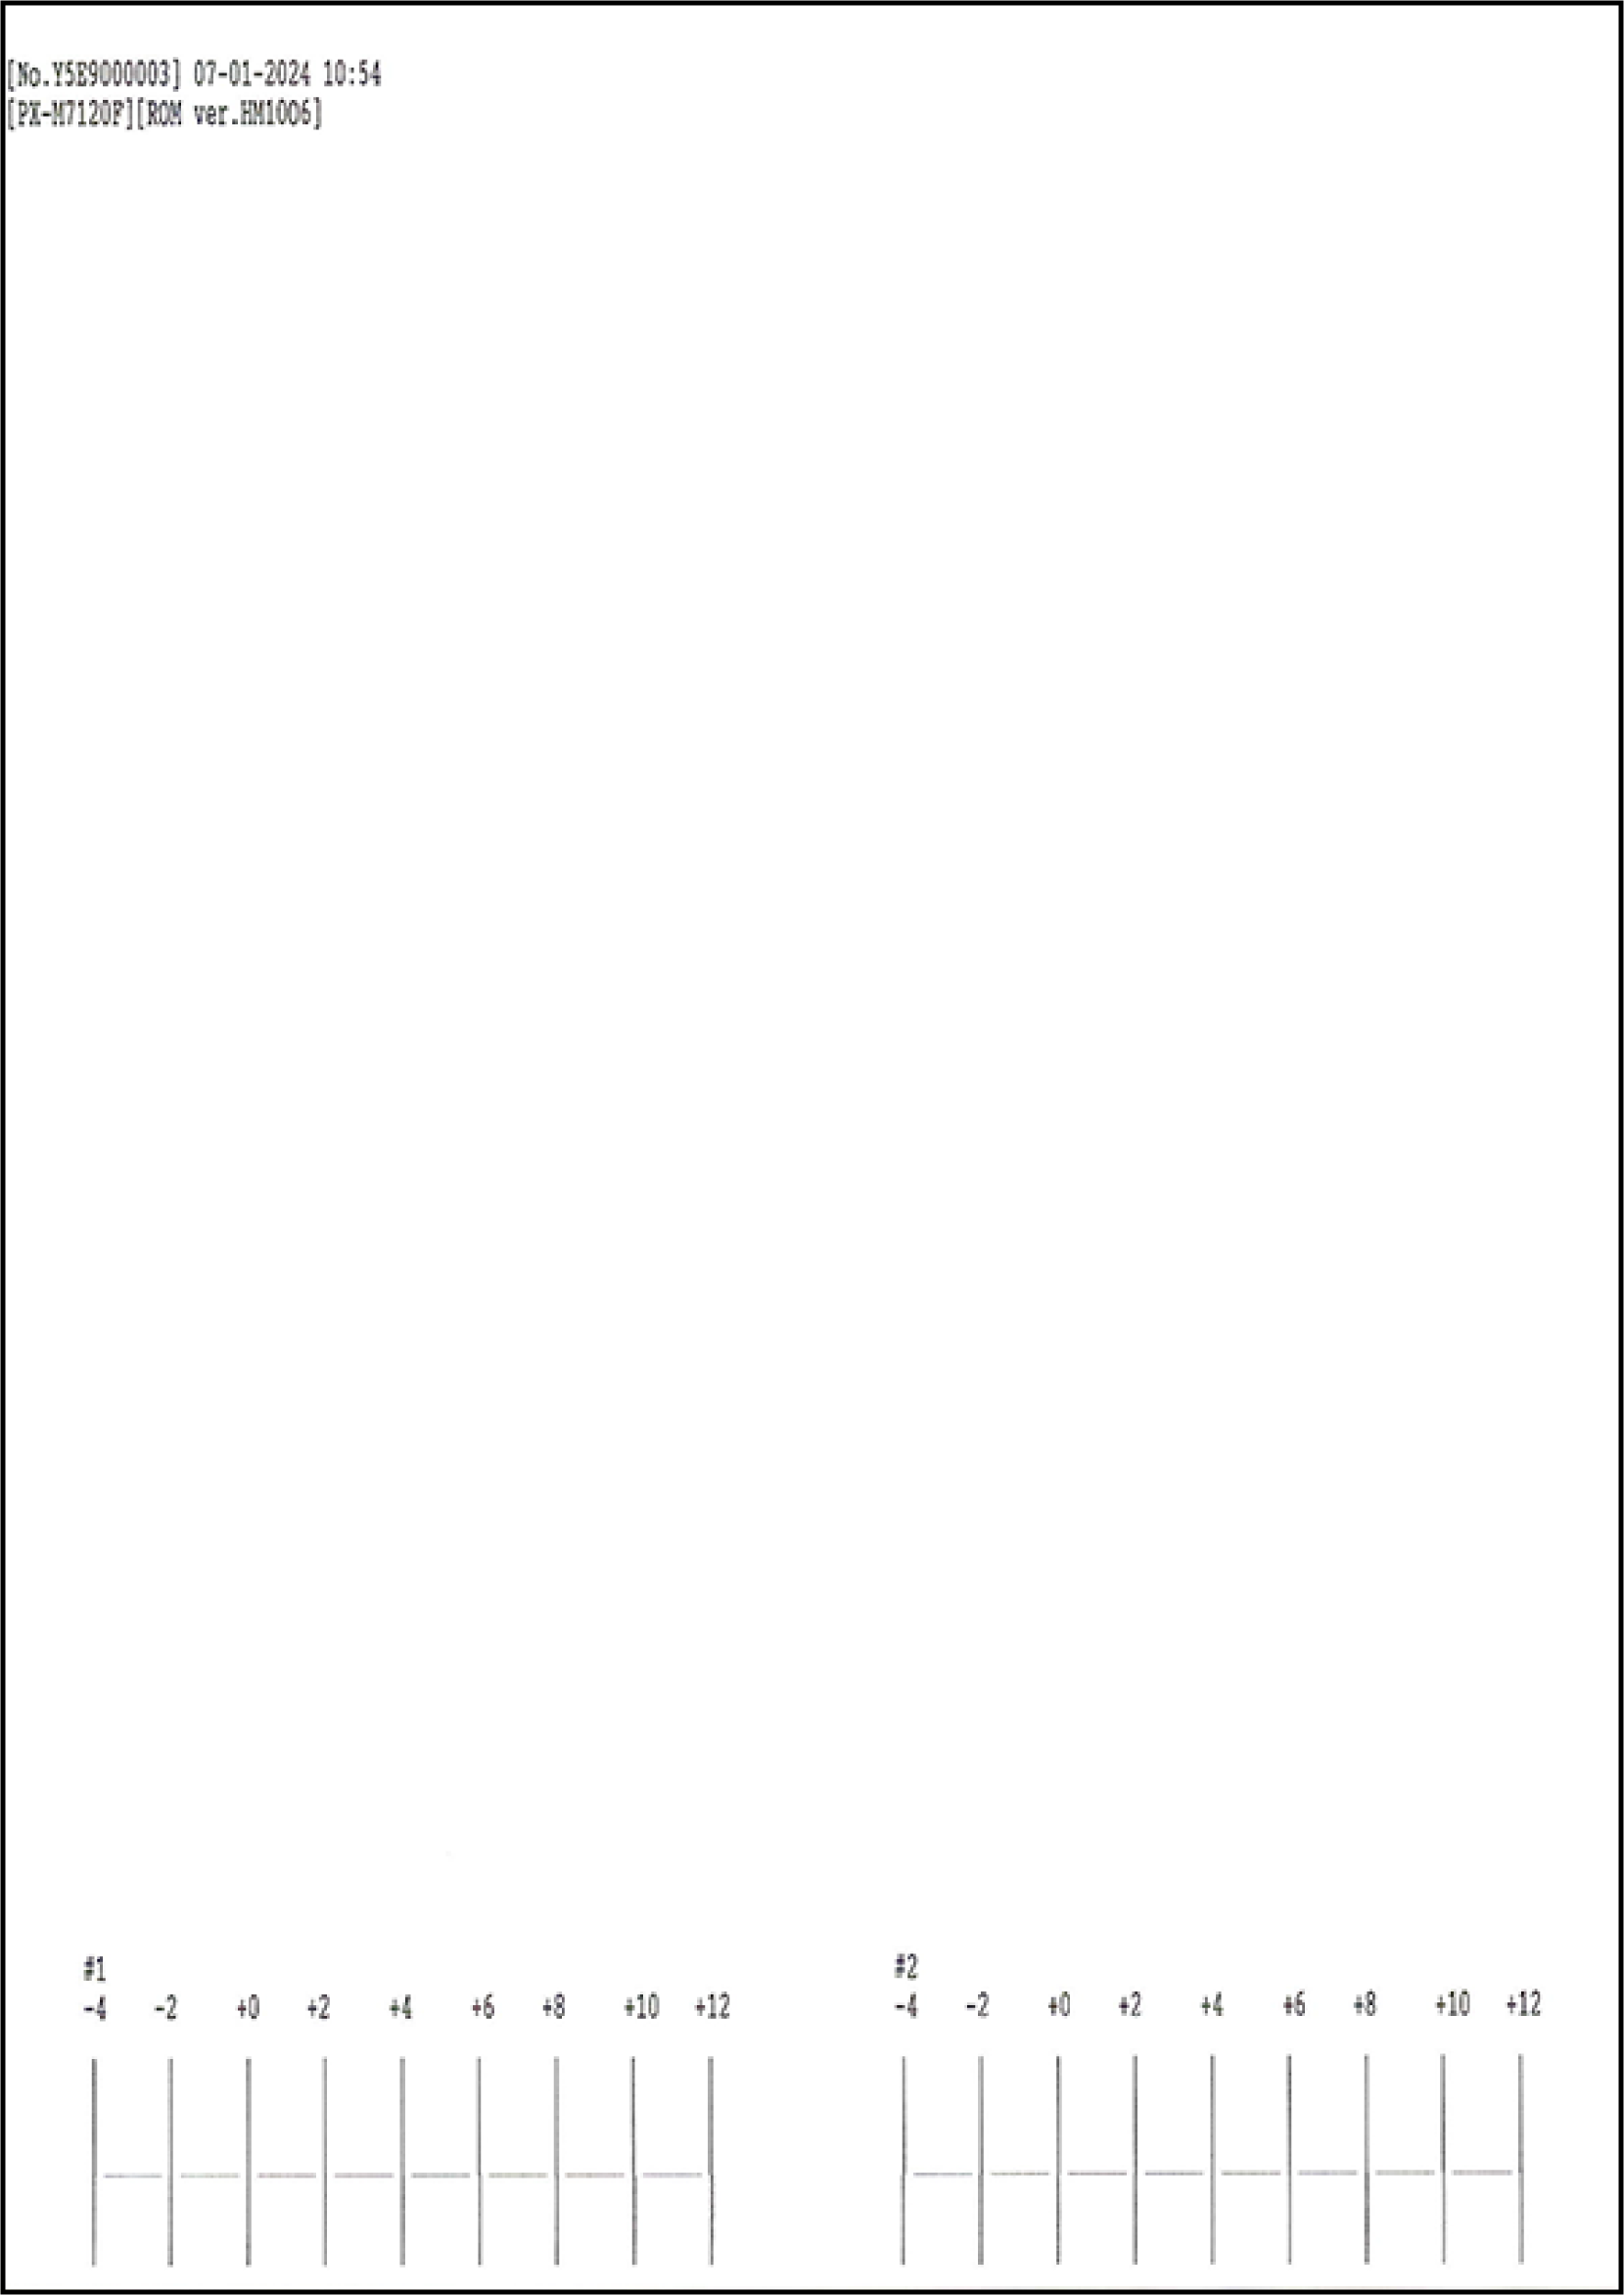
- Adjustment pattern
- Press [OK] on the following screen.
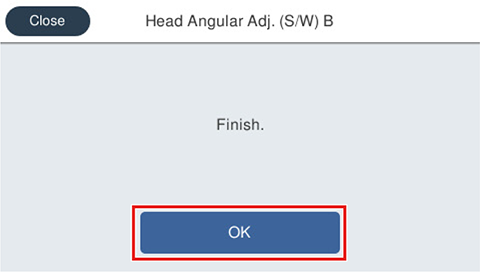
Check the adjustment pattern and determine the adjustment values for each of #1 and #2 based on the judgment method.
Check Point / チェックポイント- Adjustment value judgment method
- From among the printed patterns, select the pattern where the above and below lines are the straightest.
- Adjustment value judgment method
- Press on [#1] and [#2] and enter the adjustment value.
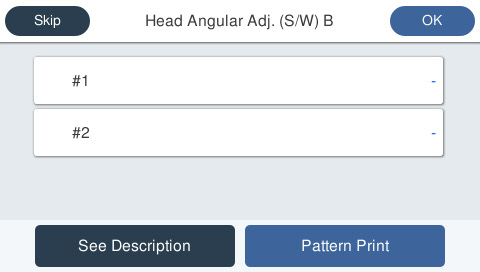
- Press [OK] on the upper right to complete the adjustment. The adjusted values are saved in the printer.
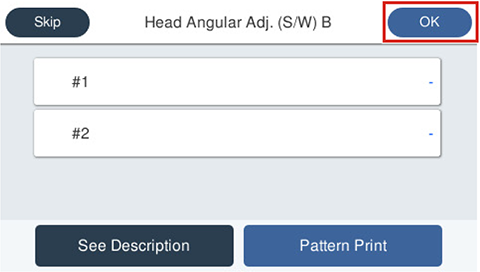 Note / 補足
If there is no pattern satisfying the judgment method among the adjustment patterns, there is a pattern satisfying the judgment method outside the scope of pattern printing. Therefore, select the best pattern and enter the adjustment value. Following this, again print the adjustment pattern and determine the adjustment value.
- Select [Start].
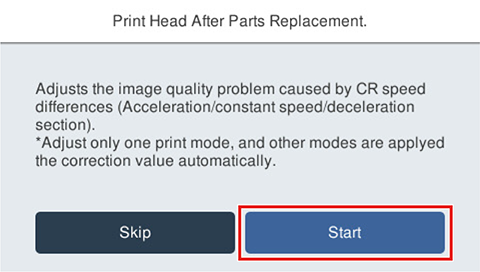
- If the following screen is displayed, press [Pattern print].
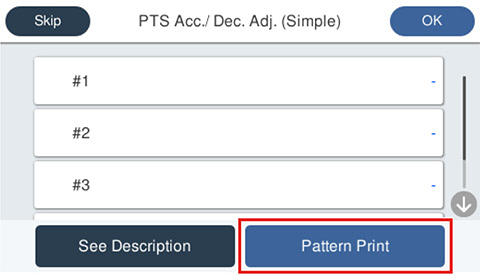
Press each setting item button to make print settings.
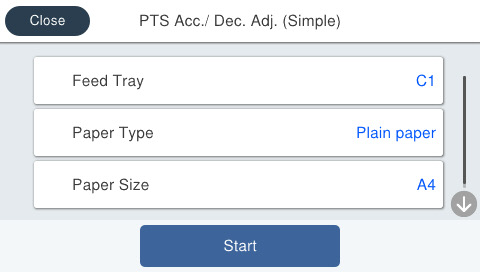
Setting Items Choice Remarks Feed Tray C1, C2, C3, C4 --- Paper Type Plain Paper Setting change not possible Paper Size A4 / Letter --- - Load paper in the selected feed tray and press [Start]. Adjustment patterns are printed on 1 sheet.
- Adjustment pattern
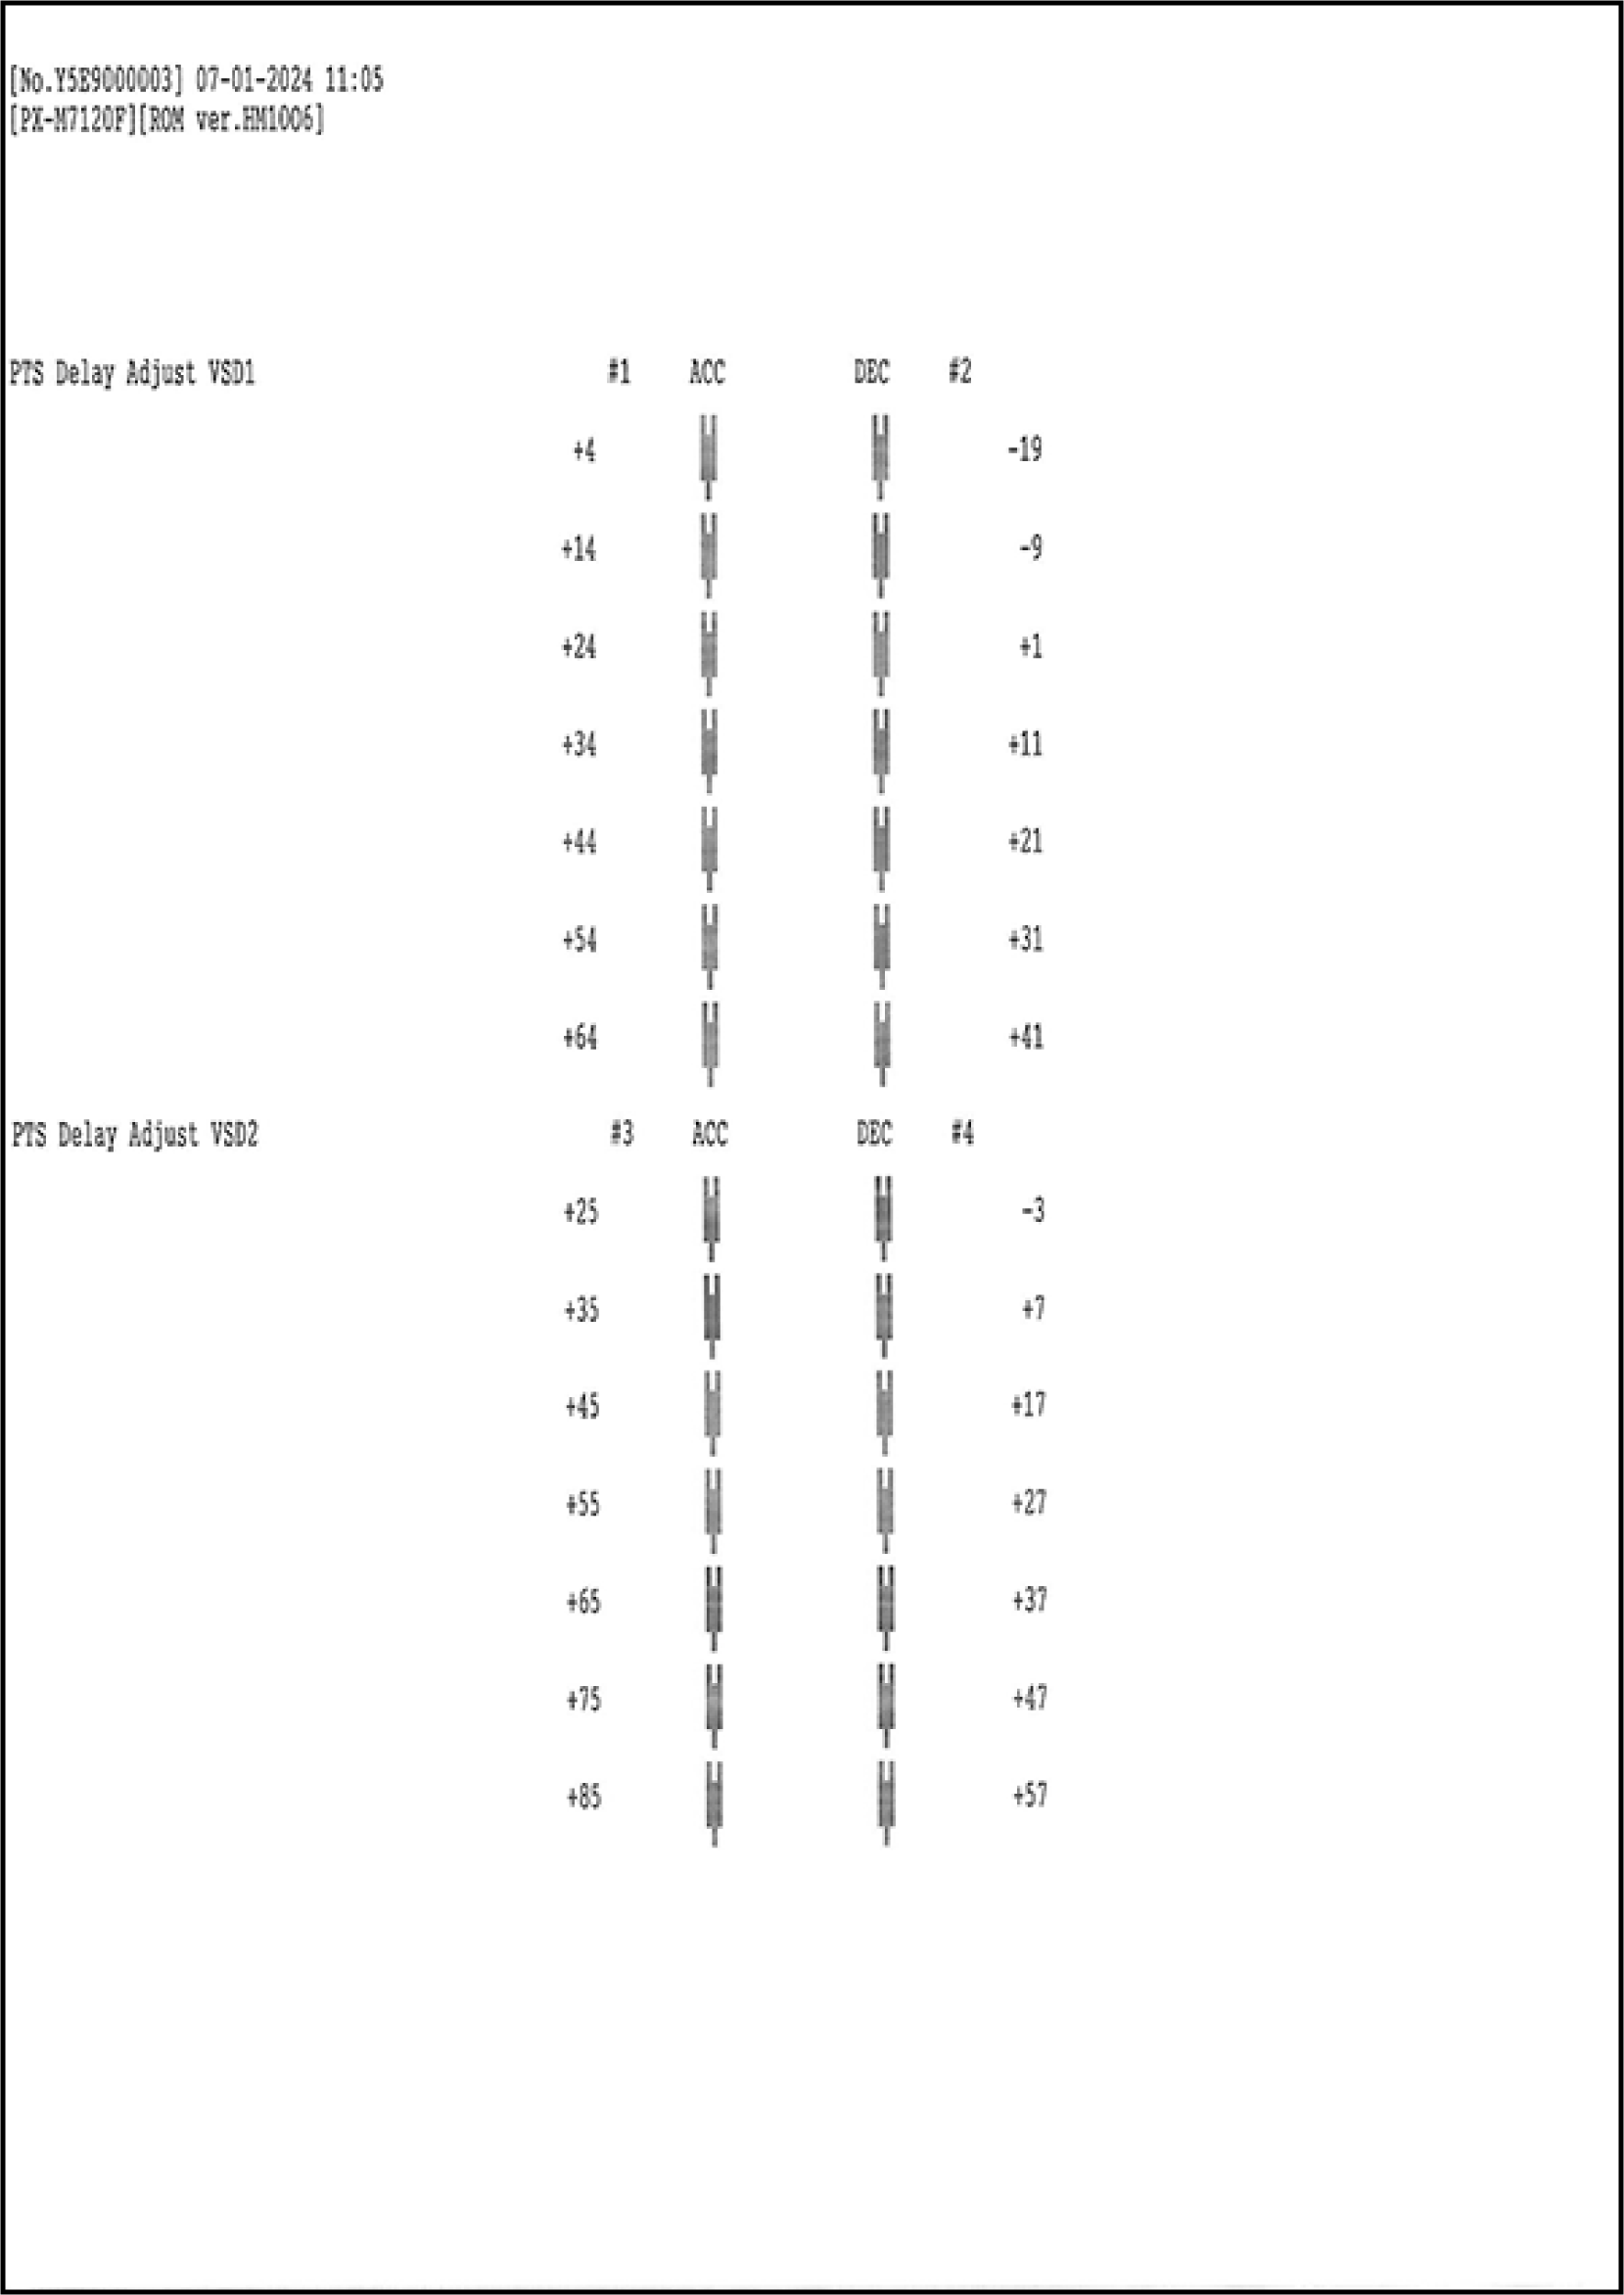
- Adjustment pattern
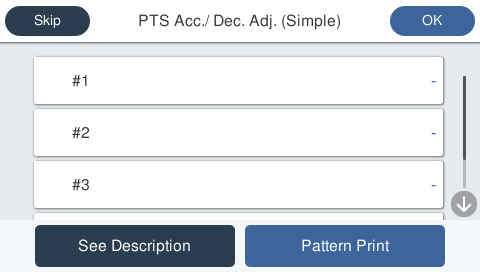
- Press [OK] on the following screen.
Check the adjustment pattern and determine the adjustment values for each of #1 through #4 based on the judgment method.
Check Point / チェックポイント- Adjustment value judgment method
- Select the pattern for which there is no gap and overlapping of the left and right patterns.
- Adjustment value judgment method
- Press on [#1] through [#4] and enter the adjustment value.
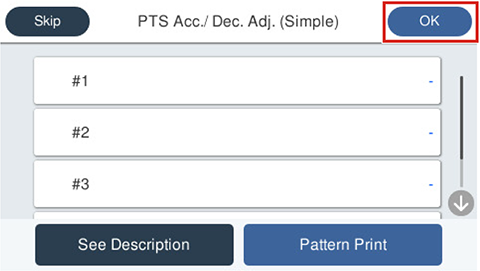
Press [OK] on the upper right to complete the adjustment. The adjusted values are saved in the printer.
 Note / 補足
If there is no pattern satisfying the judgment method among the adjustment patterns, there is a pattern satisfying the judgment method outside the scope of pattern printing. Therefore, select the best pattern and enter the adjustment value. Following this, again print the adjustment pattern and determine the adjustment value.
Select [Start].
- If the following screen is displayed, press [Pattern print].
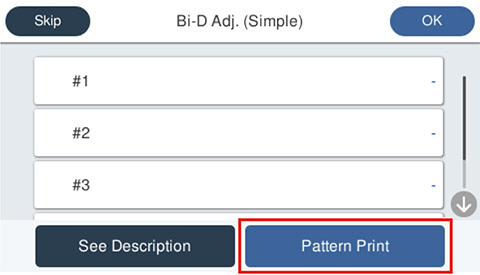
Press each setting item button to make print settings.
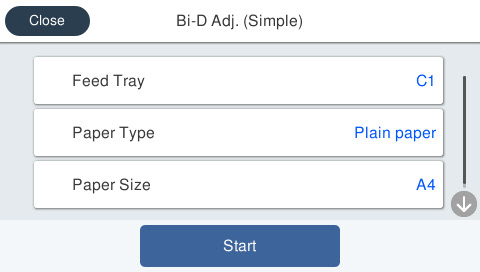
Setting Items Choice Remarks Feed Tray C1, C2, C3, C4 --- Paper Type Plain Paper Setting change not possible Paper Size A4 / Letter --- - Load paper in the selected feed tray and press [Start]. Adjustment patterns are printed on 1 sheet.
- Adjustment pattern
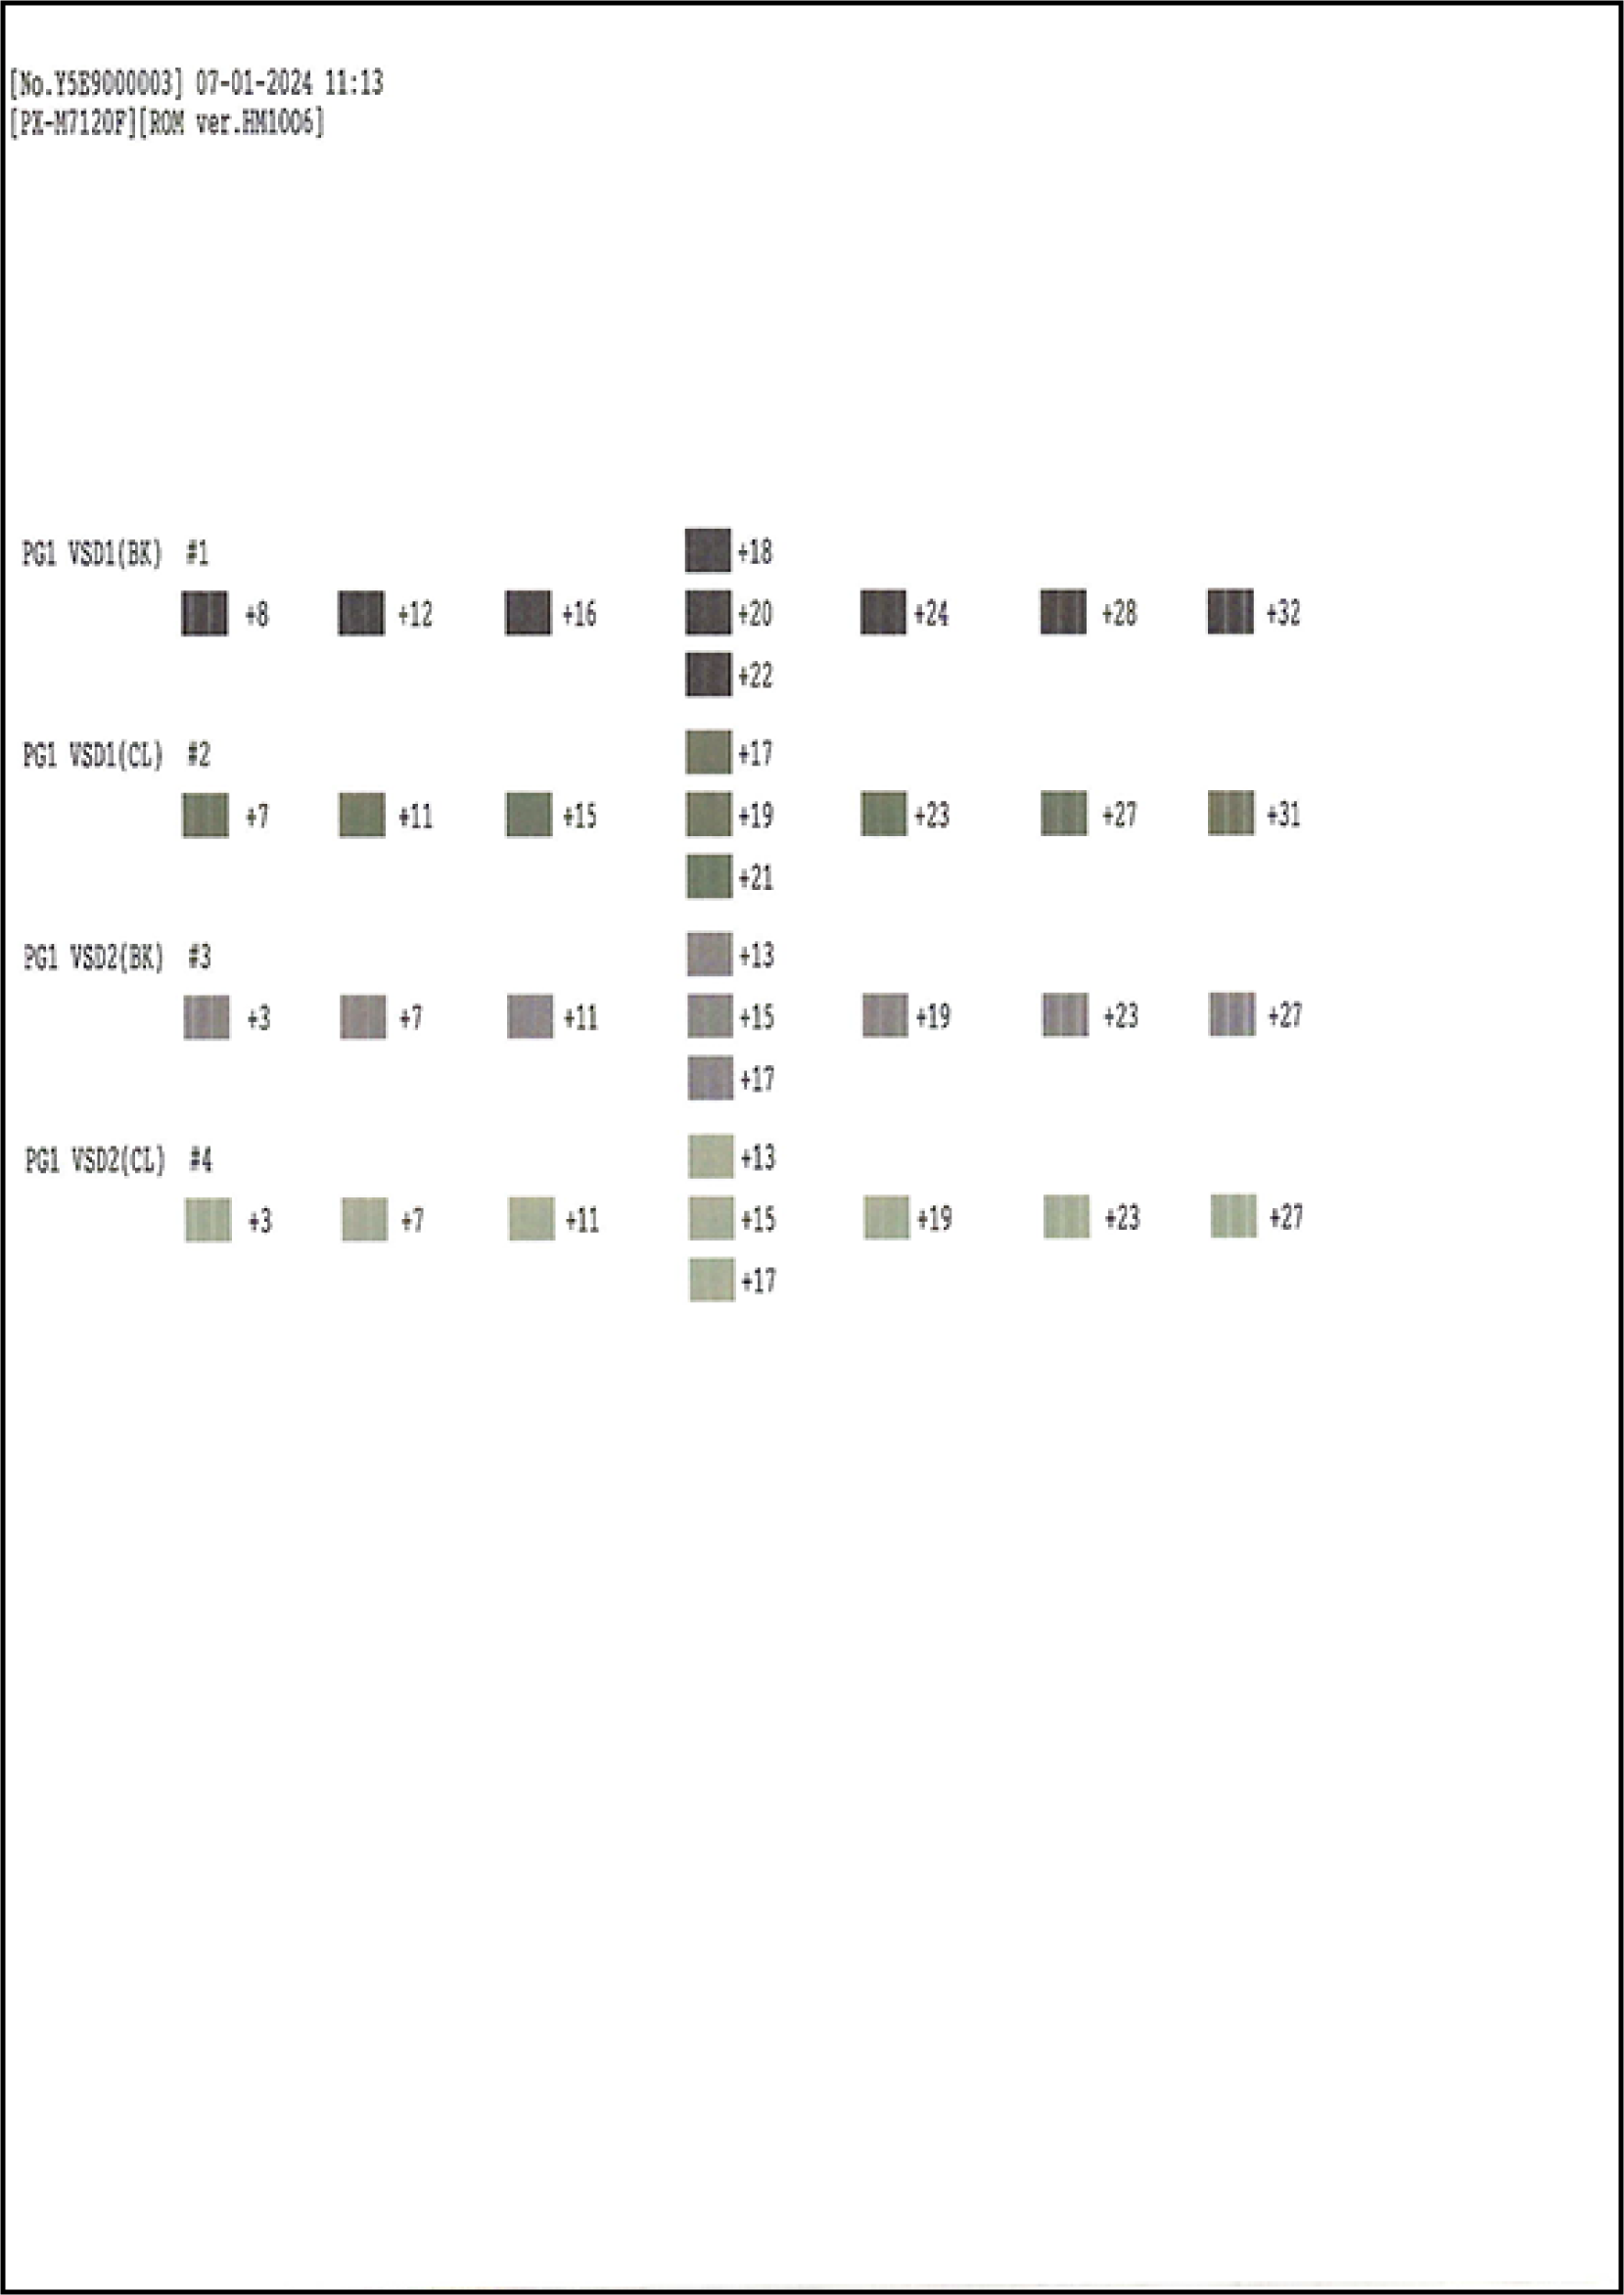
- Adjustment pattern
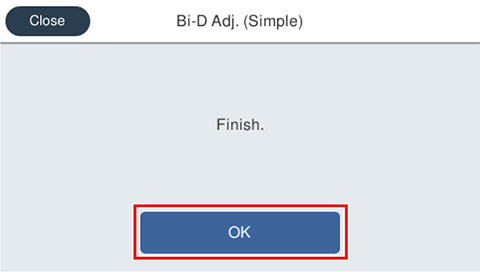
- Press [OK] on the following screen.
Check the adjustment pattern and determine the adjustment values for each of #1 through #4 based on the judgment method.
Check Point / チェックポイント- Adjustment value judgment method
- Select the pattern for which there is no gap and overlapping of the left and right patterns.
- Adjustment value judgment method
- Press on [#1] through [#4] and enter the adjustment value.
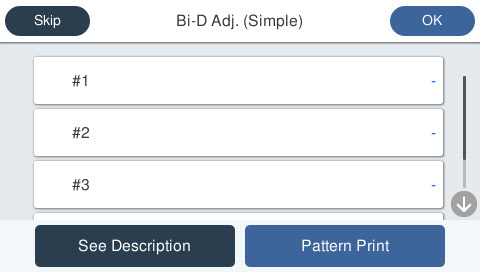
Press [OK] on the upper right to complete the adjustment. The adjusted values are saved in the printer.
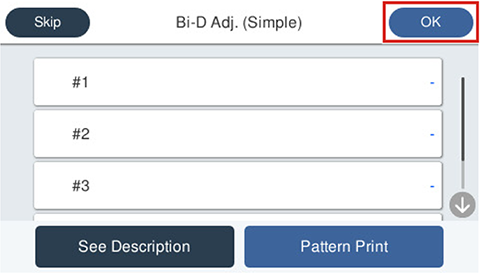 Note / 補足
If there is no pattern satisfying the judgment method among the adjustment patterns, there is a pattern satisfying the judgment method outside the scope of pattern printing. Therefore, select the best pattern and enter the adjustment value. Following this, again print the adjustment pattern and determine the adjustment value.
- Press [Start].
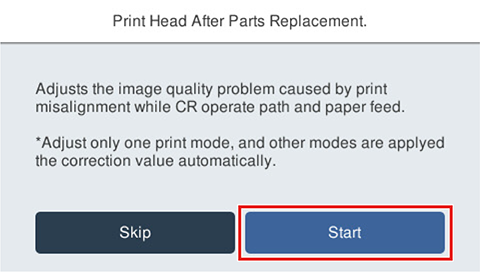
- If the following screen is displayed, press [Pattern print].
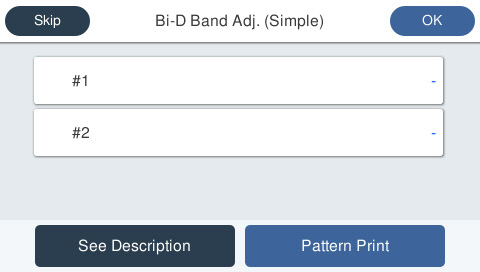
Press each setting item button to make print settings.
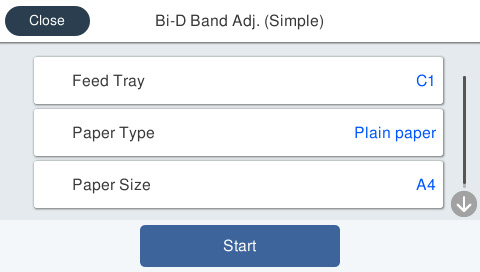
Setting Items Choice Remarks Feed Tray C1, C2, C3, C4 --- Paper Type Plain Paper Setting change not possible Paper Size A4 / Letter --- - Load paper in the selected feed tray and press [Start]. Adjustment patterns are printed on 1 sheet.
- Adjustment pattern
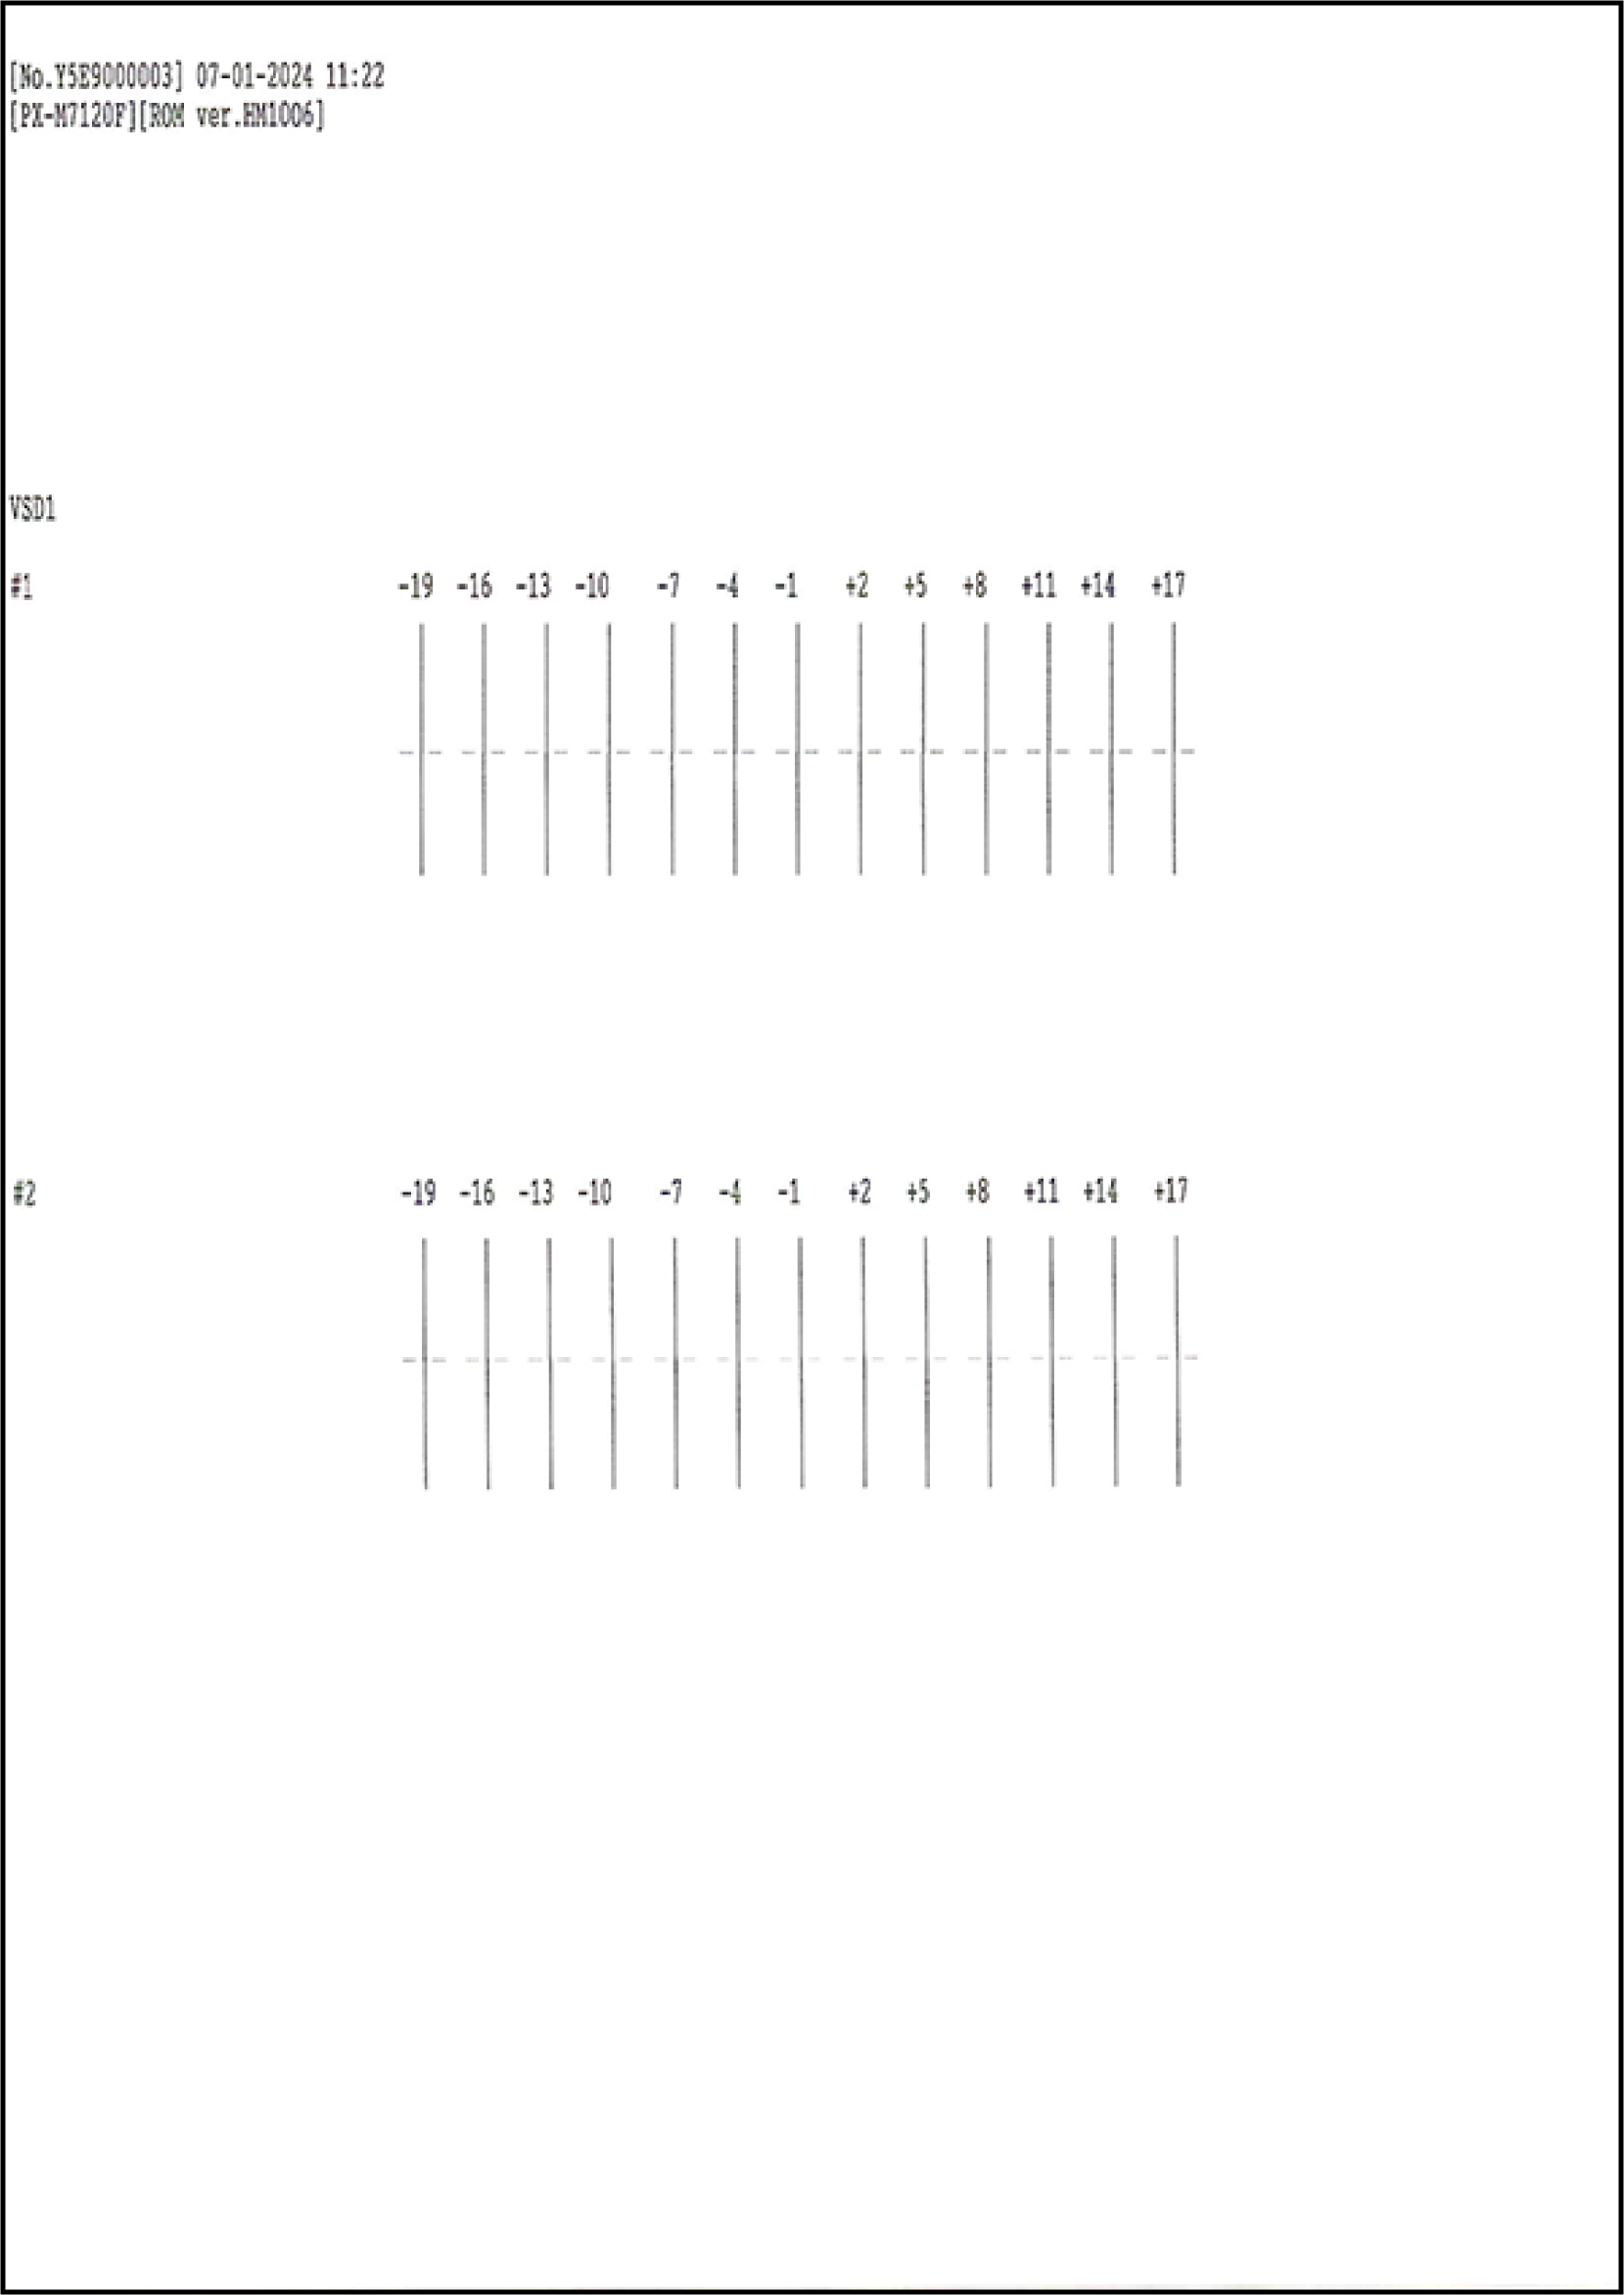
- Adjustment pattern
- Press [OK] on the following screen.
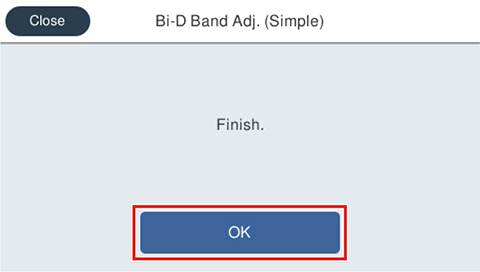
Check the adjustment pattern and determine the adjustment values for each of #1 and #2 based on the judgment method.
Check Point / チェックポイント- Adjustment value judgment method
From among the printed patterns, select the pattern where the above and below lines are the straightest.
- Adjustment value judgment method
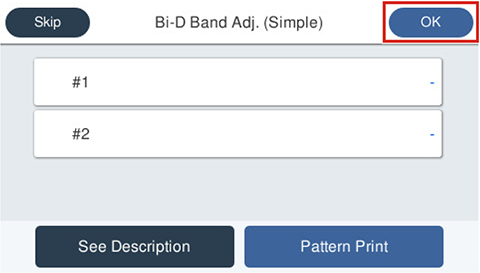
- Press on [#1] and [#2] and enter the adjustment value.
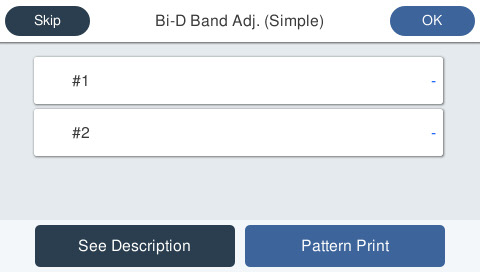
- Press [OK] on the upper right to complete the adjustment. The adjusted values are saved in the printer.
 Note / 補足
If there is no pattern satisfying the judgment method among the adjustment patterns, there is a pattern satisfying the judgment method outside the scope of pattern printing. Therefore, select the best pattern and enter the adjustment value. Following this, again print the adjustment pattern and determine the adjustment value.
- Select [Start].
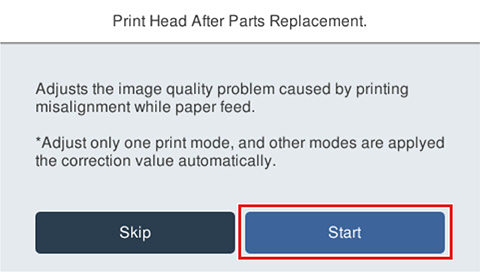
- If the following screen is displayed, press [Pattern print].
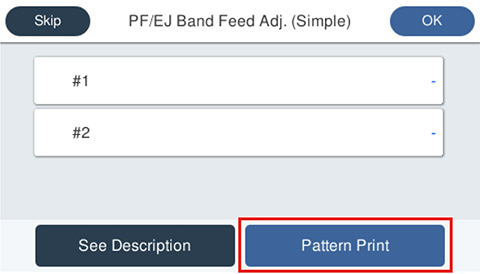
Press each setting item button to make print settings.
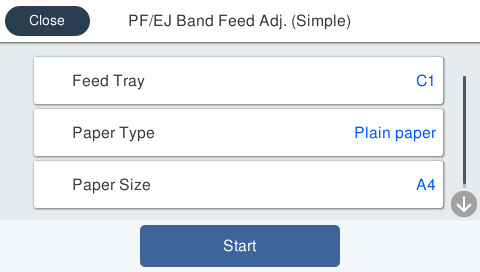
Setting Items Choice Remarks Feed Tray C1, C2, C3, C4, Rear ASF --- Paper Type Plain Paper Setting change not possible Paper Size A4 / Letter --- - Load paper in the selected feed tray and press [Start]. Adjustment patterns are printed on 1 sheet.
- Adjustment pattern
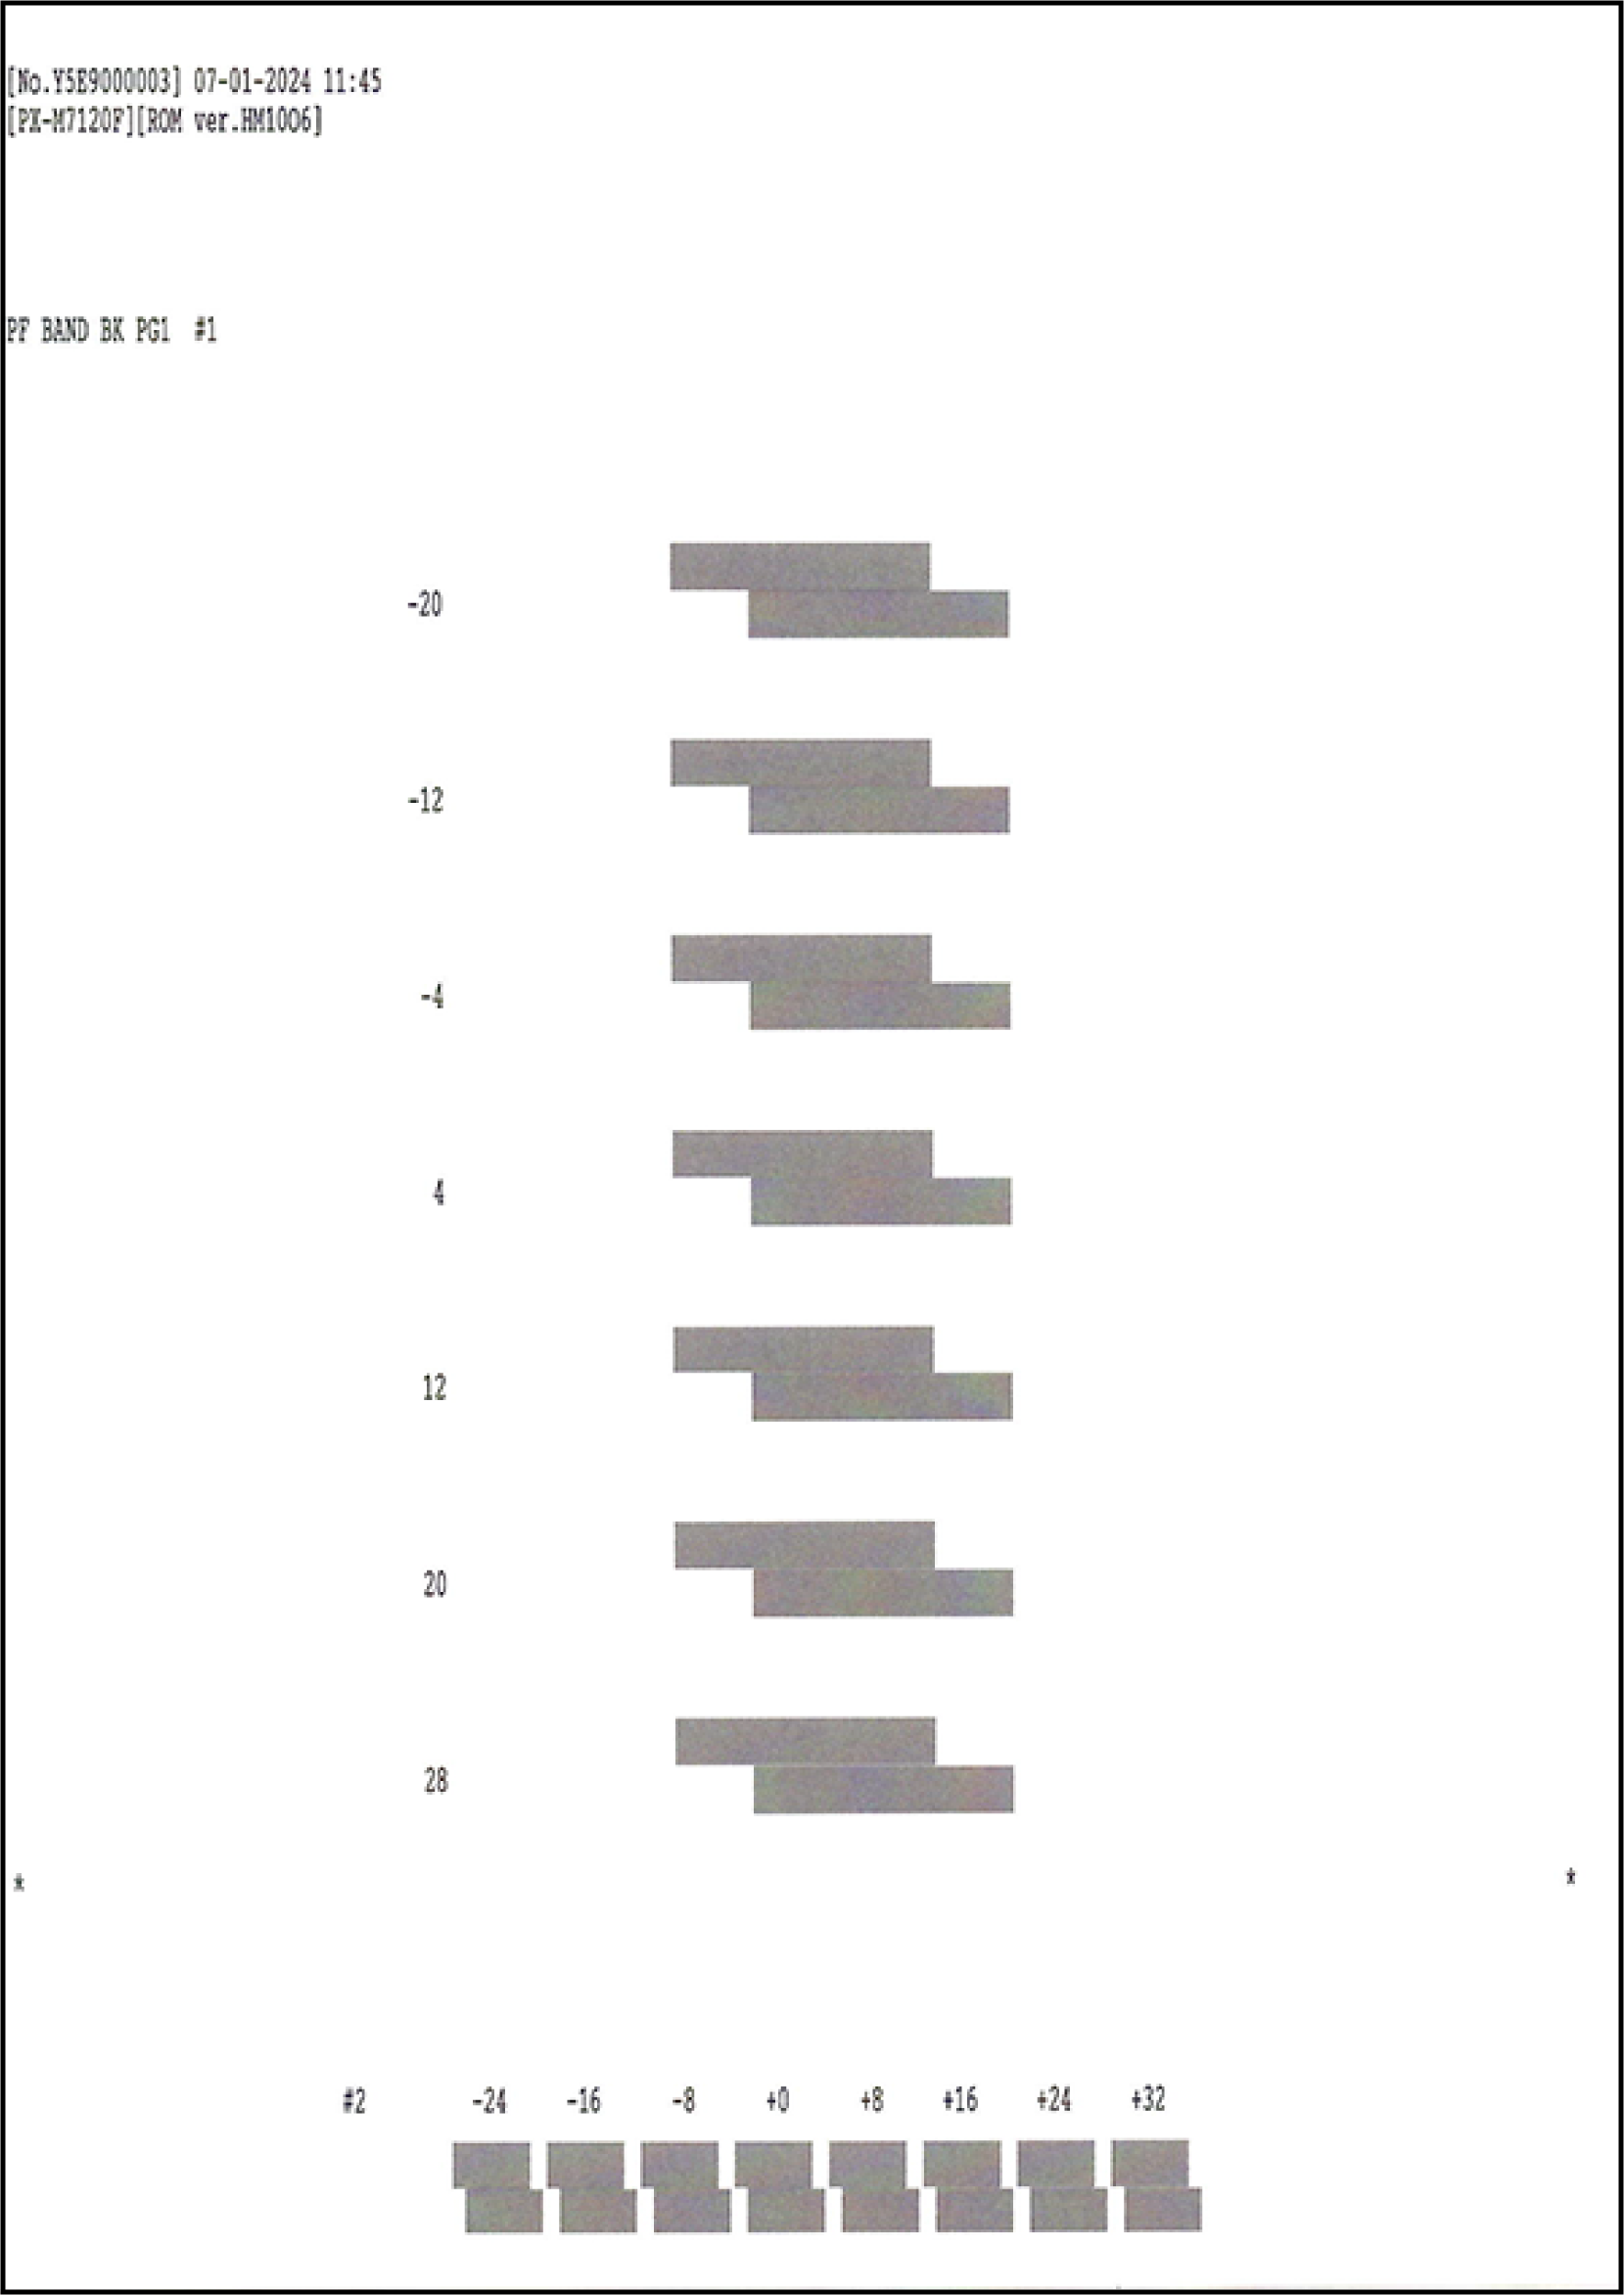
- Adjustment pattern
- Press [OK] on the following screen.
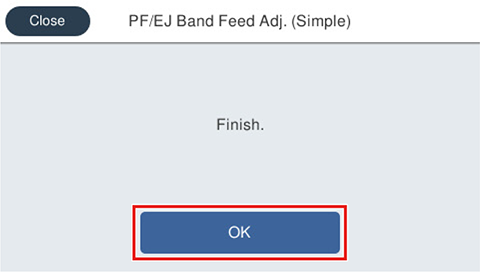
Check the adjustment pattern and determine the adjustment values for each of #1 and #2 based on the judgment method.
Check Point / チェックポイント- Adjustment value judgment method
Select the value of the pattern with the fewest white lines and with no overlap with upper/lower blocks.
- Adjustment value judgment method
- Press on [#1] and [#2] and enter the adjustment value.
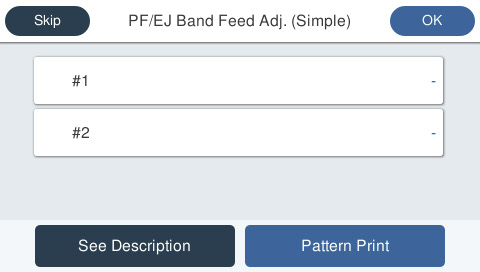
- Press [OK] on the upper right to complete the adjustment. The adjusted values are saved in the printer.
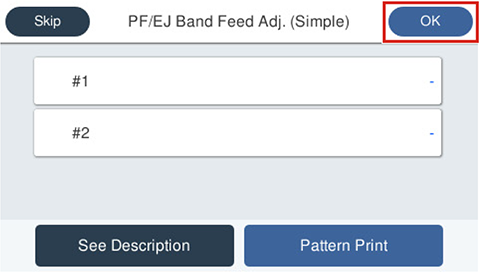 Note / 補足
If there is no pattern satisfying the judgment method among the adjustment patterns, there is a pattern satisfying the judgment method outside the scope of pattern printing. Therefore, select the best pattern and enter the adjustment value. Following this, again print the adjustment pattern and determine the adjustment value.
- Select [Start].
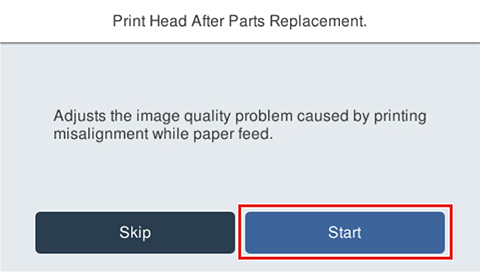
- If the following screen is displayed, press [Pattern print].
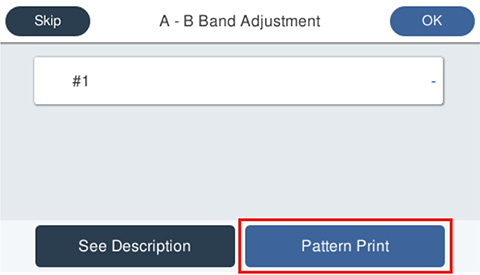
Press each setting item button to make print settings.
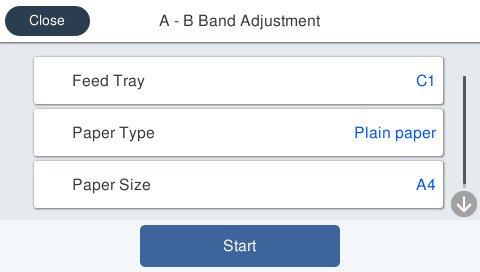
Setting Items Choice Remarks Feed Tray C1, C2, C3, C4, Rear ASF --- Paper Type Plain Paper Setting change not possible Paper Size A4 / Letter --- - Load paper in the selected feed tray and press [Start]. Adjustment patterns are printed on 1 sheet.
- Adjustment pattern

- Adjustment pattern
- Press [OK] on the following screen.
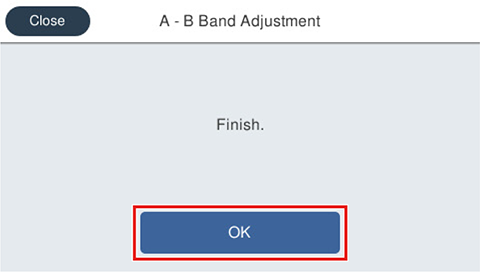
Check the adjustment pattern and determine the #1 adjustment value based on the judgment method.
Check Point / チェックポイント- Adjustment value judgment method
Select the value of the pattern with the fewest white lines and with no overlap with upper/lower blocks.
- Adjustment value judgment method
- Press [#1] and enter the adjustment value.
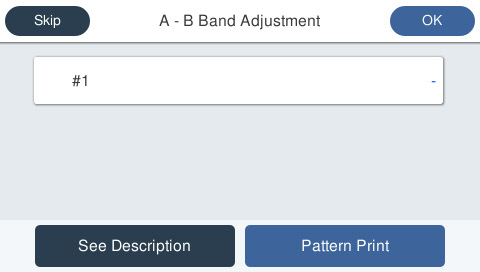
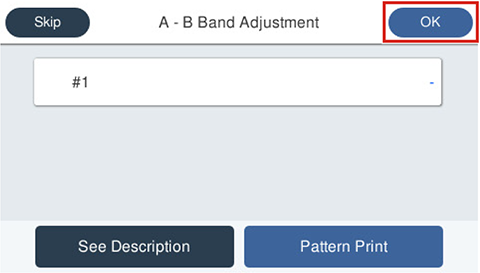
- Press [OK] on the upper right to complete the adjustment. The adjusted values are saved in the printer.
 Note / 補足
If there is no pattern satisfying the judgment method among the adjustment patterns, there is a pattern satisfying the judgment method outside the scope of pattern printing. Therefore, select the best pattern and enter the adjustment value. Following this, again print the adjustment pattern and determine the adjustment value.
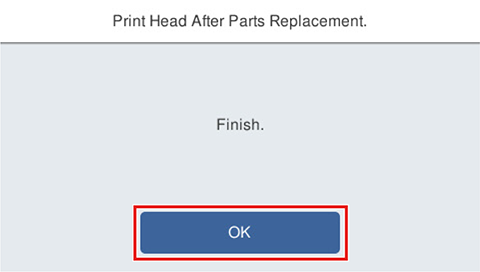
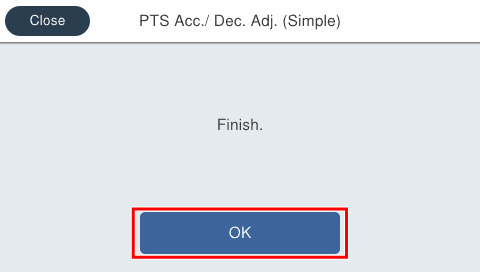
- Press [OK].