
CIS Module (ADF/SCN) After Parts Replacement
Procedure
- Turn the power ON.
- Press [Start].
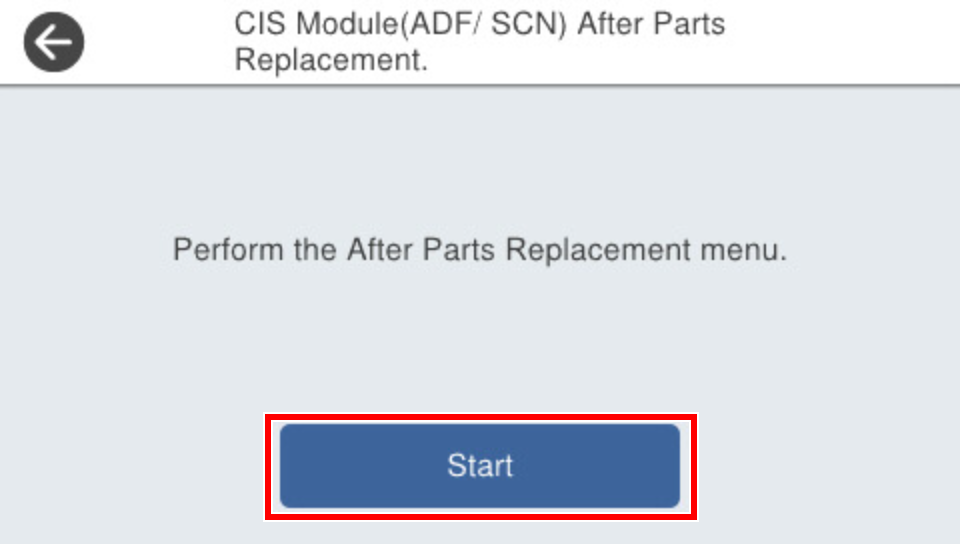
- Press [Start].
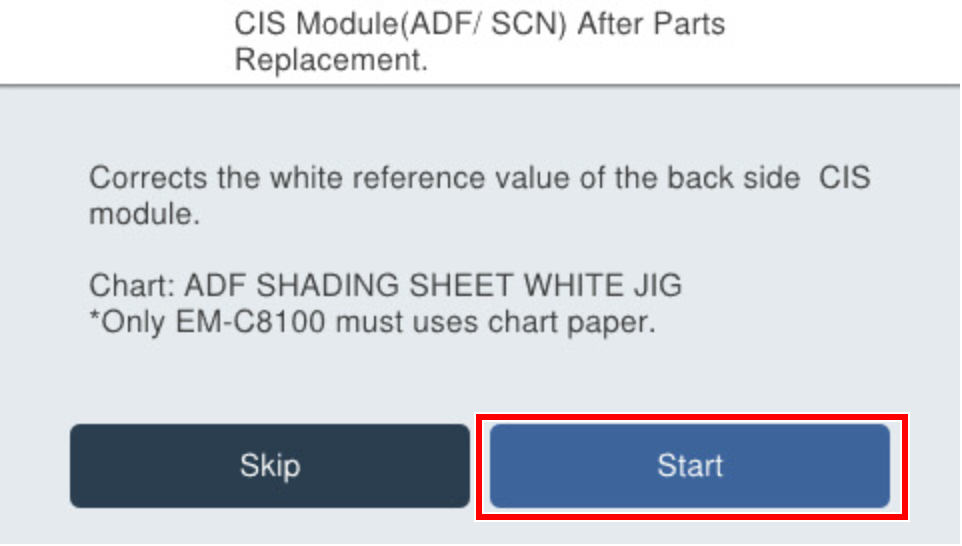
Set the chart on the document placed and press [Start].
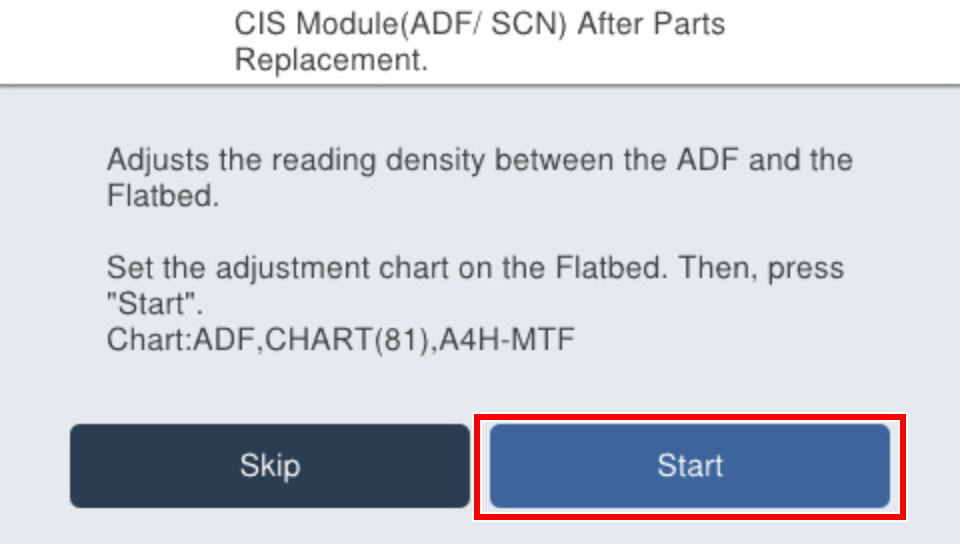
 Check Point / チェックポイント
Chart setting direction
- With the chart printing surface facing down, the top arrow is set to the left side of the platen glass against the platen glass.
Set the chart on the ADF tray and press [Start].
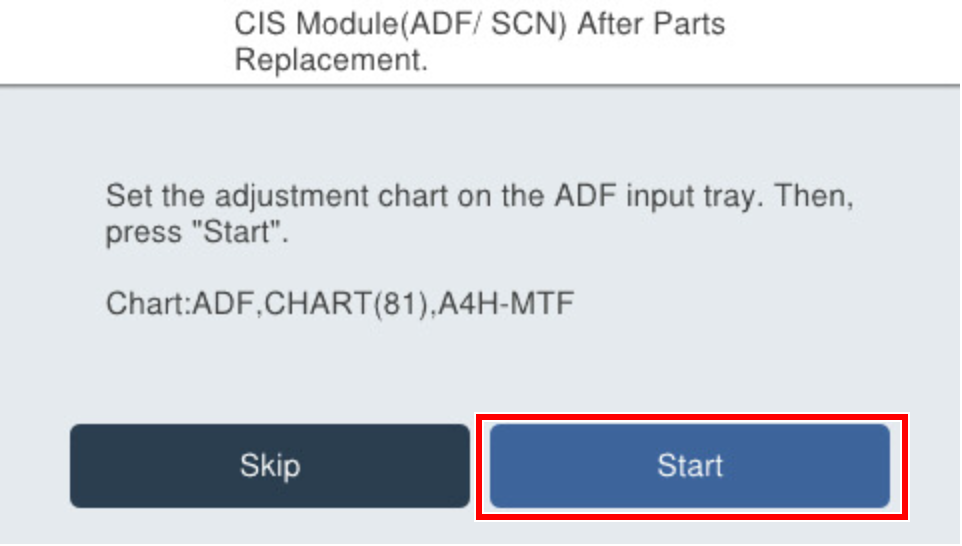 Check Point / チェックポイント
Chart setting direction
- The chart is set in the A4 vertical direction, the print surface is facing up, and the top arrow is set in the paper feed direction.
Set the chart on the ADF tray and press [Start].
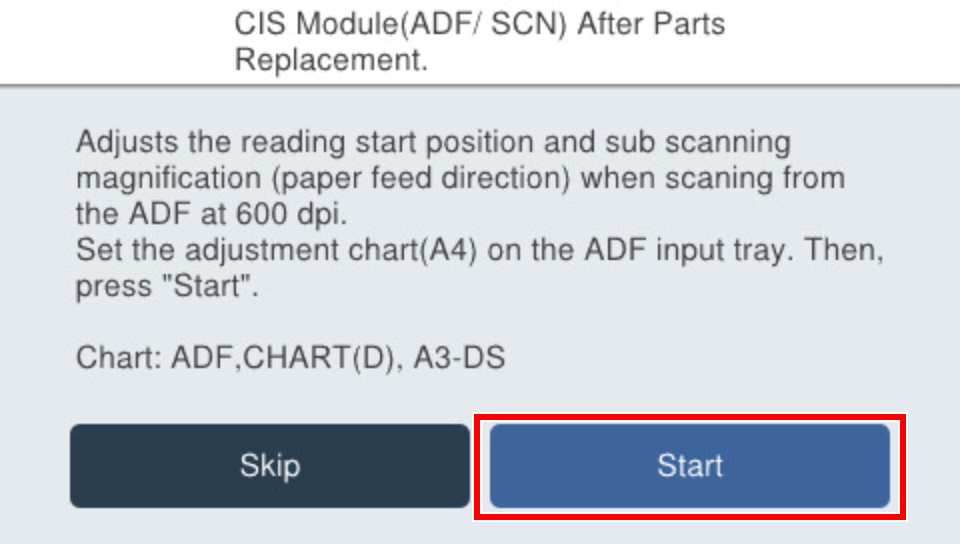 Check Point / チェックポイント
Chart setting direction
- Load the paper with the A side facing up and facing the paper feed slot so that the arrow is at the top.
Set the chart on the ADF tray and press [Start].
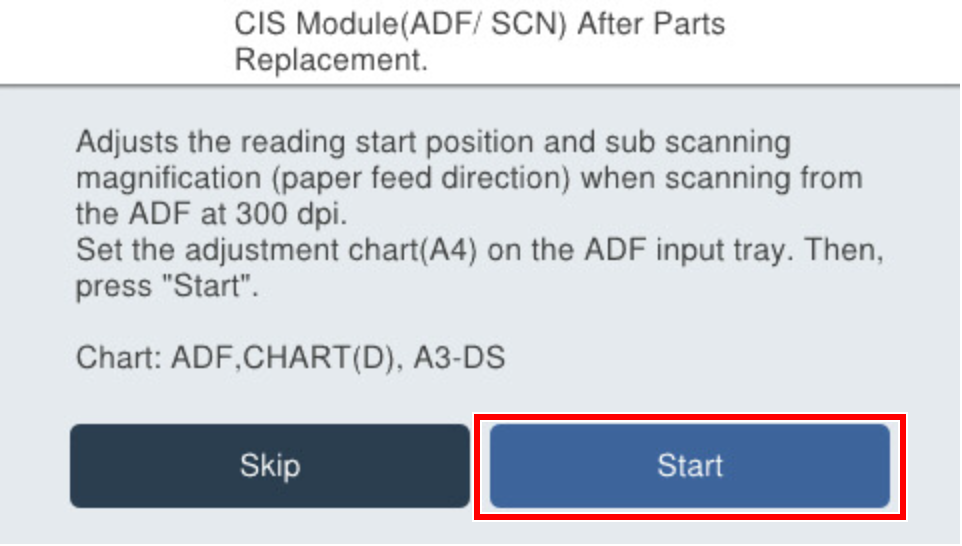 Check Point / チェックポイント
Chart setting direction
- Load the paper with the A side facing up and facing the paper feed slot so that the arrow is at the top.
- Press [Start].
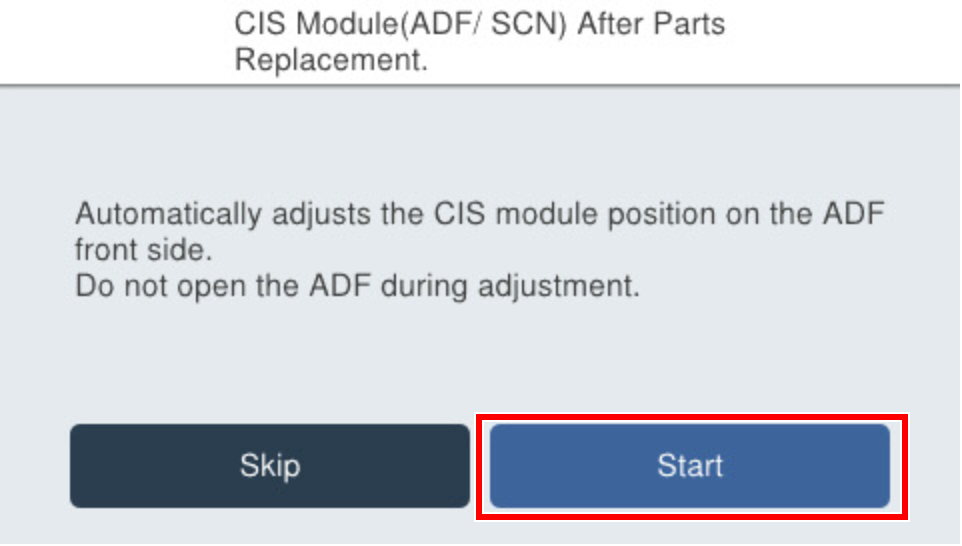
- If the following screen is displayed, press [OK] to complete.
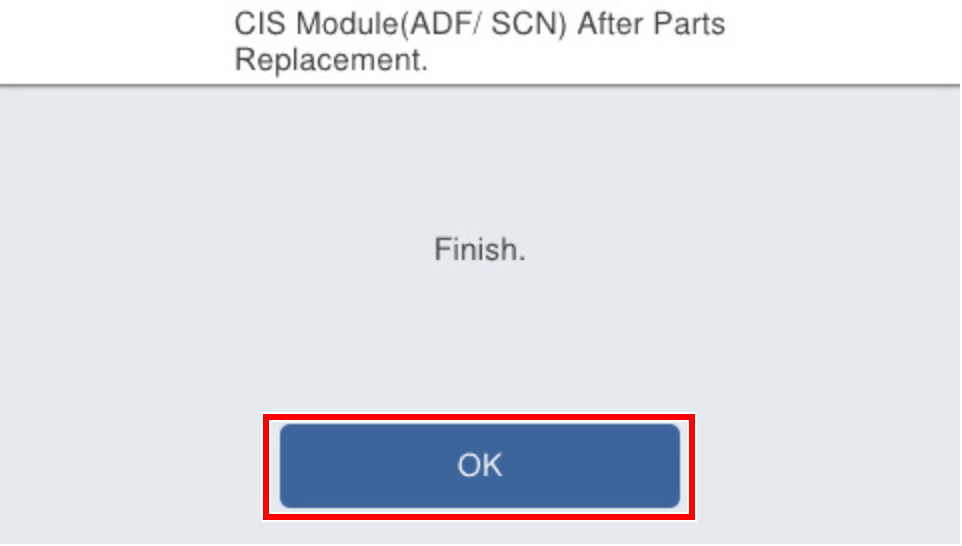
| Check Point / チェックポイント |
After execution, if “Adjustment failed” is displayed, either press [Initial value] to write the initial setting value, or press [Readjust] after setting the chart in the ADF tray and perform adjustment. |