
Attaching manual stapler (option)
 Check Point / チェックポイント Check Point / チェックポイント |
Perform this procedure if a manual stapler need to be attached. |
Preparation
Check that the following items are included in the package.
| Name | Remarks | |
|---|---|---|
| 1 | Manual stapler | |
| 2 | Screws for fixing ground harness | 2 pcs |
Attaching Procedure
- Open the Rear Cover.
- Remove the two screws that secures the Connector Cover.
- Remove the Connector Cover.
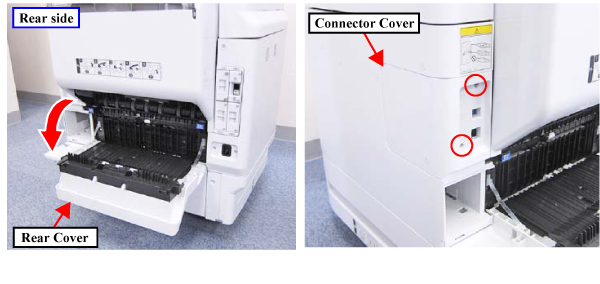
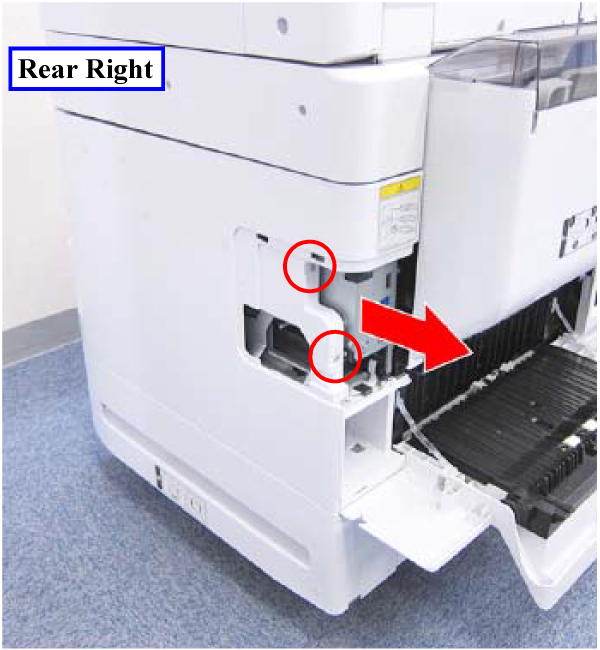
- Remove the two screws that secure the Right Housing Assy.
- Remove the Right Housing Assy in the direction of the arrow.
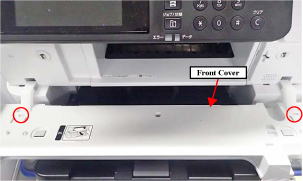
- Disengage the two hooks, then remove the Front Cover.
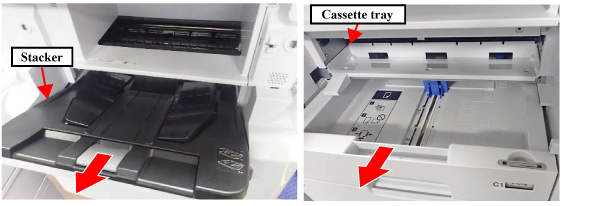
- Remove the Stacker in the direction of the arrow.
- Remove the Cassette tray in the direction of the arrow.
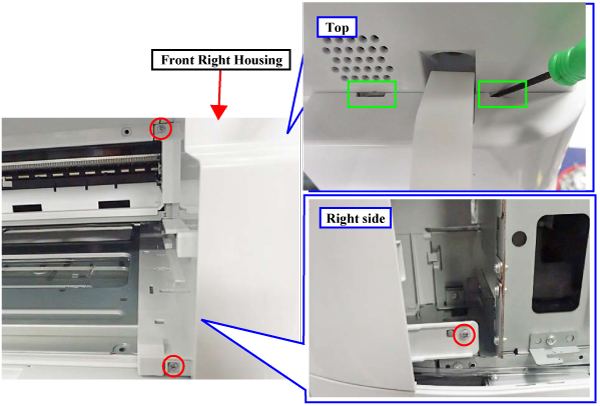
- Remove the three screws that secure the Front Right Housing.
- Disengage the two hooks, then remove the Front Right Housing.
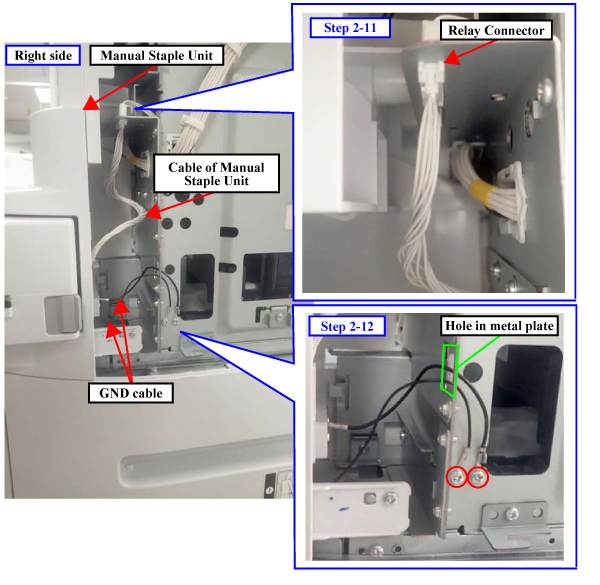
Connect the cable of the Manual Staple Unit to the relay connector.
- Pass the GND cable through the hole in the metal plate and fix the cable in place with a screw.
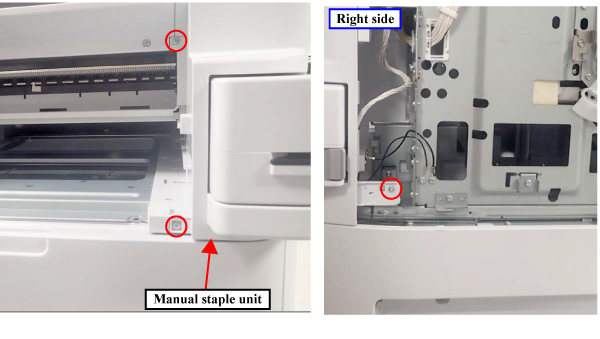
- Install the Manual Staple Unit onto the printer main unit.
- Fix the Manual Staple Unit in place with the three screws.
- Install removed parts. (It is unnecessary to mount the Front Right Housing removed from the printer.)