AFTER REPAIR ADJUSTMENT [B81] (INK SUPPLY UNIT)
- Start service support mode. (Service mode startup and operating procedures)
- Select “Adjustment Main Unit: MENU” from the service support mode top menu.
Select “Ink Supply Unit: MENU” - “After Repair Operation”.
 Check Point / チェックポイント
Select and execute the corresponding adjustment item using either procedure below.
Selecting by entering the program number
- Select “Input B No.-Main Unit Adjust” from the Adjustment menu.
- Press the [#] button and software number key is displayed on LCD. Enter programnumber “81”.
- Press the [#] button.
Selecting from menu
- Select “Main Parts Adjust: MENU” from the Adjustment Main Unit menu.
- Select “Ink Supply Unit: MENU” from the Main Parts Adjust menu.
- Select “After Repair Operation” from the Ink Supply Unit menu.
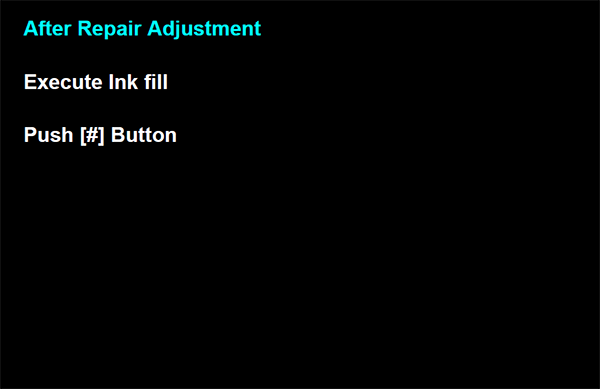
- When the screen in the following appears, press the [#] button to perform ink filling.
- After performing ink filling, the screen in the following appears.
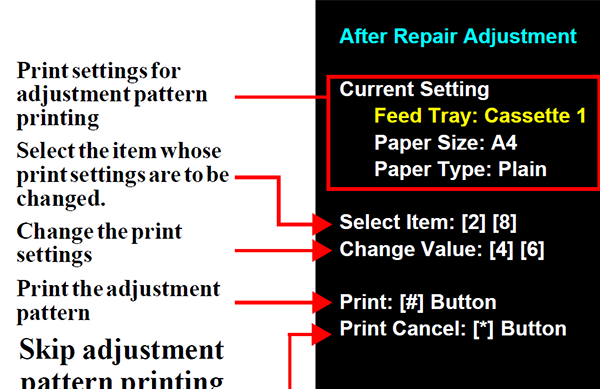
- Load paper into the paper feed tray.
- Press the [#] button to print the check patterns.
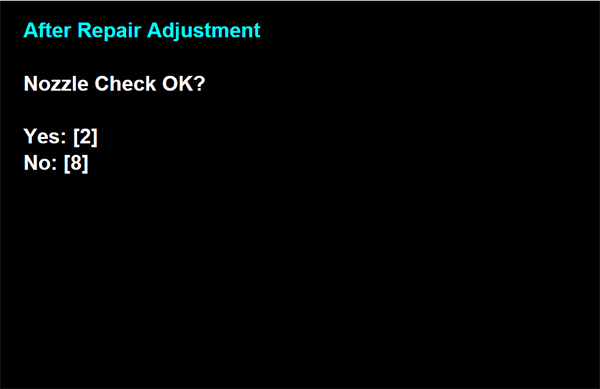
- When the screen in the following appears, check the nozzle check result. If there is no problem, press the [2] button to end the I/S Unit Replace Sequence.