
Fax Settings
 Check Point / チェックポイント Check Point / チェックポイント |
This work is not required if the user will not use the fax function. |
- Connect the telephone line to the printer.
- Select [Settings] from the Home menu.
- Select [General Settings] > [Fax Settings] > [Fax Setting Wizard].
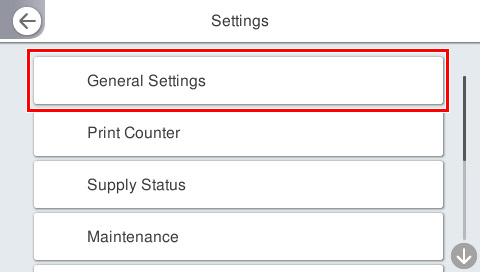
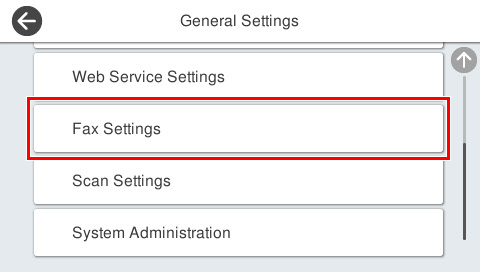
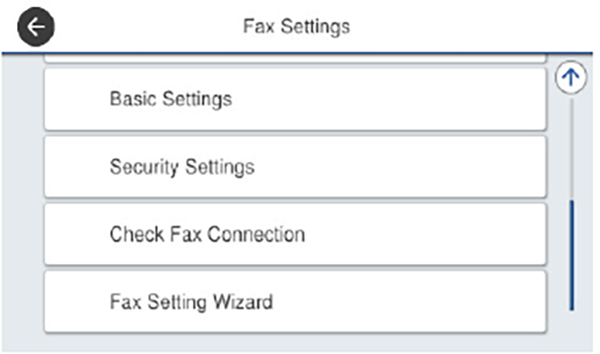
- Press [Proceed] to run the fax setup wizard.
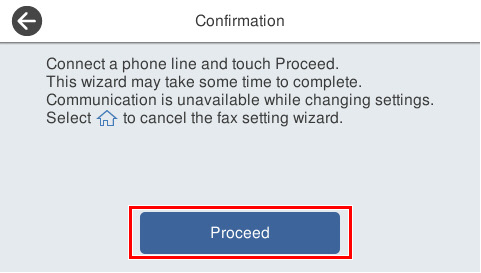
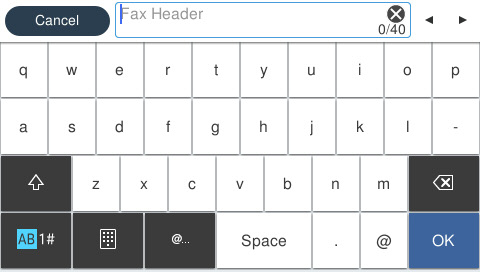
- Enter the name of the sender (e.g., company name) in the sender name input screen.
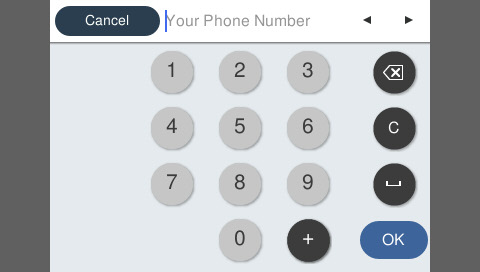
- Enter the fax number of the sender in the sender number input screen.
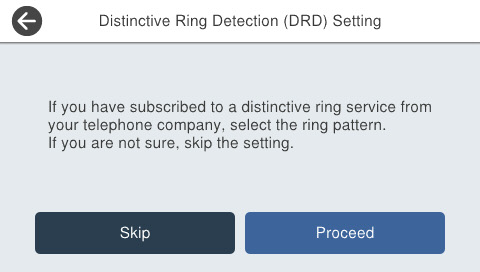
- Select according to the screen below.
- If you have subscribed to a distinctive ring service from your telephone company: Select [Proceed] to proceed to the next step.
- If you are not sure: Select [Skip] and proceed to step 11.
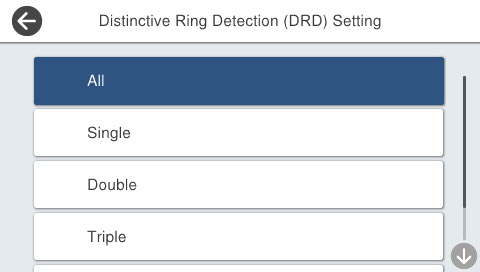
- Select according to the screen below.
- Select [All]: Proceed to the next step.
- Select anything other than [All]: Proceed to step 11.
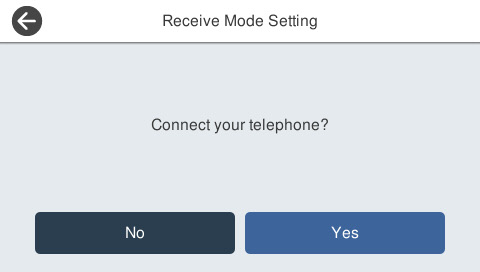
- Select whether or not to use a telephone connected to the printer in the Receive Mode Setting screen.
- Use: Press [Yes] to proceed to the next step.
- Not use: Press [No] and go to step 11. Receive mode is set to [Auto].
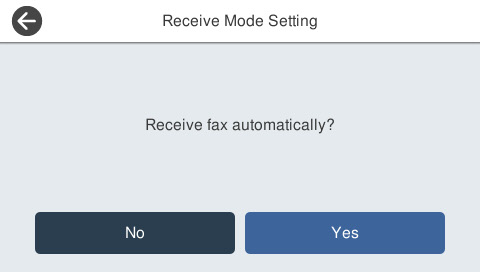
Select whether or not to receive faxes automatically in the Receive Mode Selection screen.
- Receive automatically: Press [Yes]. Receive mode is set to [Switch Fax/ Telephone Automatically].
- Not receive automatically: Press [No]. Receive mode is set to [Manual].
- Confirm the settings in the Setting Confirmation screen and then press [Proceed].
To correct a setting, press the [←] button to return to the previous screen.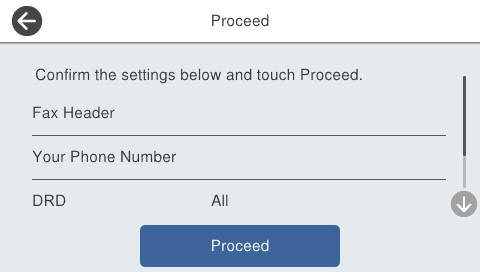
- Press [Start Checking] to perform diagnosis of the fax function.
When a message for printing the diagnosis results appears, press the [Print] button to print the fax function diagnosis report.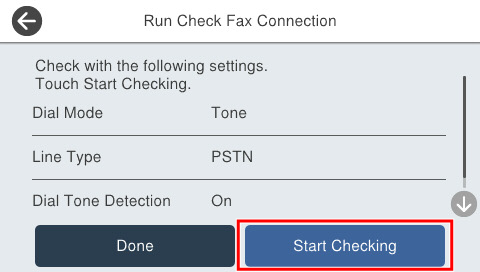
| Check Point / チェックポイント |
|