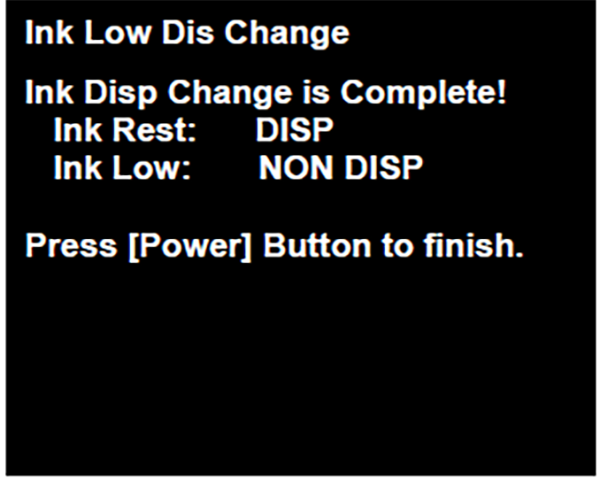
Ink Information Display Setting
In this section, explain the setting procedure of ink information display setting.
Setting Procedure
- Press hold down the power button while pressing the [# button] from the power-off state until a message appears on the panel LCD.

Enter ID number of “Ink Info Change Mode”, and start the Ink Info Change Mode.
 Check Point / チェックポイント
- Regarding the ID Number of Ink info Change Mode.
Contact to the Service support. - ID number input method is belows.
- Number input (move in ascending order) : [2] button
- Number input (move in descending order): [8] button
- Input digit shift : [6] button
- Execute : [#] buttonXX
- Regarding the ID Number of Ink info Change Mode.
- Select the applicable menu from the Ink Info Change Mode menu.
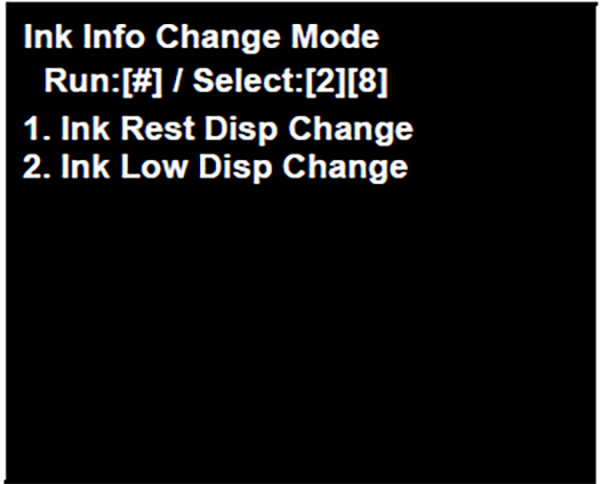 Check Point / チェックポイント
- In the ink info change mode, operation with the following buttons.
- Move the menu (move to upward) : [2] button
- Move the menu (move to downward) : [8] button
- Perform : [#] button
- In the ink info change mode, operation with the following buttons.
- Select the applicable menu from the following menu.
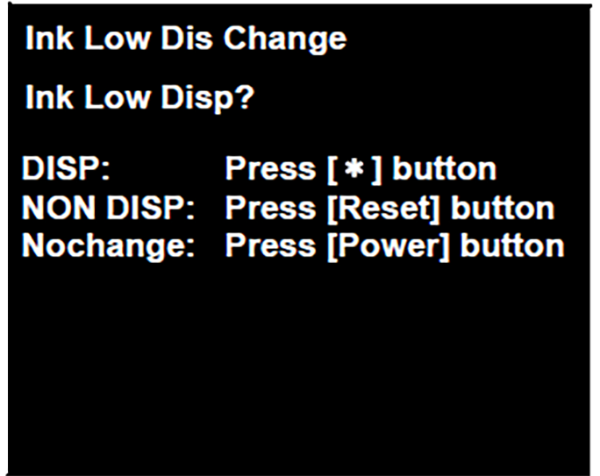
- The following screen is displayed after changing the setting.
Confirm the applicable item is changing, and turn off the printer.