
Check the PG
 Caution / 注意 Caution / 注意 |
When performing the PG adjustment, make sure of the following.
|
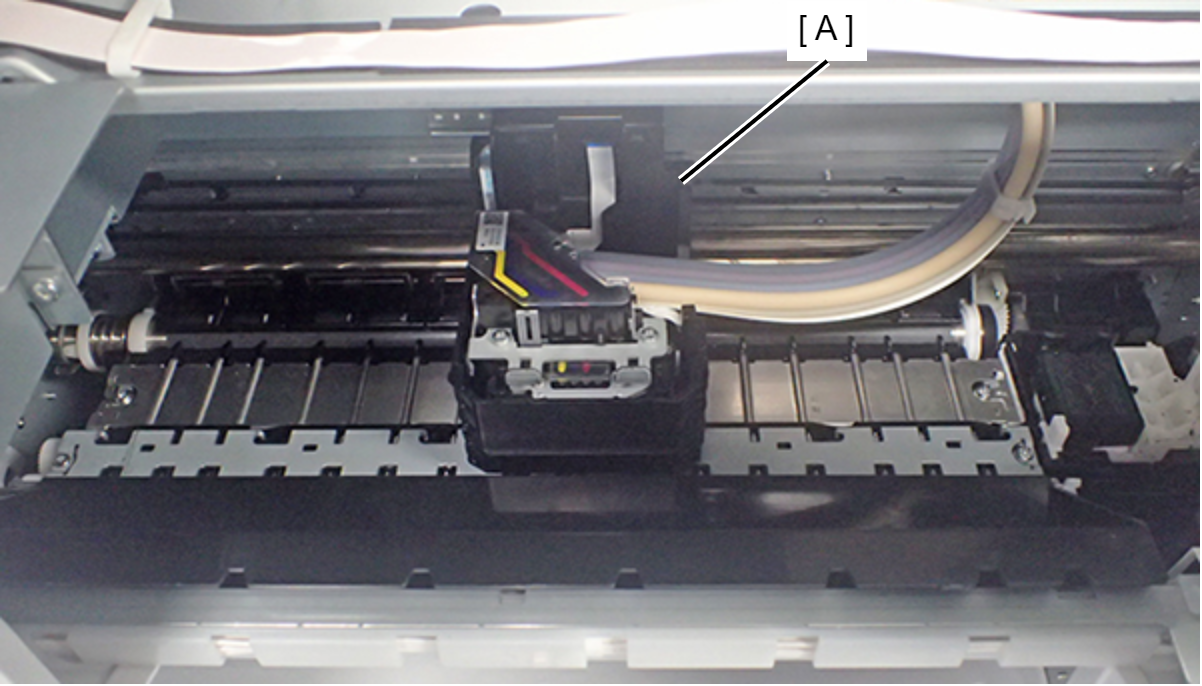
- Move the CR Unit (A) to the center of the printer.
- Place the 1.31 mm thickness gauge (1.23 mm thickness gauge + 0.08 mm Teflon tape) (A) at the position shown below.
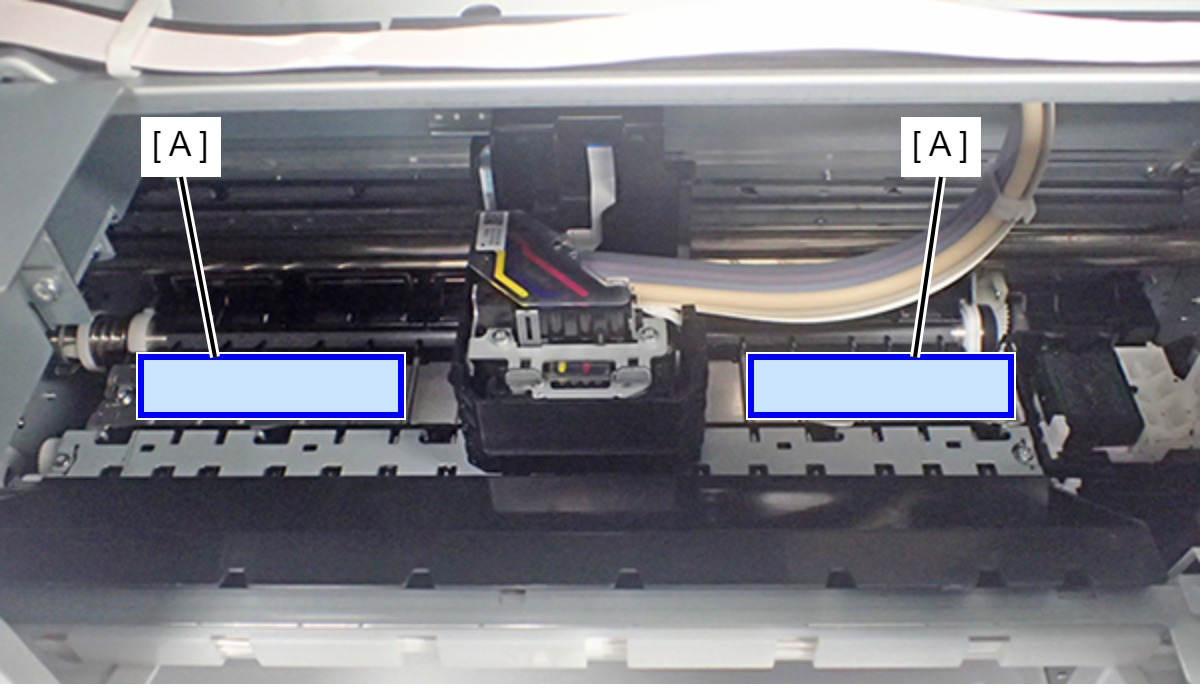
Move the CR unit to the thickness gauge and check whether or not the CR Unit does not touch the thickness gauge.
If does not touch the thickness gauge: Proceed to step 4.
If touches the thickness gauge: the PG is narrower than the standard value so adjust the PG (adjust the 0-digit side and adjust the 130-digit side).
Move the CR Unit (A) to the center of the printer.
- Place the 1.41 mm thickness gauge (1.33 mm thickness gauge + 0.08 mm Teflon tape) (A) at the position shown below.
Move the CR unit to the thickness gauge and check whether or not the CR Unit touches the thickness gauge.
If touches the thickness gauge: End.
If does not touch the thickness gauge: the PG is wider than the standard value so adjust the PG (adjust the 0-digit side and adjust the 130-digit side).